
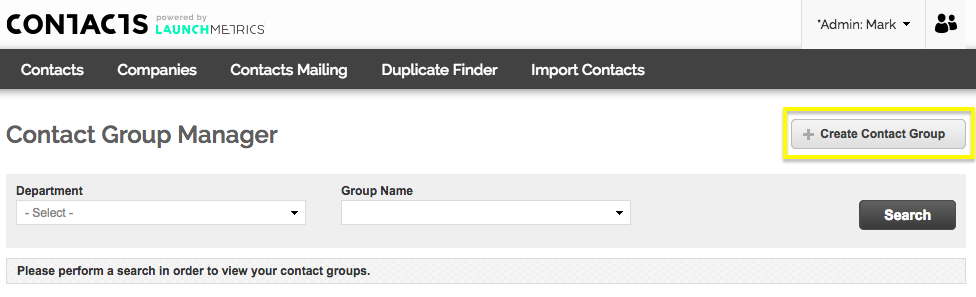
- Under the Contacts tab, go to the Contact Groups Manager.
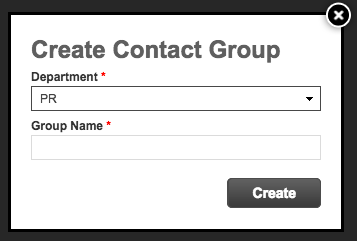
To add a new contact group, select the "Create Contact Group" button in the upper right corner of the page. From there, you can select the sharing level: global or department- based (only applicable to some users). Then you can add the name of your new contact group.
If you are using special characters such as !, @,#,$,%,^,&,*, <, > please read the following support center article on Using Special Characters.
Select if you would like the Contact Group shared on a Global level or just within your department and give it a name.
NOTE: You cannot add contacts to a Contact Group from within the Contact Group Manager. This page is only for creating and managing Contact Groups. To add people to a Contact Group, queue them up from the Contact Manager and from Queue Options select "Add to Contact Group".
Contact Group Options
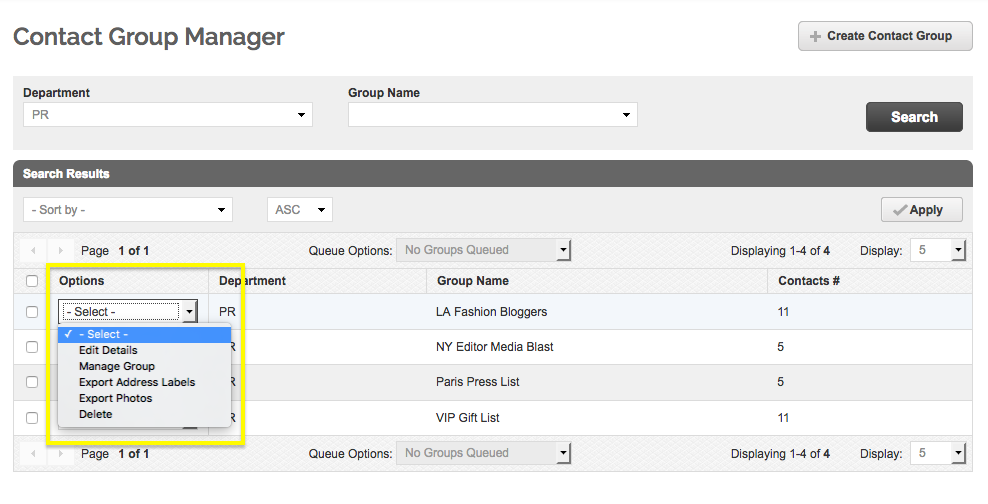
Edit Details: Change the name of the contact group
Manage Group: View and delete the contacts within this group. You can also select multiple contacts to remove them, copy them to a new group, or move them into an existing group.
Export Address Labels: Generate a PDF of contact and associated company address labels. You can change what information is included by clicking "Create Template".
Export Photos: Create a PDF of your contacts' photos, full name and affiliation. Just as in Contact Manager, you can change the size of the photos by creating a template. You can also change what information to show by clicking "Layout Preferences".
Delete: Delete the contact group. Please note that this does not delete the actual contacts within the group, only the group name.