
Managing incoming requests can be stressful if you don’t have a clear picture of what has already been promised. Managing through an excel sheet is unreliable because it’s not on the cloud and does not show you in real time what is actually in your inventory. This is why we have created the Look Calendar...to help you manage requests & plan loans against your live inventory.
When planning, you can...
- Check availability of specifically requested Looks
- Find any available looks during a certain time period
- Create a request with just a few clicks
- Easily see what exact samples are included in a Look for a particular loan.
- Reference any special instructions such as embargo or exclusivity periods
When managing logistics you can...
- Visually see the schedule of a look to help ensure loans remain on schedule
- Know in real time what looks are late to be returned
Check the availability of specific looks
When you get a request for a loan, easily check it's availability for the requested period
- Navigate to Look Calendar using the Requests navigation menu dropdown
- Using the Look filter, select all the Look(s) being requested.
- NOTE: Each look is unique to a department so for instance if Look 22 exists in 3 departments that you have access to, it will appear 3 times and be labeled with the department name.
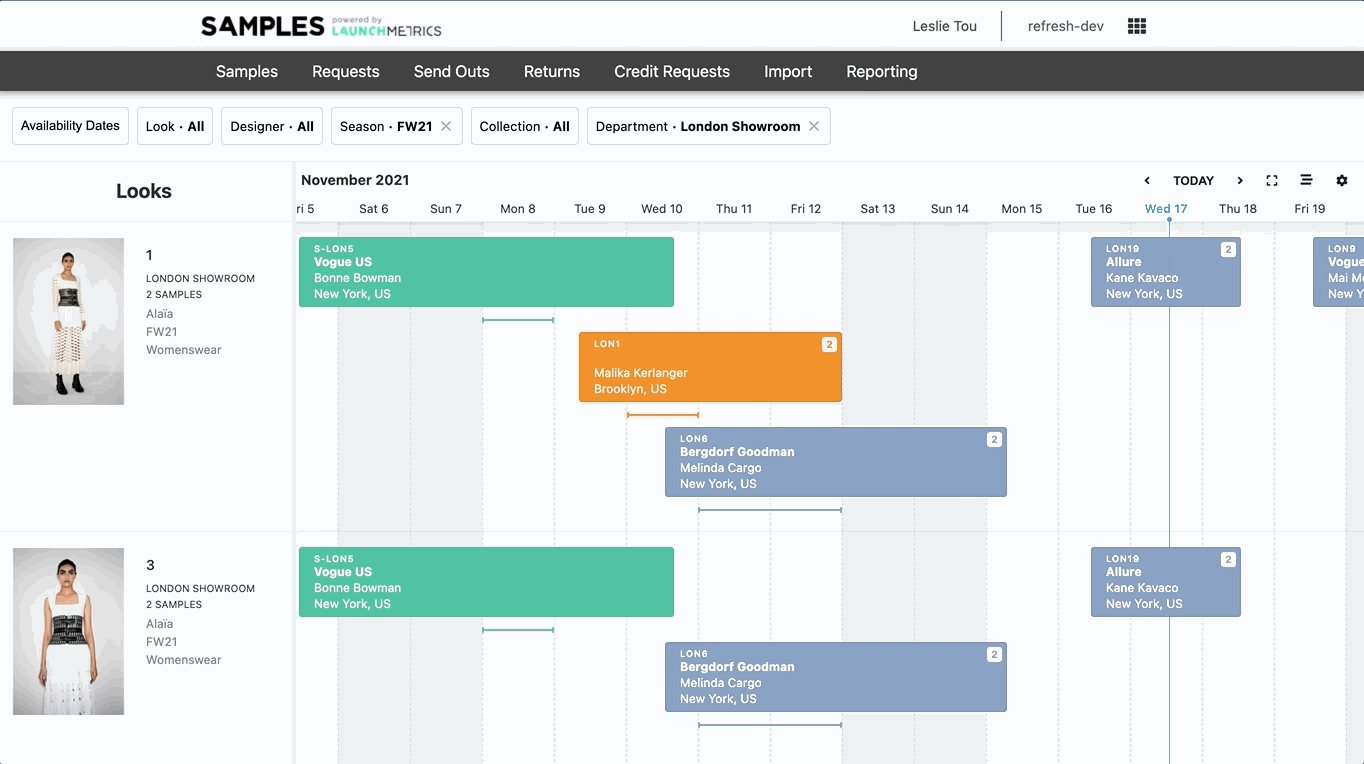
- In the calendar below, you will see the schedule of the looks that you selected.
- Scroll to the date for which the looks were requested.
- There are forward & backward controls in the calendar toolbar.
- If using a trackpad on a laptop, using the scrolling motion to navigate the calendar left, right, up or down.
- If using a mouse that has a scroll wheel, press down on the scroll wheel to activate the middle click, this will allow you to easily scroll left right as well.
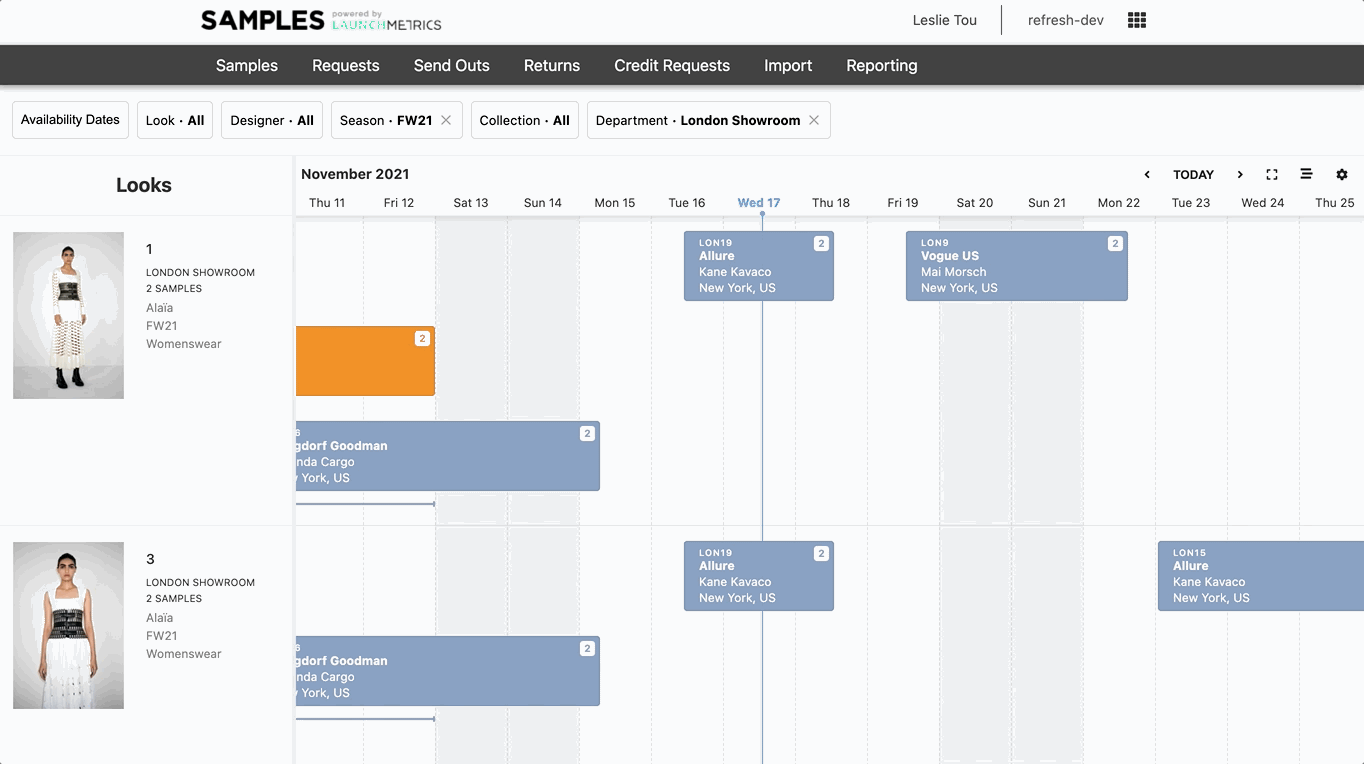
- Use the display options to hide declined looks & requested looks.
- Turn on Shoot date display to see if there is any wiggle room between loans.
- Hover over the number of samples to see what is exactly included in the scheduled loans.
- Finally, be sure to check the left panel notes ensure there is no exclusivity period or other important notes to consider.
Search within a specific period for available looks
In case the looks that were requested were not available or you want to suggest additional looks that are available during the requested time period.
- First clear the Look filter (or else you will only be searching within the selected looks)
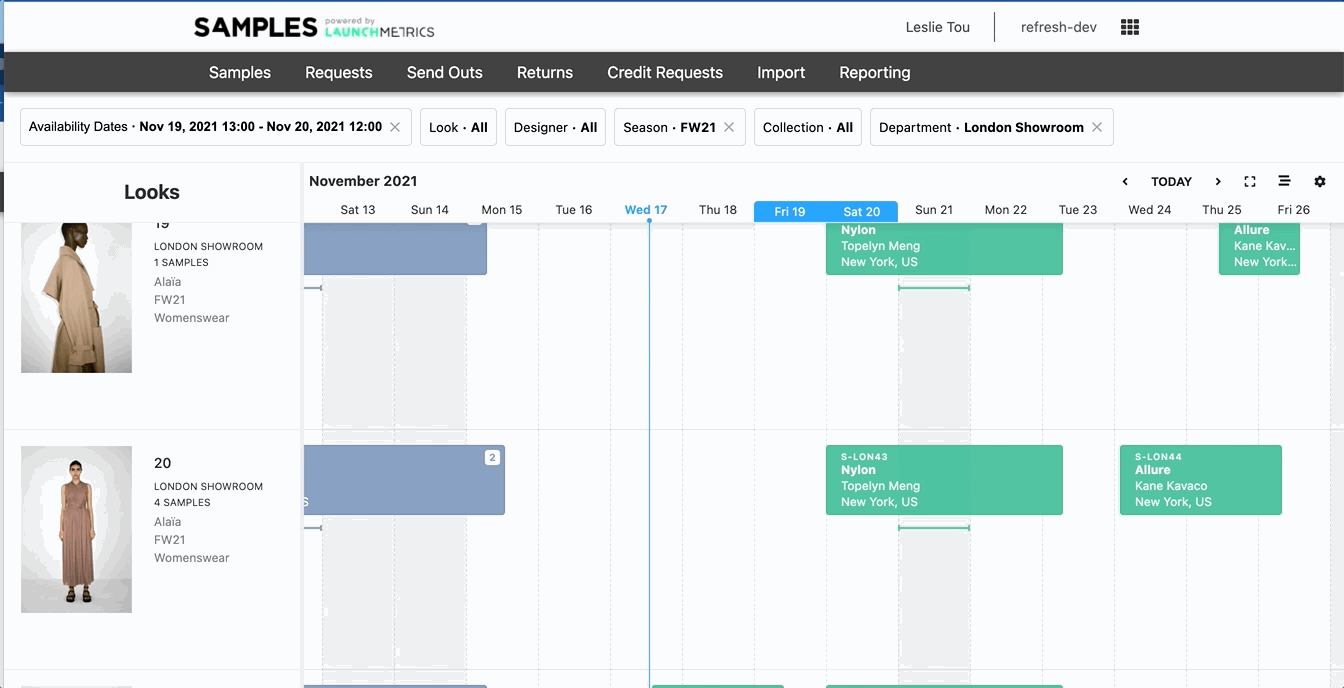
- Open the Availability Filter and select the dates that you are looking for availability.
- Note that the time will default to your default ship time and default return time.
- Use the other filters to narrow down your search (Designer, Season, Collection, Department)
- In the calendar below, only the looks that do not have any Reservations/Loans intersecting the filtered dates will appear.
Creating a request from the Look Calendar
- Hover over an empty date area then click & drag to select the range. Once you let go, a new request will be initiated and the right panel will open.
- You can make tweaks to the time period by dragging from the left/right edge of the calendar block, or manually changing it in the right panel.
- Add more looks by clicking on the clickable time block directly in the calendar
- Note, you can change the filters at the top without worrying about losing the looks you’ve already selected.
- Fill out at least the required fields in the right panel
- Note: Which fields are set as required can be adjusted for your site so feel free to reach out to your csm if you would like to change them.
- If you need to fill out additional fields that do not appear on this quick view, click “More Options” to open the Create Request full screen view.
- If you just want to leave this simply as a Request, click the Create Request button and you will see the request appear immediately on the calendar. Otherwise, continue on…
Creating a reservation from the Look Calendar
- In order to reserve the look, you must specify what samples will go out with the look and then convert it to reservation.
- If you are within the Create Request right panel, scroll down to the bottom and click the “Add Samples” button. This will bring you to the Edit Request full screen view.
- If you’ve already created the request, simply click the request to open the Edit Request full screen view
- The looks that you’ve selected will appear under “Requested Looks”. Click the “Find Samples” button and add samples that should go out with the look. Repeat this for all the looks.
- Click “Next” on the top right corner
- Take a moment to review the Samples & Looks being sent out
- Click “Convert” in the top right corner to initiate the reservation
- In the modal, in case there are any conflicts, some samples cannot be converted onto the reservation. If everything is good, scroll to the bottom and click “Convert Request”
- If you are within the Create Request right panel, scroll down to the bottom and click the “Add Samples” button. This will bring you to the Edit Request full screen view.