
Chart Builder
Build a custom seating chart for each of your events.
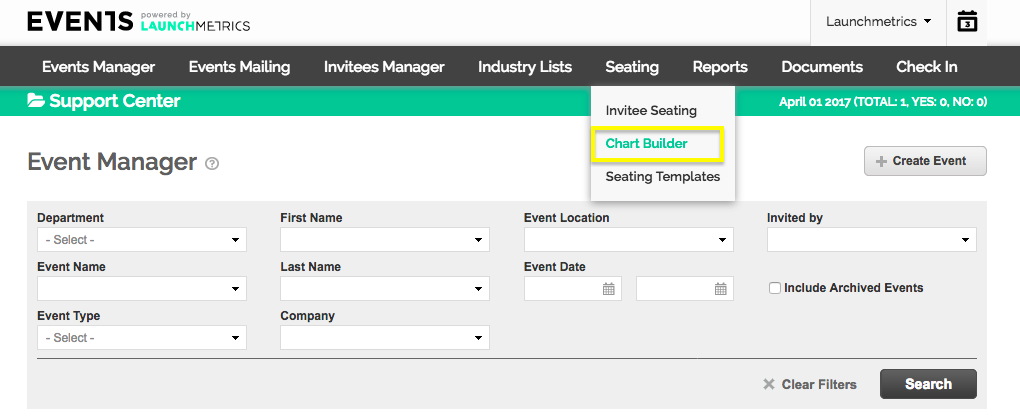
- Select "Chart Builder" from the Seating tab to begin creating your seating chart.
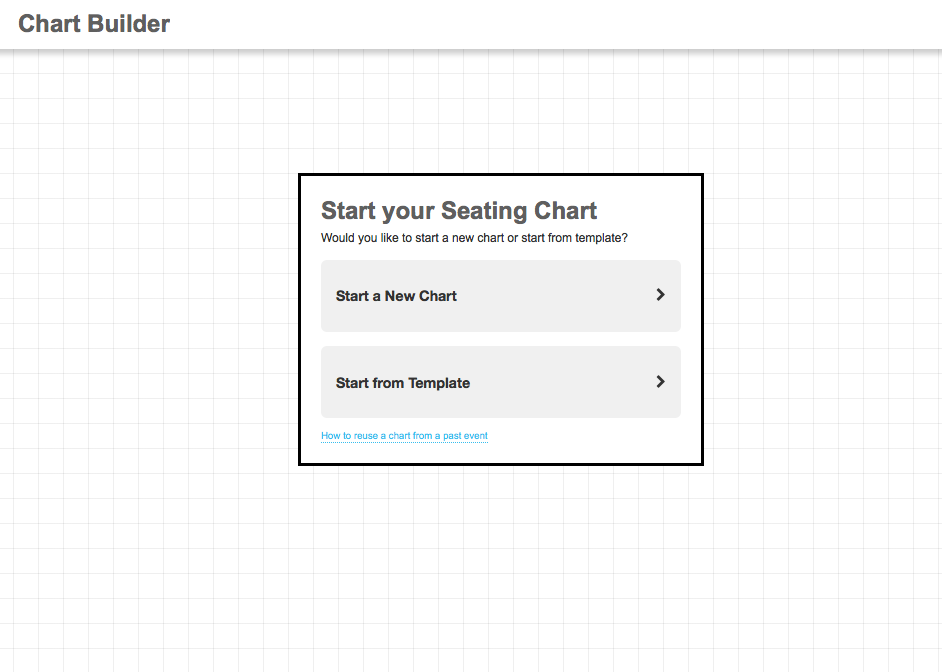
- Select whether to start a new chart or reuse a template for a past event.
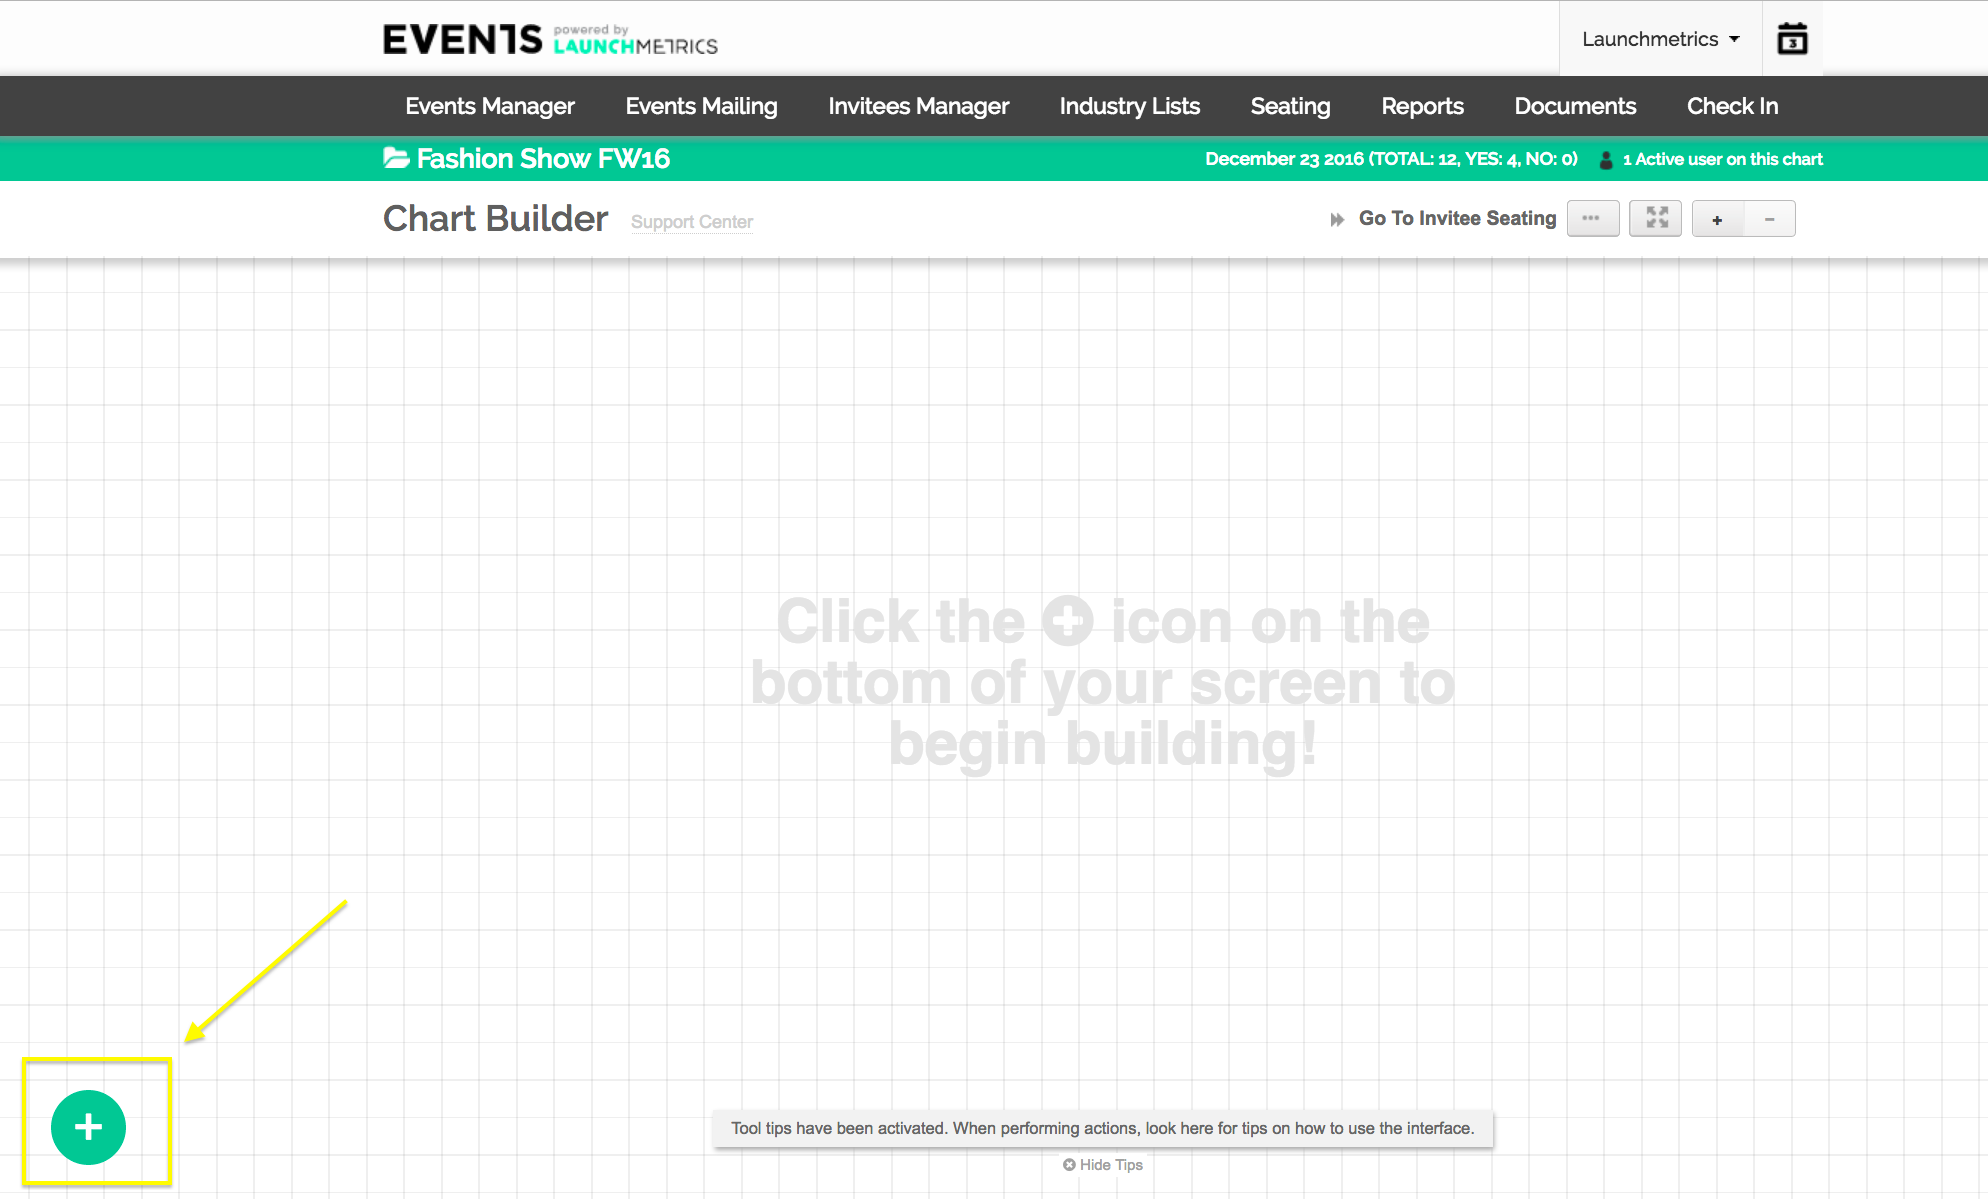
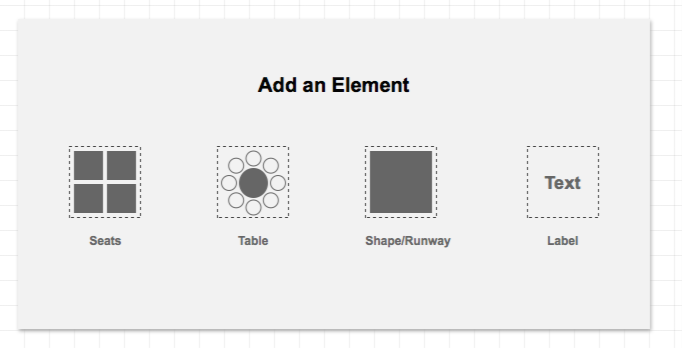
- Add elements by clicking on the blue Add icon located on the left-bottom corner of the page and select the type of element you'd like to add.
Tip: Right-clicking on any part of the canvas will allow you to add elements on that specific position.
Adding Seating
- Click on "Seating" from the "Add an Element" page or "Add Seat Block" from right-clicking the canvas.
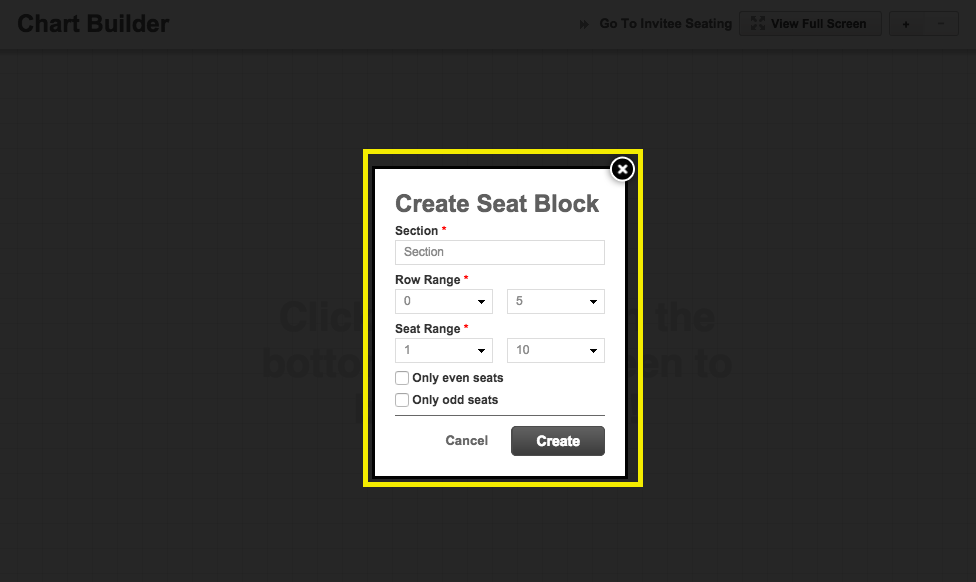
- Enter "Section" name and select the range of rows and seats for each row.
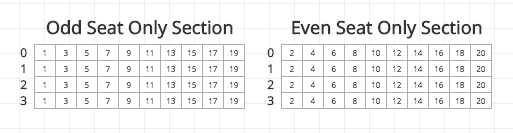
Tip: You can also select between only even or odd numbered seats.
Tip: You can also duplicate a seat block to save yourself time when creating identical or similar sections.
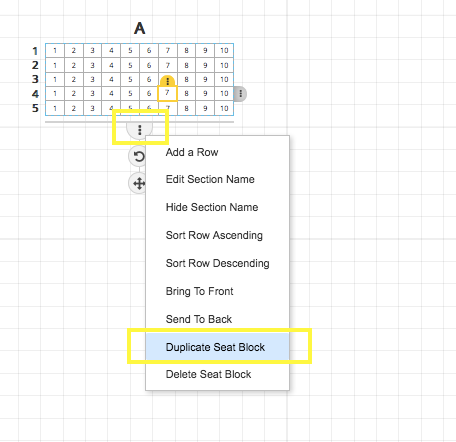
Seat Block Options
- Select a seat block and click on the menu icon on the bottom to edit the seat block as a whole.
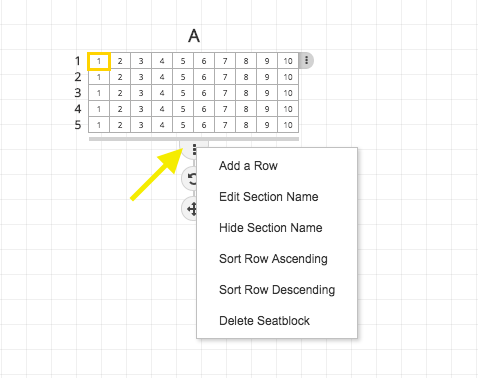
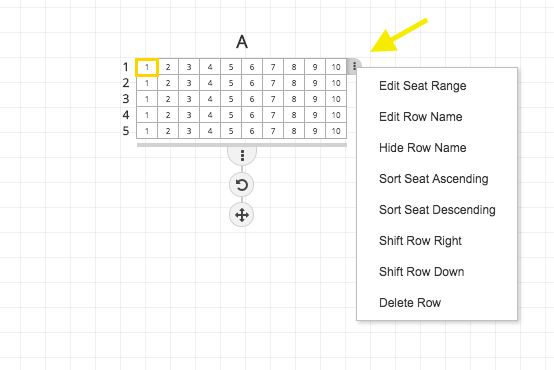
Row Options
- Select a seat and click on the menu icon on the right to make changes to a row.
Seat Options
- To edit a specific seat, zoom in and click on the seat and the menu icon on the top. Seat options will only be viewable when zoomed in.
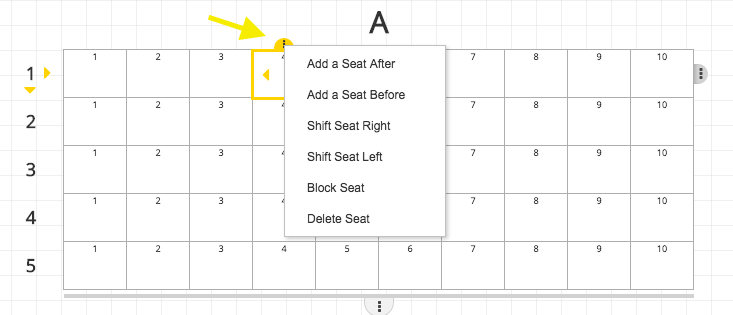
Tip: Shift seats and rows by clicking on the yellow arrows.

Adding a Shape/Runway
- Click on the blue add icon or right-click and select "Add a Shape."

- Enter shape configurations for your element.
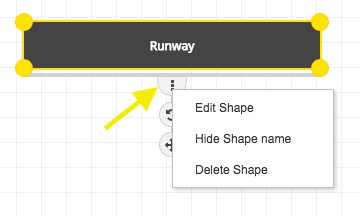
- Click on menu icon for shape options.
Adding a Label
- Click on the blue Add icon or right-click and select "Label."
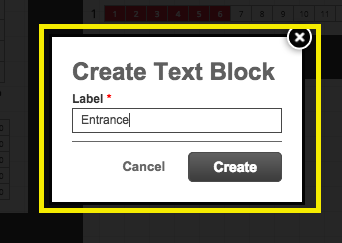
- Enter "Label" name and create.
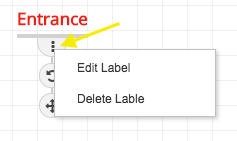
- Click on menu icon for options.
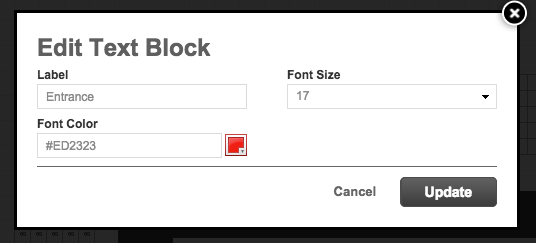
- Click on "Edit Label" to edit color and size.
Note: All work done is auto-saved.
Useful Tips:
- In order to rotate and move elements, click and hold the icons.
- While rotating and holding down the SHIFT key, upon release the element will snap to 45 degrees.
- While rotating and holding down the SHIFT and CMD keys, upon release the element will snap to 90 degrees.
- While rotating and holding down the CMD key, upon release the element will snap to 10 degrees.
- While moving and holding down the CMD key, upon release the element will merge with other elements.
- While moving and holding down the CMD and ALT keys, the element will snap to 100px.
- PC Users: CTRL can be used instead of CMD.
- Hold CTRL (CMD key on Macintosh) while resizing a shape to activate the snapping feature.
- Hold SHIFT while resizing a shape to activate the preserve aspect ratio feature, so that both the width and height grow or shrink proportionally as you drag a corner or an edge.
- Hold both SHIFT & CTRIL (or CMD key on MAcintosh) to get both preserved aspect ratio and snapping to other objects while resizing.
- Hold both SHIFT, ALT & CTRIL (or CMD key on Macintosh) to get both: preserved aspect ratio and step-based snapping feature.
Note: Chart Builder is only supported in newer browsers. IE11 and above, Firefox v30 and above, Chrome v30 and above.