
Media Requests
Grant access permission to media invitees.
- Media Requests is your site's media portal for photographers, editors, and other media.
- An approved member logs into this database at the url: YOUR FGPS URL/mediarequests.com
- Once here media invitees can create a new account or log-in to an existing one.
- After logging in invitees can view/confirm approved requests.
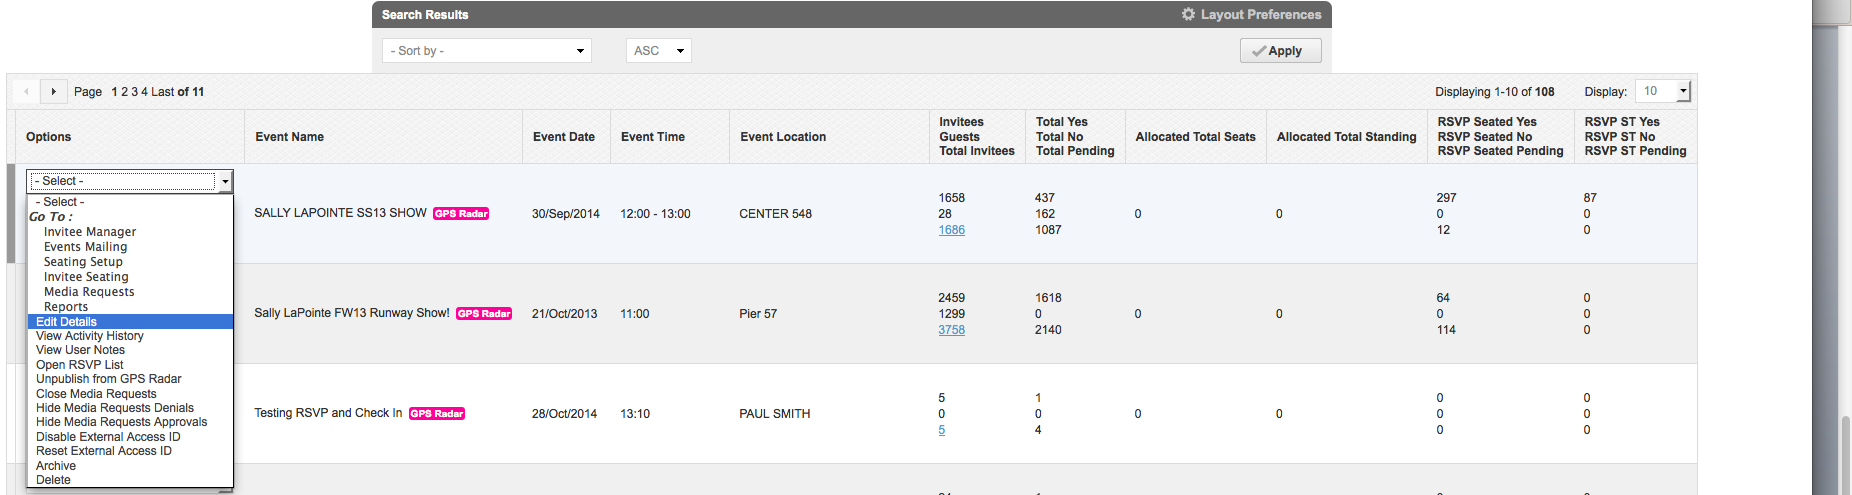
- To enable media requests options, within EVENT MANAGER click on the drop-down menu next to the event and choose “Edit Details”.
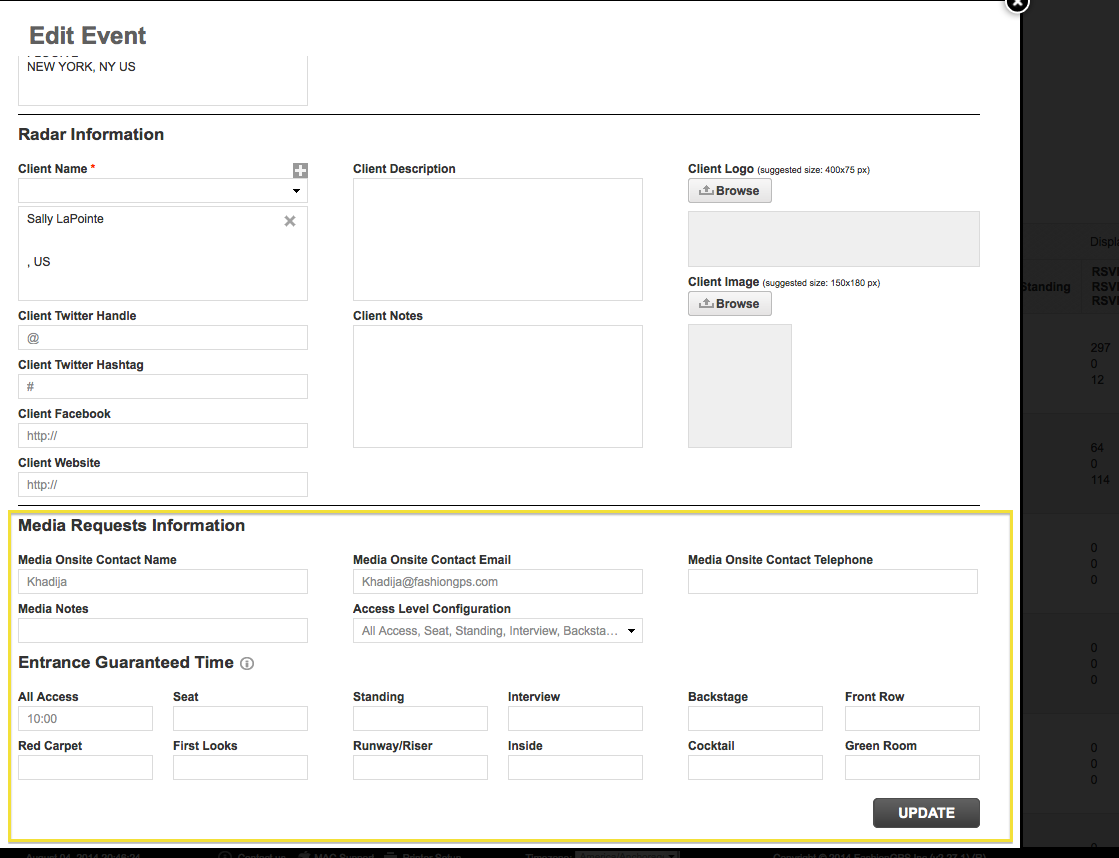
Choose the allowed media sections under “Access Level Configuration” for TV Crews, Photographers, and Editors etc.
[OPTIONAL] Enter the guaranteed entrance hour for each of the sections. If left blank, entrance guaranteed time will default to event start time.
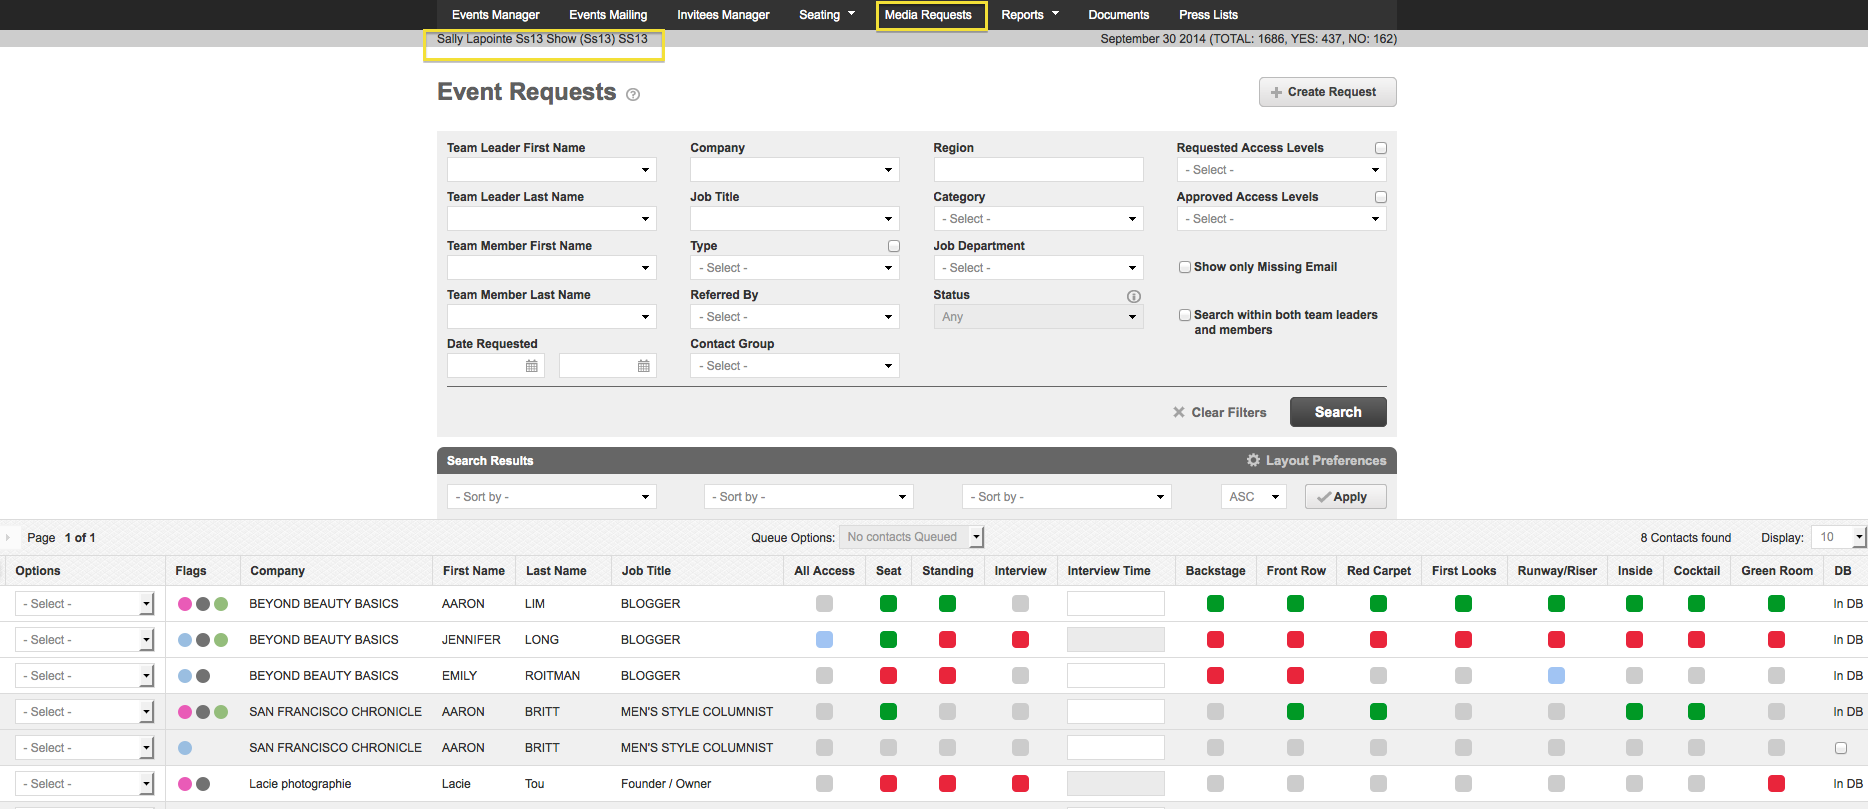
- Navigate to Media Requests in the main menu:
You can search the requests using the “Media Requests Search Wizard”.
Here will be a list of every request that has come in for this event.
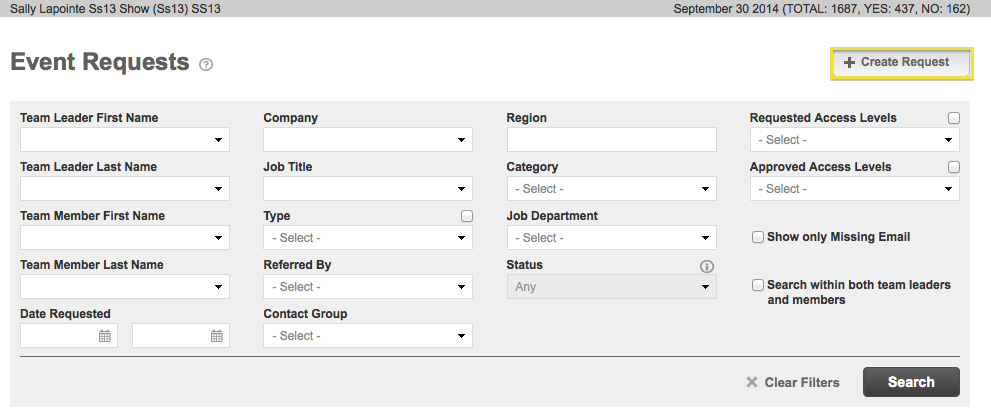
To manually enter a media request, click “Create Request”.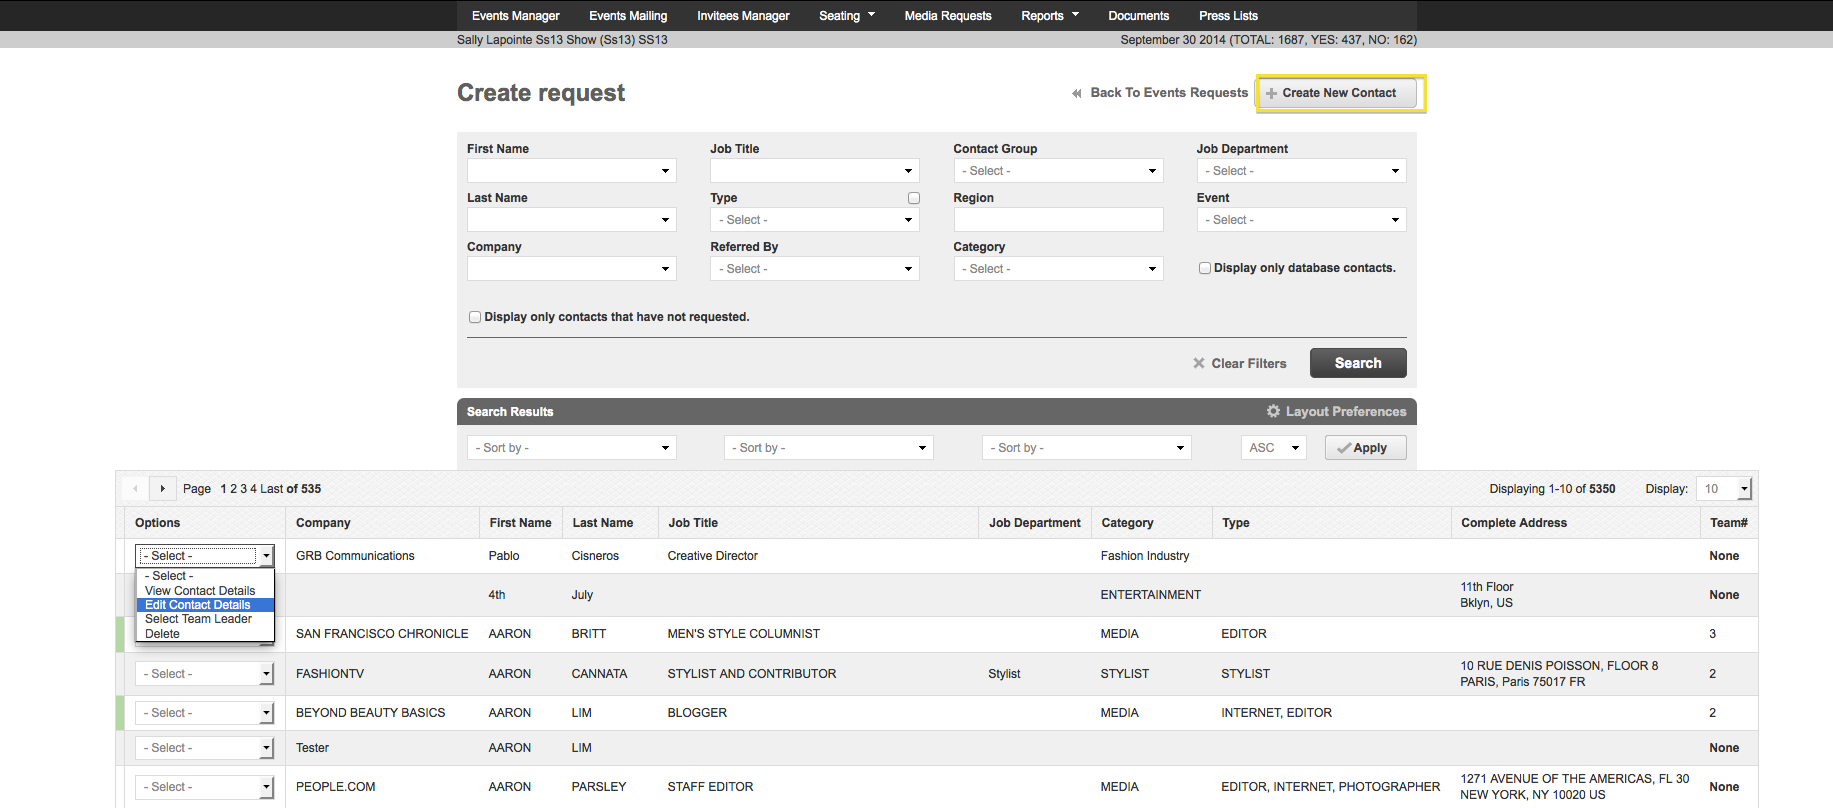
Search for the contact that is requesting media access
To add a contact, click on “Create New Contact”
To request media access for a contact, click the drop-down menu and choose “Select Team Leader”
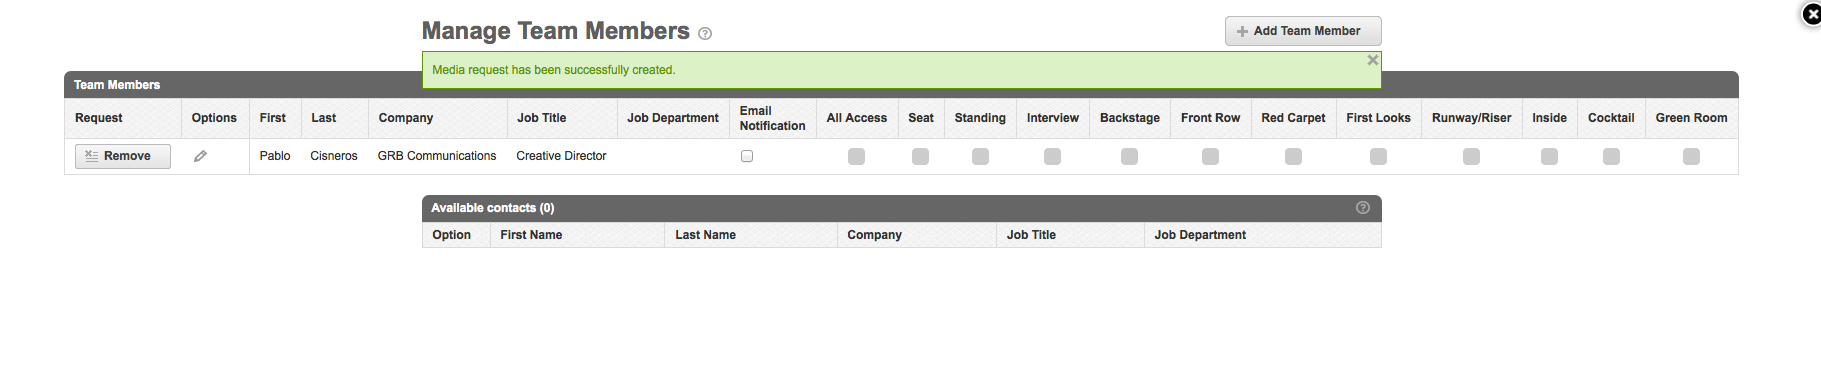
Choose any affiliates/crew members that are also requesting access to the event. Contacts from the same company will be displayed in the pop-up window
To mark that a contact has requested access, click the appropriate access level checkbox until you see the correct status i.e.
click twice to approve, three times to decline
You can add a crew member by clicking “Add Team Member”
- When complete click (X) to exit and return to the request page and click “Back To Requests” to return to the manage requests screen.
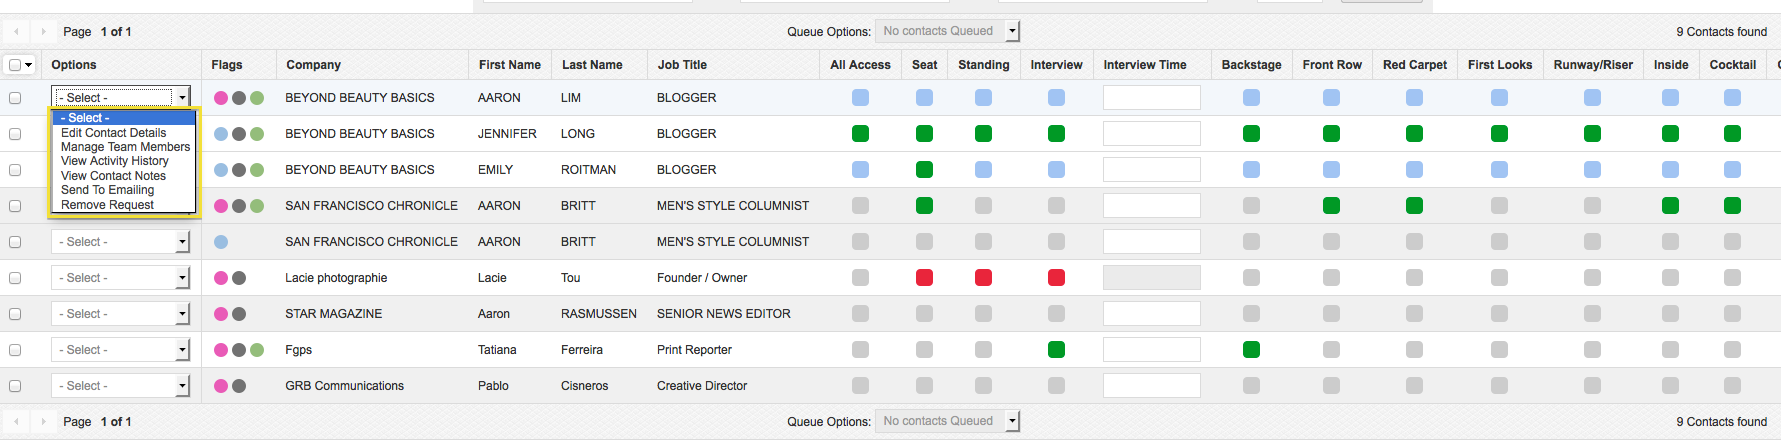
The drop-down menu next to each contact lets you edit, remove, manage crew, see system and user notes, and transfer to invitees.
Selecting ”Transfer To Invitee” adds the contact to the general event invitee list. Transfer to contacts will put a requesting contact into your contacts database.
“Send to Emailing” sends the contact to the emailing section where an approval/denial email can be sent to the requesting contact. Alternatively, you can queue a group of contacts at one time and send them to emailing. To edit email templates, go to the EVENTS MAILING tab.
- After queuing the contacts that you are approving and denying access to requests, click on “Send to Emailing” .
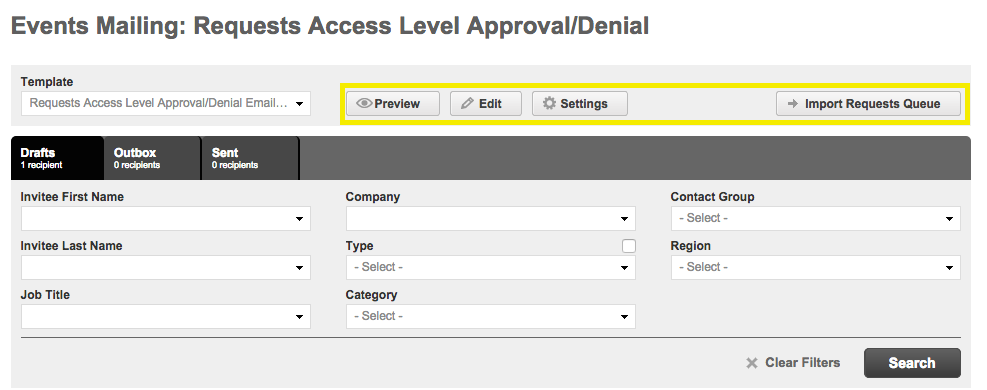
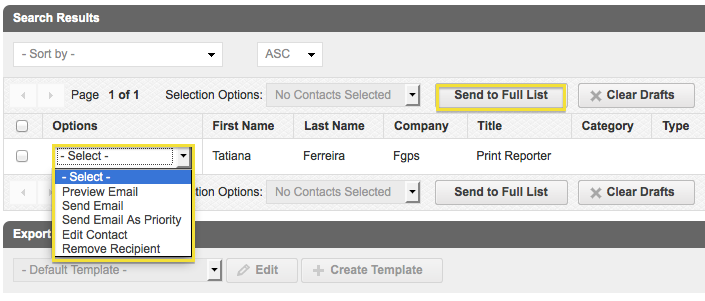
Click “Import from Queue” to import the queued event contacts
You can either send the emails to everyone in the queue by clicking “Send to All Found Contacts” or select the contacts you would like to send the invitations to and click “Send to Selected Contacts”