
Step By Step Guide:
New concepts for Beta Galleries are the Library & Showroom and their definitions are as follows:
- A Library is internal facing and it is for you to manage and store your digital assets - past campaigns, collections. Essentially a digital archive for all your digital content (videos and images).
- A Showroom is where you can build a beautifully curated collection of images and videos to share with your customers, press etc so they can explore more about your collection.
This article will cover the creation of your Library. If you want to learn more about creating Showrooms please click here.
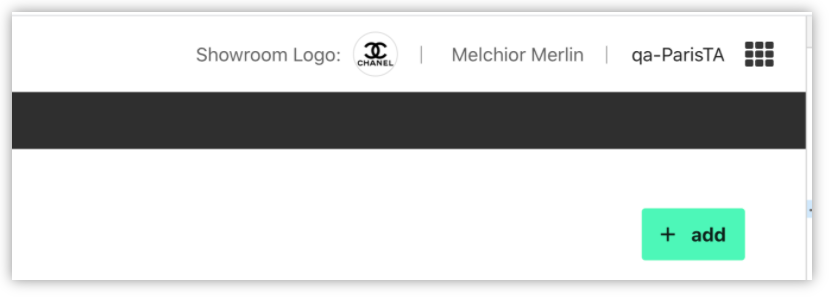
Step 0 (Client or LM Side): Choose a Logo for your showrooms
Before creating your library or showrooms, it is a good idea to initialize the logo that will be used in all your showrooms. Click on the default Galleries logo that appears in the header of the application, and upload one from your computer.
Try to select a high-quality image, in a horizontal format preferably. The logo will be displayed over a white background, so if you have a light and a dark version, choose the dark version of the logo.
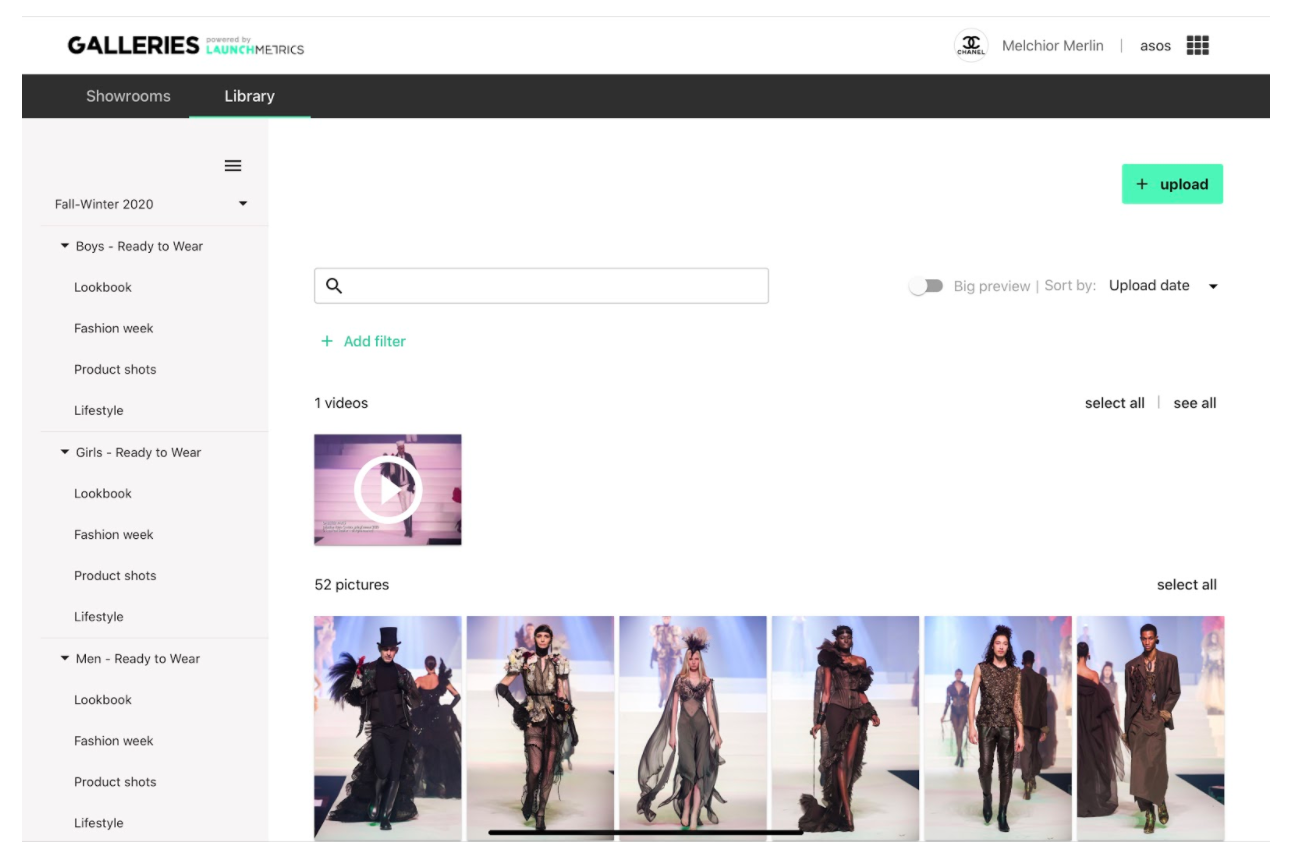
Step 1: Create a Library Structure
First, before creating your first Showroom, you will be prompted to create your Library structure. This will help store & organize your media.
For example, your Library structure could resemble this:
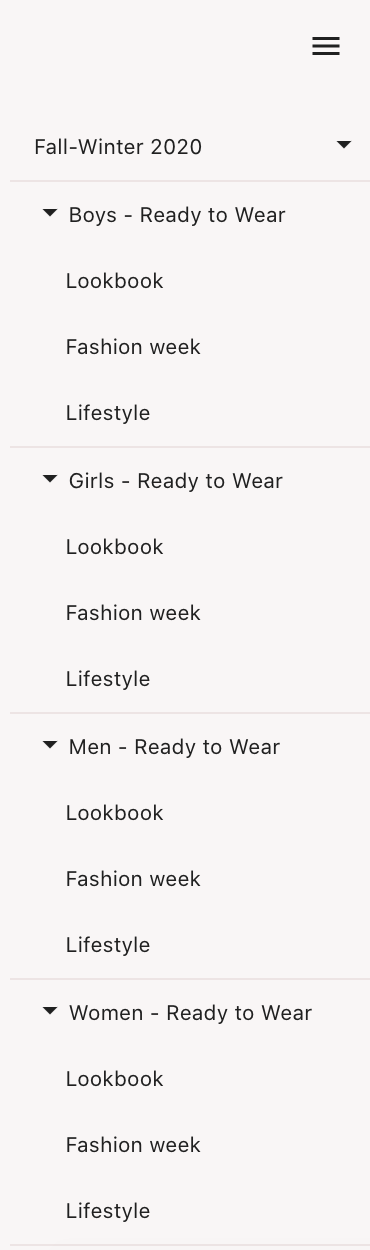
The Library structure hierarchy is Season (Fall Winter 2020), Collection (Boys RTW, Girls RTW, Men RTW and Womens RTW), Album (Lookbook/Fashion Week/Lifestyle).
Welcome Screen:
Create a season for your Library. The season is the highest level by which your Library will be organized.
Then create a collection within your Season. You can create a standalone collection, like 'Haute Couture' (which is then unisex, since you do not check any gender checkbox), or create a range of collections for different genders (for example: if your collection name is 'Ready to Wear', and you select both 'Women' and 'Men' checkboxes, we will automatically create two collections, one named 'Women - Ready to Wear', and another called 'Men - Ready to Wear', as shown below):
Create Albums for your collection. You can pick from some pre-made album names (which are specific to your industry, so as to go faster), or create your own album names at will, using the “Add a custom album” button.
Click on validate, and your Library structure will be created. You are now ready to upload media to your Library.
Note: As of writing this, it is difficult to change the structure of the Library, or to create new seasons/collections/albums. This will of course be possible soon, through upcoming developments. This means that, for now, you should take care when creating your Library so that you get it right the first time.
Step 2: Import Content
Now that your Library is created, time to populate it with your digital content (images and video).
Firstly, click on Upload in the top right-hand corner.
A right-hand-side panel opens. Choose where your media should be uploaded (Season, Collection, Album).
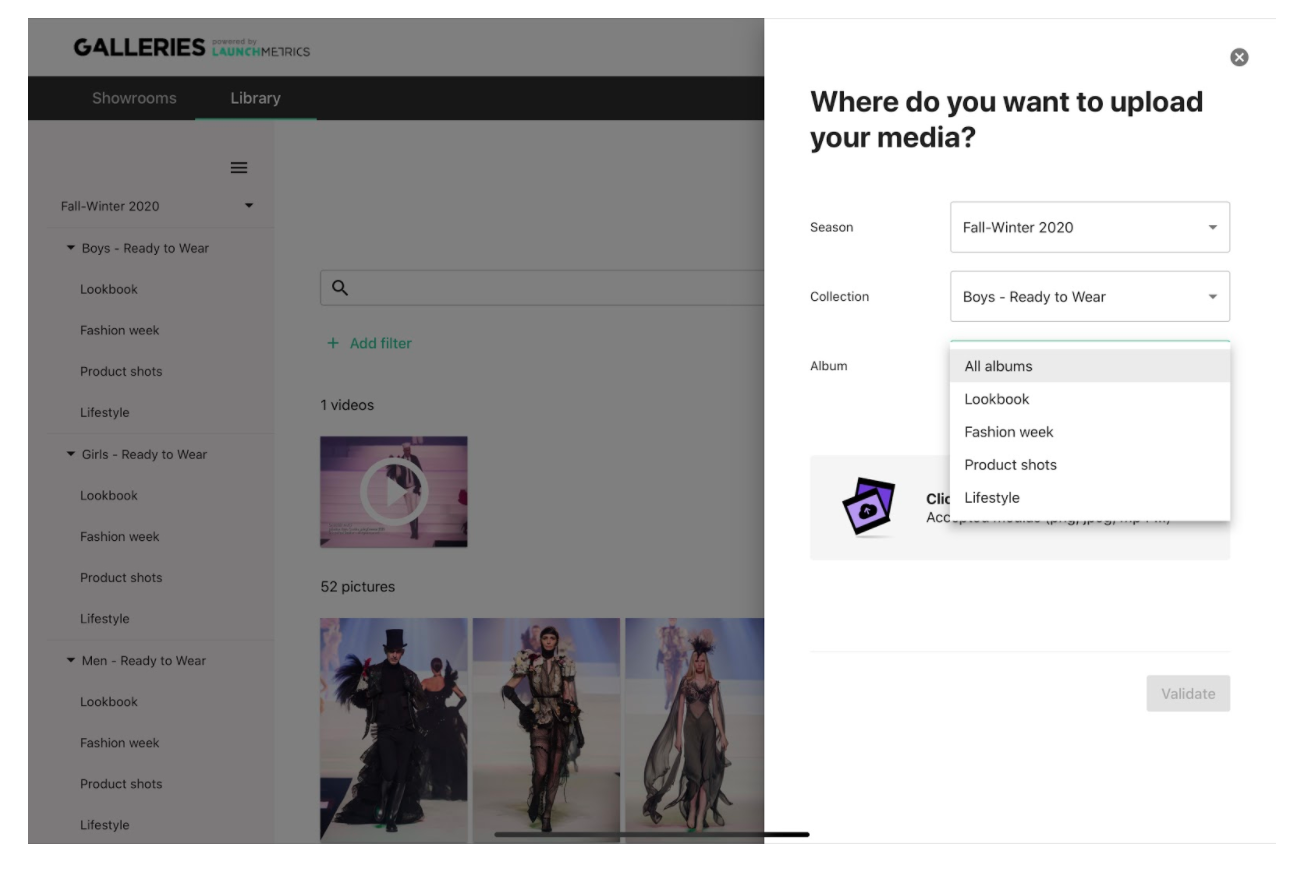
Note: If you have already selected a specific season, collection, or album, the fields will be pre-filled.
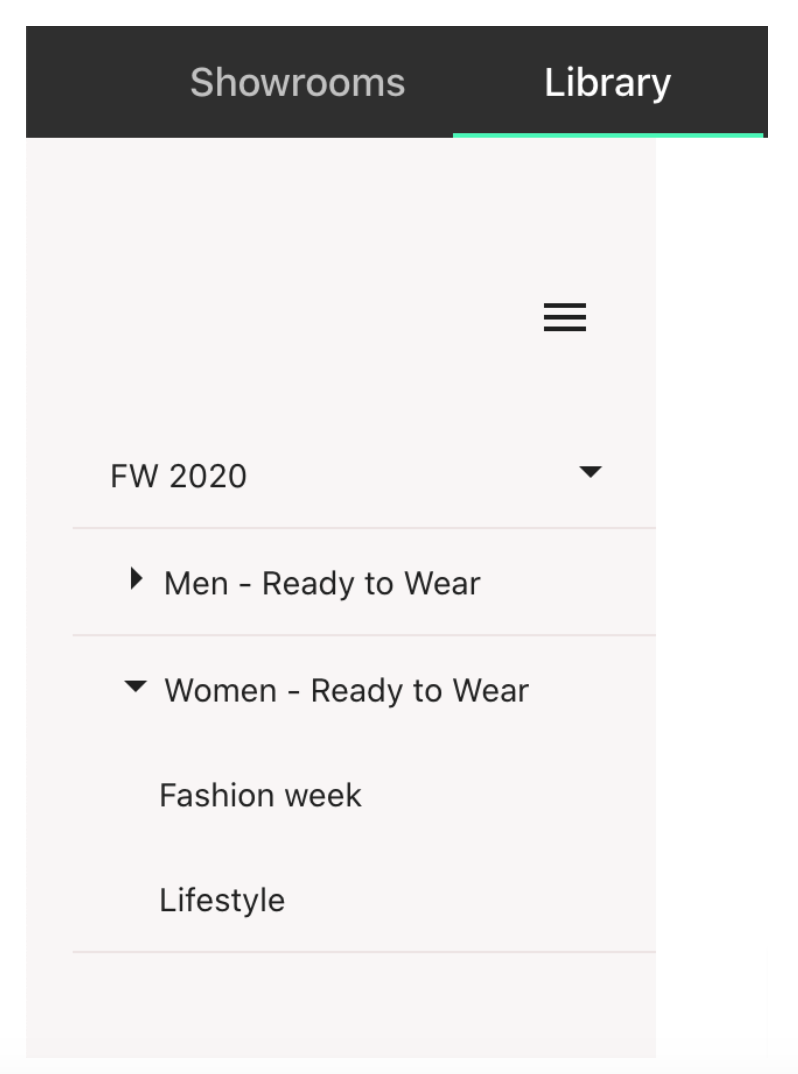
For example: here the 'Lifestyle' Album in the 'Women - Ready to Wear' Collection is selected, so these fields will be pre-filled in the upload panel.
Click on the upload box to select images and videos from your computer (a classic window for selection will open). For now, you cannot upload zip files, you have to select each item you want to upload (selecting multiple items with the SHIFT key for example):

Once your media has been selected, you will see what will be uploaded. It is still possible to change them at this step
Once validated, the media will start uploading into your Library. A progress box will show you the progress and you can move on to anything else in the meantime. At the end of the upload, you will see a notification box appear to tell you that the upload is complete:

Step 3 (optional): Manage your media
Inside your Library, you can:
- Select images/videos. Either by clicking on the top left-hand corner of the image or by selecting all media at once
- Download a zip file containing all selected media. Either the original Full Definition file or a screen (web) quality version of it.
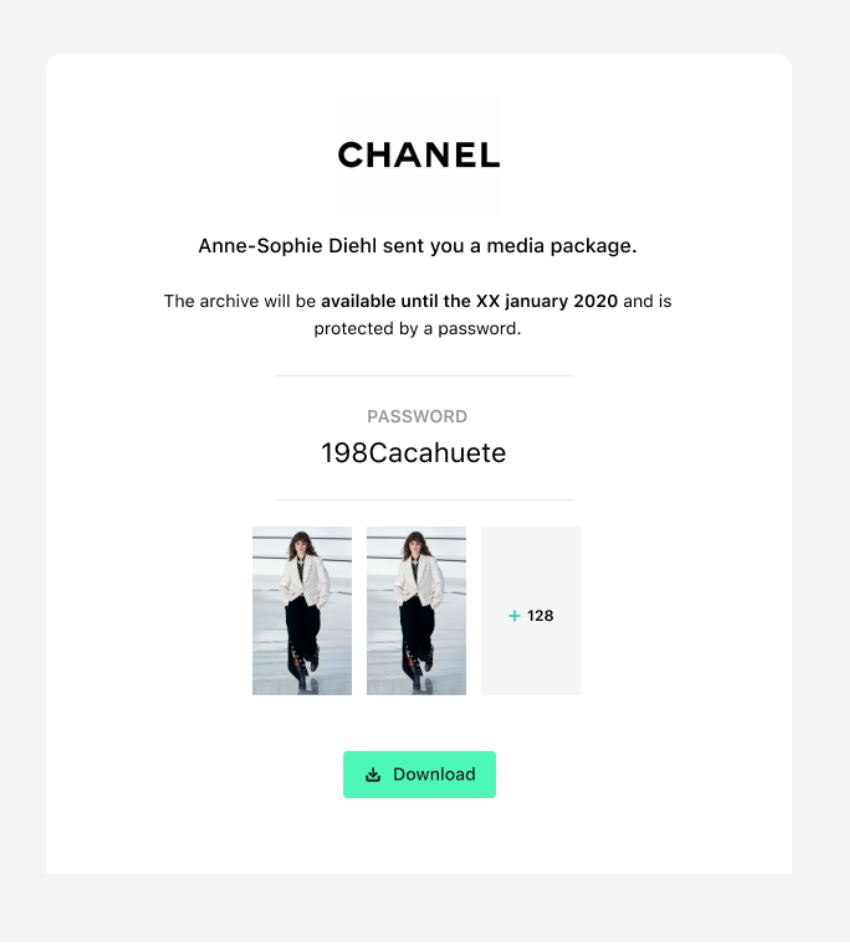
- Send the selected media as a package to specific recipients in a manner similar to a file transfer site like Wetransfer: Select recipients (email addresses), type a message, select the quality of the media, and whether they are protected by a watermark, and select the security options (how long the package stays valid for, and whether it is protected by a randomly generated password)
Then the recipients receive an email like this one:
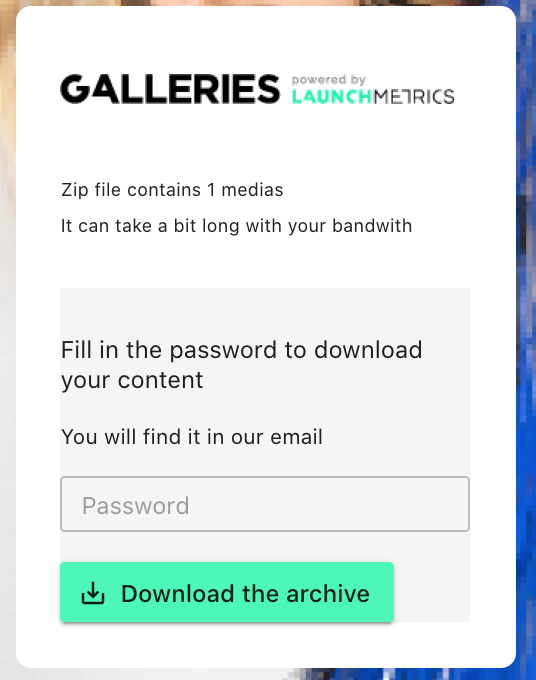
Which then takes them to a page like this:
Finally, you can delete selected media if you wish. They will be removed from the Library. One thing to watch out for is if you are generating a new shared link to be sent by email with these media (see the previous step), they won’t be available on the final ZIP because they were deleted.