
WHAT YOU WILL LEARN
This article contains all the information you need to understand :
- How to access the tags of an image
- How to add or modify the tags of an image
- How to create a new tag
- How to delete custom tag
- How to tag several images simultaneously
- How to import tags from a sample
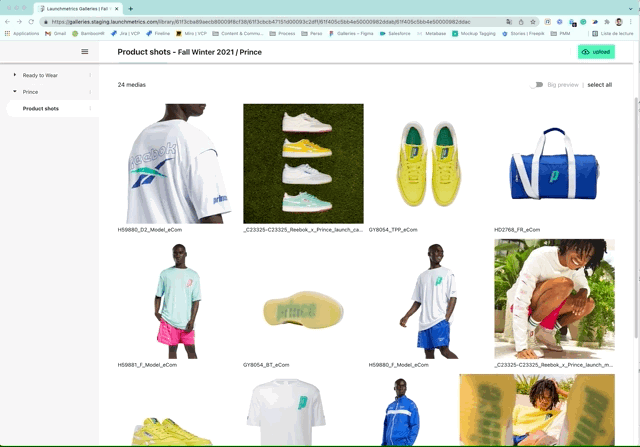
ACCESSING TAGS
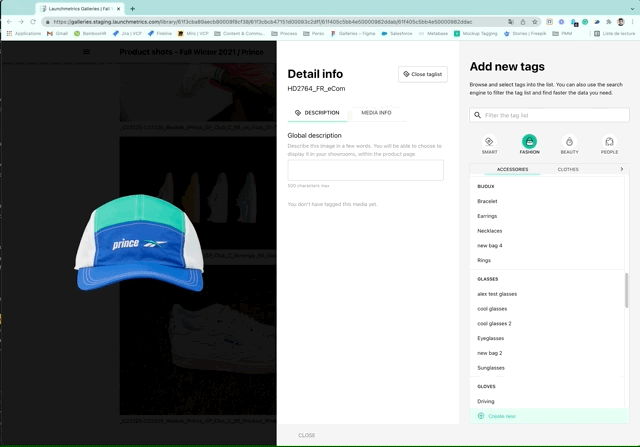
In Galleries, all tags are attached to images. Clicking on an image opens it in "full screen" mode and displays a panel called "detail info" next to it showing all the tags attached to that image.
ACCESSING TAGS
1. From the detail Panel
Global description
The global description field is a free text field limited to 500 characters. It is intended to contain everything that the tags cannot, and to give an "inspirational" and engaging feel to the collection.
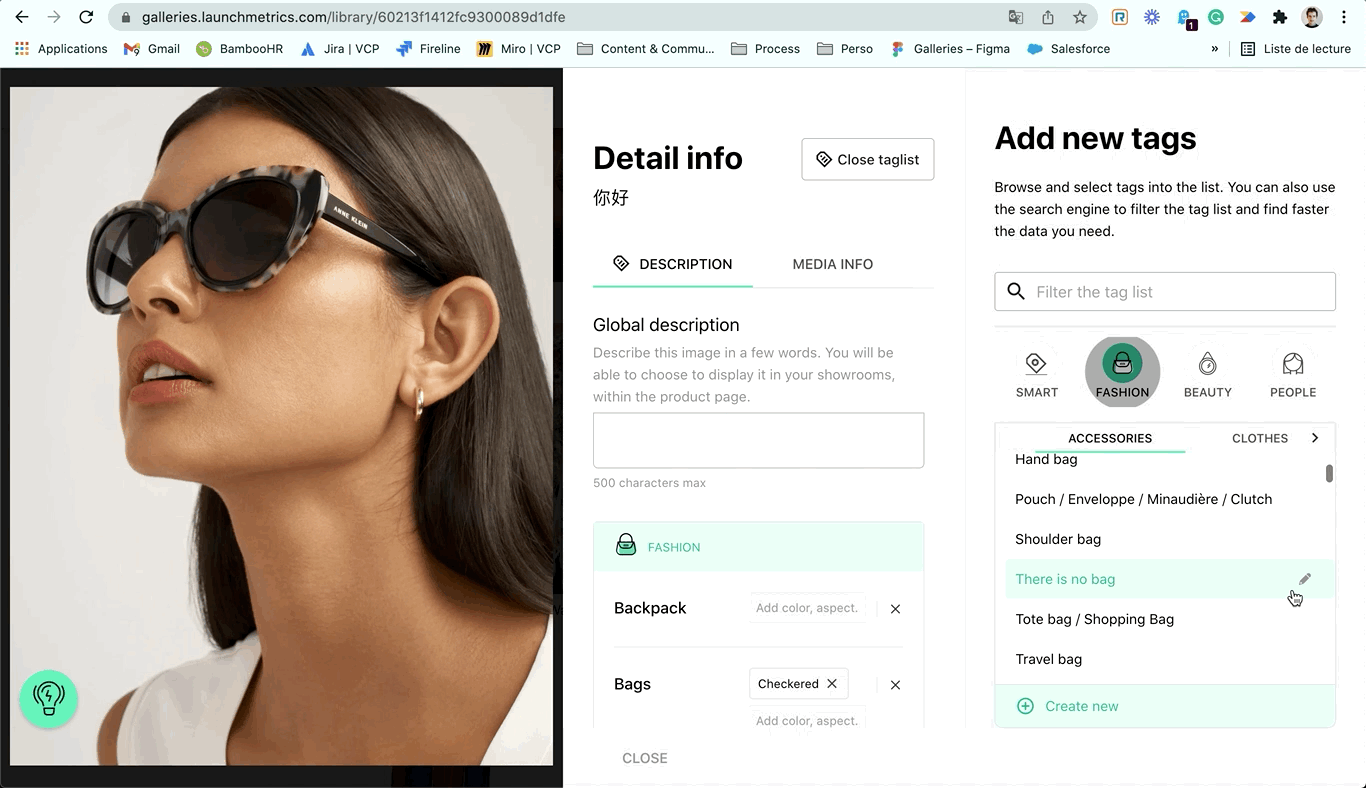
Describing an existing tag
A user can add description elements to a tag. You can specify :
- The colour(s)
- The material(s)
- Its appearance
- The patterns
To do so, you just have to click next to it and choose the tags to describe the object. In order to do so you can type in the description bar or browse to find what you're looking for.
⚠️ Please note that not all tags are described in the same way. It is possible to describe all clothing and accessories as well as beauty products in this way. However, it is not possible to describe people or facial features.

Removing tags
To delete a tag, simply click on the cross next to it. We can delete a whole tag and all its elements describing it, or just one element of description. The operation will only be taken into account if the user saves his modifications at the end.

2. From tag list
Access the Tag list
To access the taglist, simply click on "see taglist" at the top right of the information panel

Adding a new tag
To add a tag to an image, simply click on it. You can add the same tag as many times as you want (the same object can be present several times in the same image). After adding a tag, you will automatically find yourself in the posture to describe it with the elements at your disposal (see above colors, aspects, pattern...)

Creating a new tag
You may not find the specific tag they were looking for. You can then create it.
When you create a tag, you must put it in one of the existing macrocategories of tags (trousers, dress, eyes makeup, etc.) Today it is not possible to create a new tag category, but you have access to a form from which we can consider your request and add branches to the Galleries tag library.
When you try to create an existing tag, you are blocked and we tell you where the tag is located.
Today we are asking for the tags to be described in English. In the future we plan to be able to translate them. In any case they will be displayed as they are in the showrooms!
After creating a tag, you are automatically taken to the interface allowing you to describe the tag (colors, aspects etc.)
DELETE CUSTOM TAGS
Any created custom tag from our user can be deleted. In the tag list our user can click on the small "pen" icon in order to re-open the tag creation panel. On this panel they'll find a Remove button enable them to delete the tag. When deleting it they will also remove the tag from the image it was originally applied. Our user will see a confirmation block indicating them how many item will be affected by this operation.
MULTIPLE IMAGE TAGGING PROCESS
See tags on multiple images
When you select multiple images in library, it is possible to click on the "tag" button at the top right of library. The detail panel opens with the same layout as for a single image. As not all the selected images share the same tags, we only show the tags that are in common. The list is therefore smaller than that for each individual image.
Delete image from selection
It is possible to delete an image from a multi-selection. To do this, simply delete them from the image list on the left.
Tag multiple images
Once this panel is open, it is possible to tag the images. To do this, the process is exactly the same as for a single image! See above.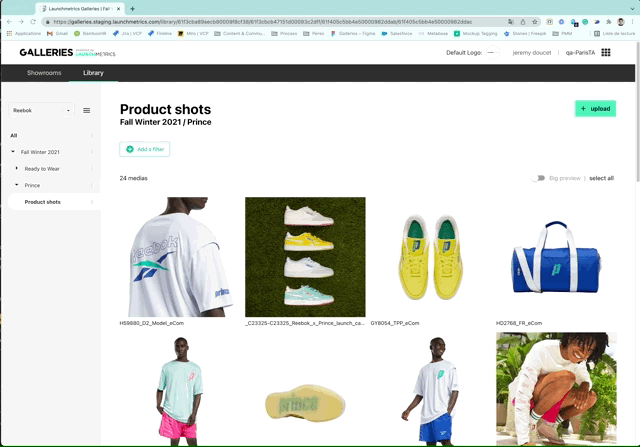
TAGGING ONE BY ONE
Context
In order to speed up the process of tagging, you can also decide to tag all images one by one without closing the tagging interface. This method is particularly efficient when you have a lot of different images to tag individually in a row.
Access and behaviour
After selecting your images within your Library, you'll now have the possibility to select "Tag one by one". By doing so the tagging interface opens with a progress tracker that covers all selected images. You'll start by tagging your first image selected. Once fully tagged you can move on to the next one by just clicking on the right arrows at the bottom. You won't have any loading time and can start tagging the next one quicker.
At any moment you can decide to close the interface. If you have made any modifications you'll be asked if you want to keep them or discard them all.
Once done, you can click on "Finish" and all tags will be applied to your selected images.
TAGS FOR SAMPLES
It would be a shame to have to completely retag images that have already been retagged in samples. There's no need!
When importing samples into Galleries, the tags come along with them. If they are not present, or not current, just click on the 'refresh' button in Galleries.
In the same way as an image, you can decide to tag your images from Samples.
These tags are in addition to those of samples.
Tagging samples with Galleries will allow you to consistently tag assets between images and samples and to use filters in showrooms.