
What does it do?
Just like any other barcode printer, the Zebra ZD500R or ZD621R printers are able to print text & barcodes on a label. As part of the RFID process, it is also able to read any pre-encoded RFID number on each tag, associate it to the sample being printed all in one print job. This process is called "commissioning".
This allows any user to simply "Print" a barcode and the association of the tag number to the sample is done by the printer.
Steps Overview
- Install the printer on your computer
- Install & Run Zebra BrowserPrint
- Configure your Print Setup page
- Perform a Media & RFID Calibration on the printer
- Test your printer
How to set up your RFID Printer
Step 1: Install the Printer onto your machine
For Macs
The ZD621R printer can be installed natively via System Preferences. NOTE: This method has been verified only with the ZD621R model printer. If you are using any other model we recommend using the CUPS method. (link below)
How to Install the ZD621R on a Mac via System Preferences:
For PCs
Follow the link below to learn how to install a USB printer via PC
Step 2: Install the Zebra BrowserPrint app
This app allows your computer to communicate and send print jobs to the Zebra printer. It is required to be running whenever you are printing.
- Download and install the Zebra BrowserPrint app.
- BrowserPrint for Windows
-
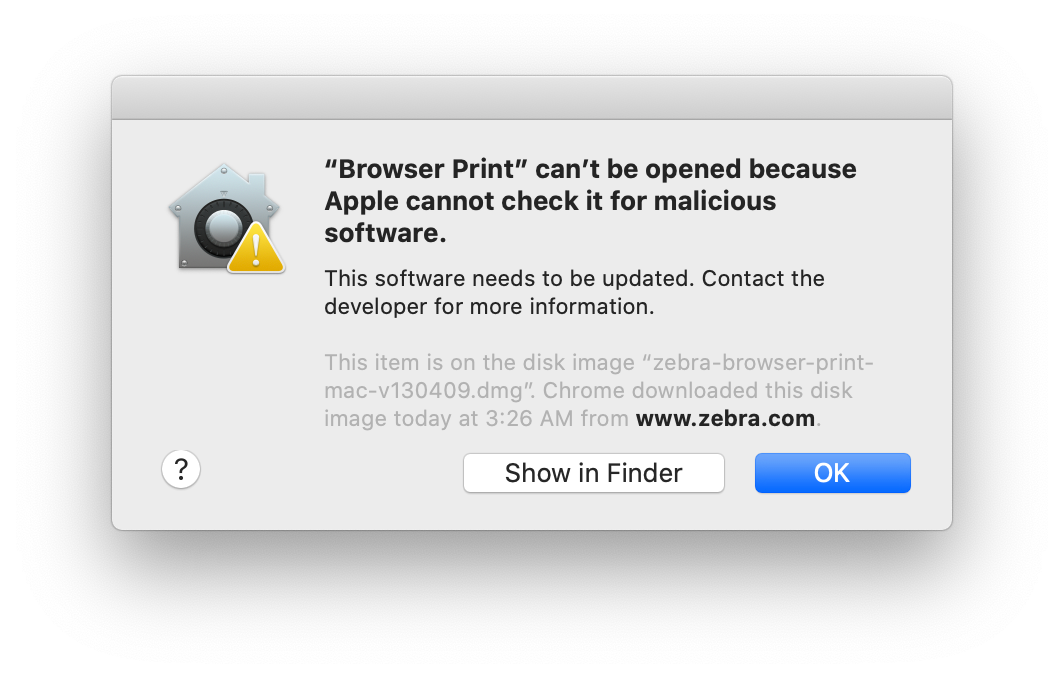
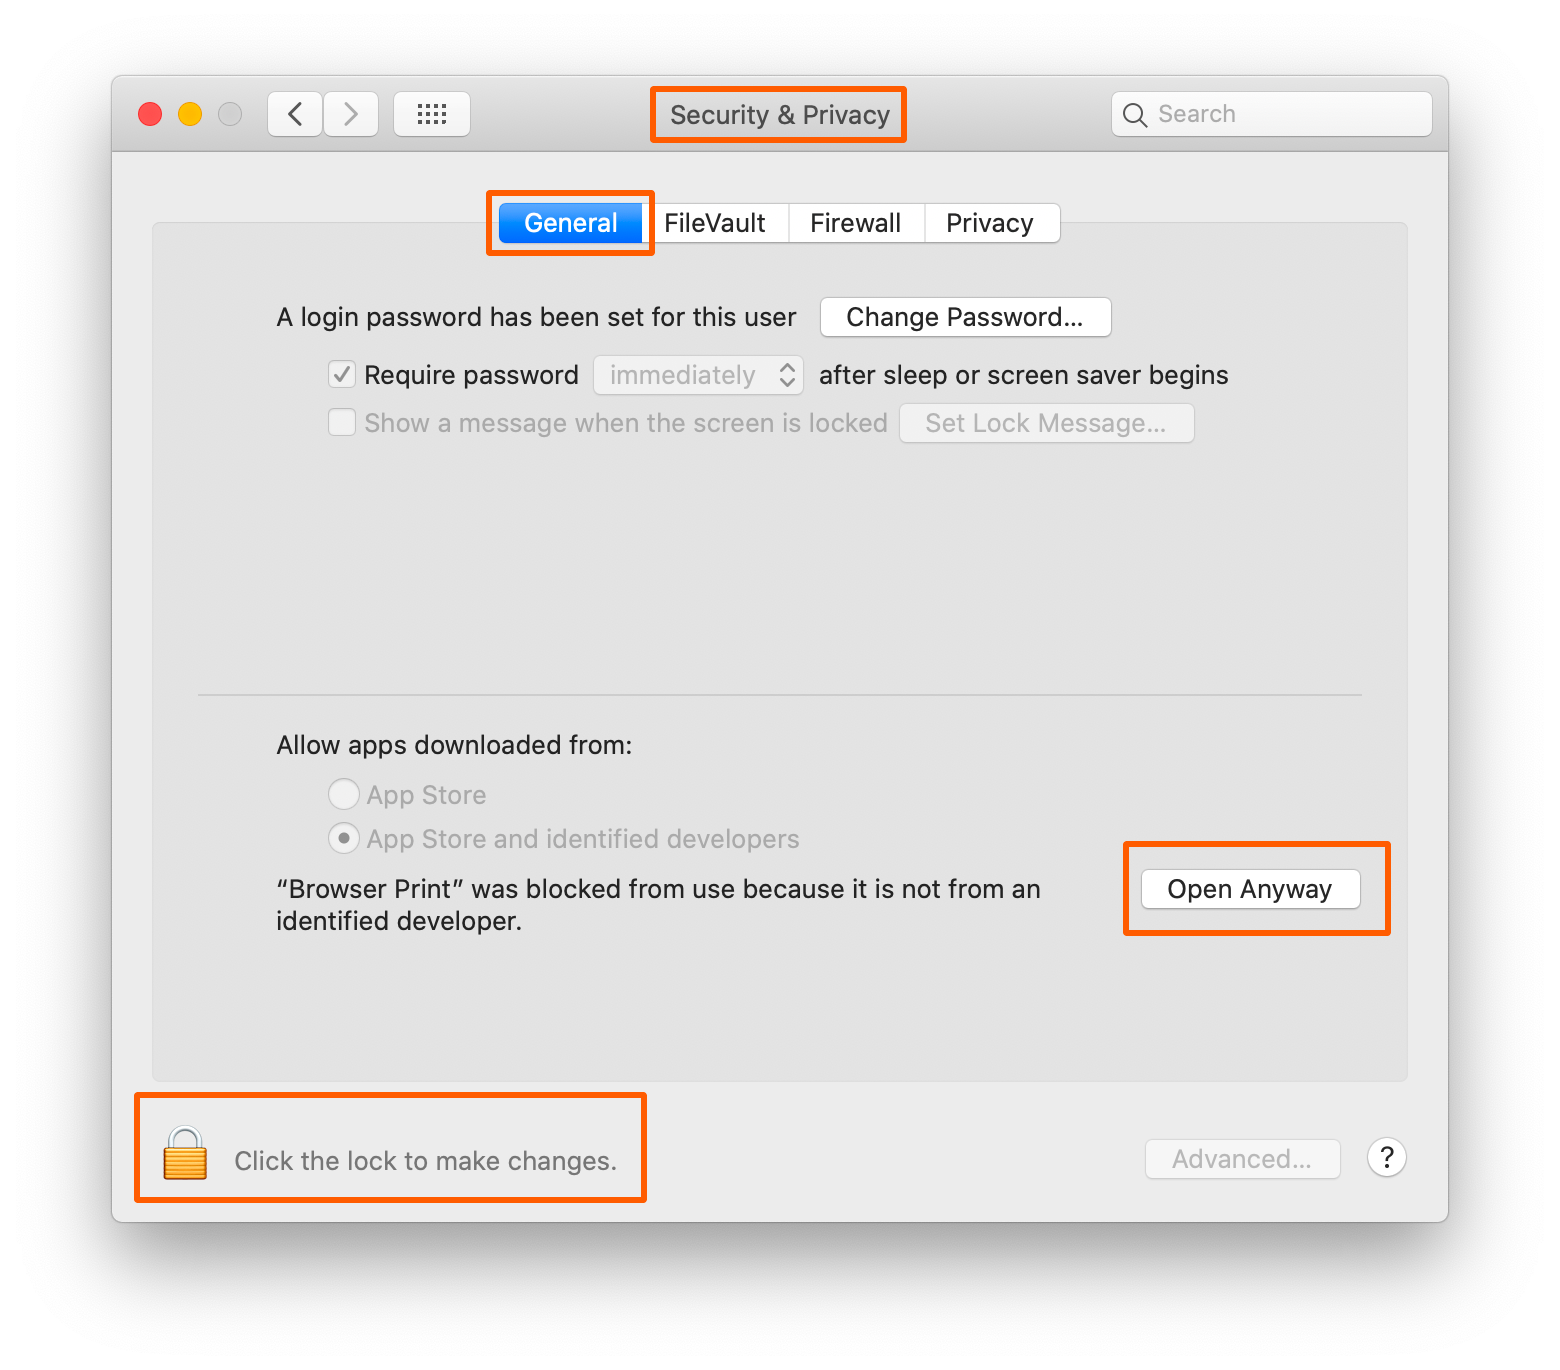
BrowserPrint for Macs — On Macs, when you attempt to open the app, you may encounter this error. If so, go to System Preference on your computer > Security & Privacy > Unlock on bottom left > Open Anyways
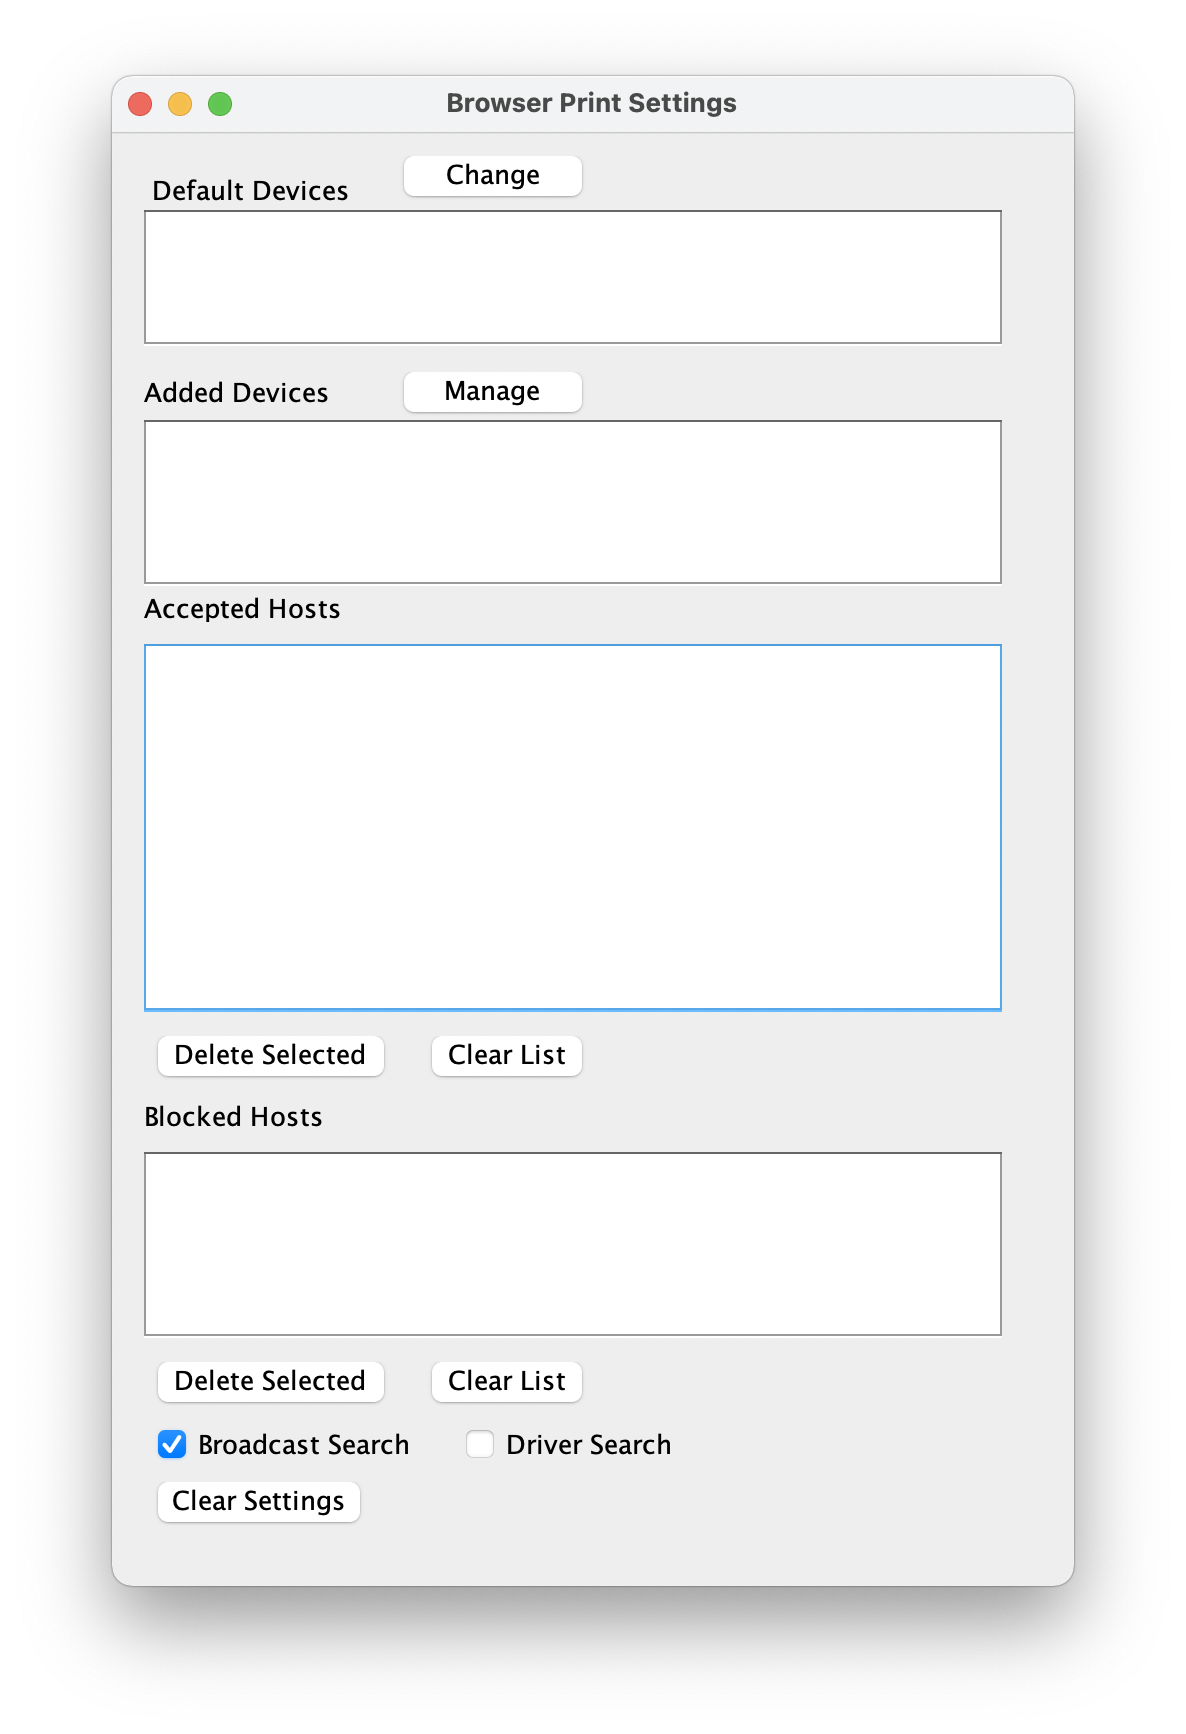
- Once installed, ensure the BrowserPrint app is running.
You should see a settings window appear on your computer and a Zebra icon in your computer's menu. (Top right menu for Macs, bottom right for PCs)
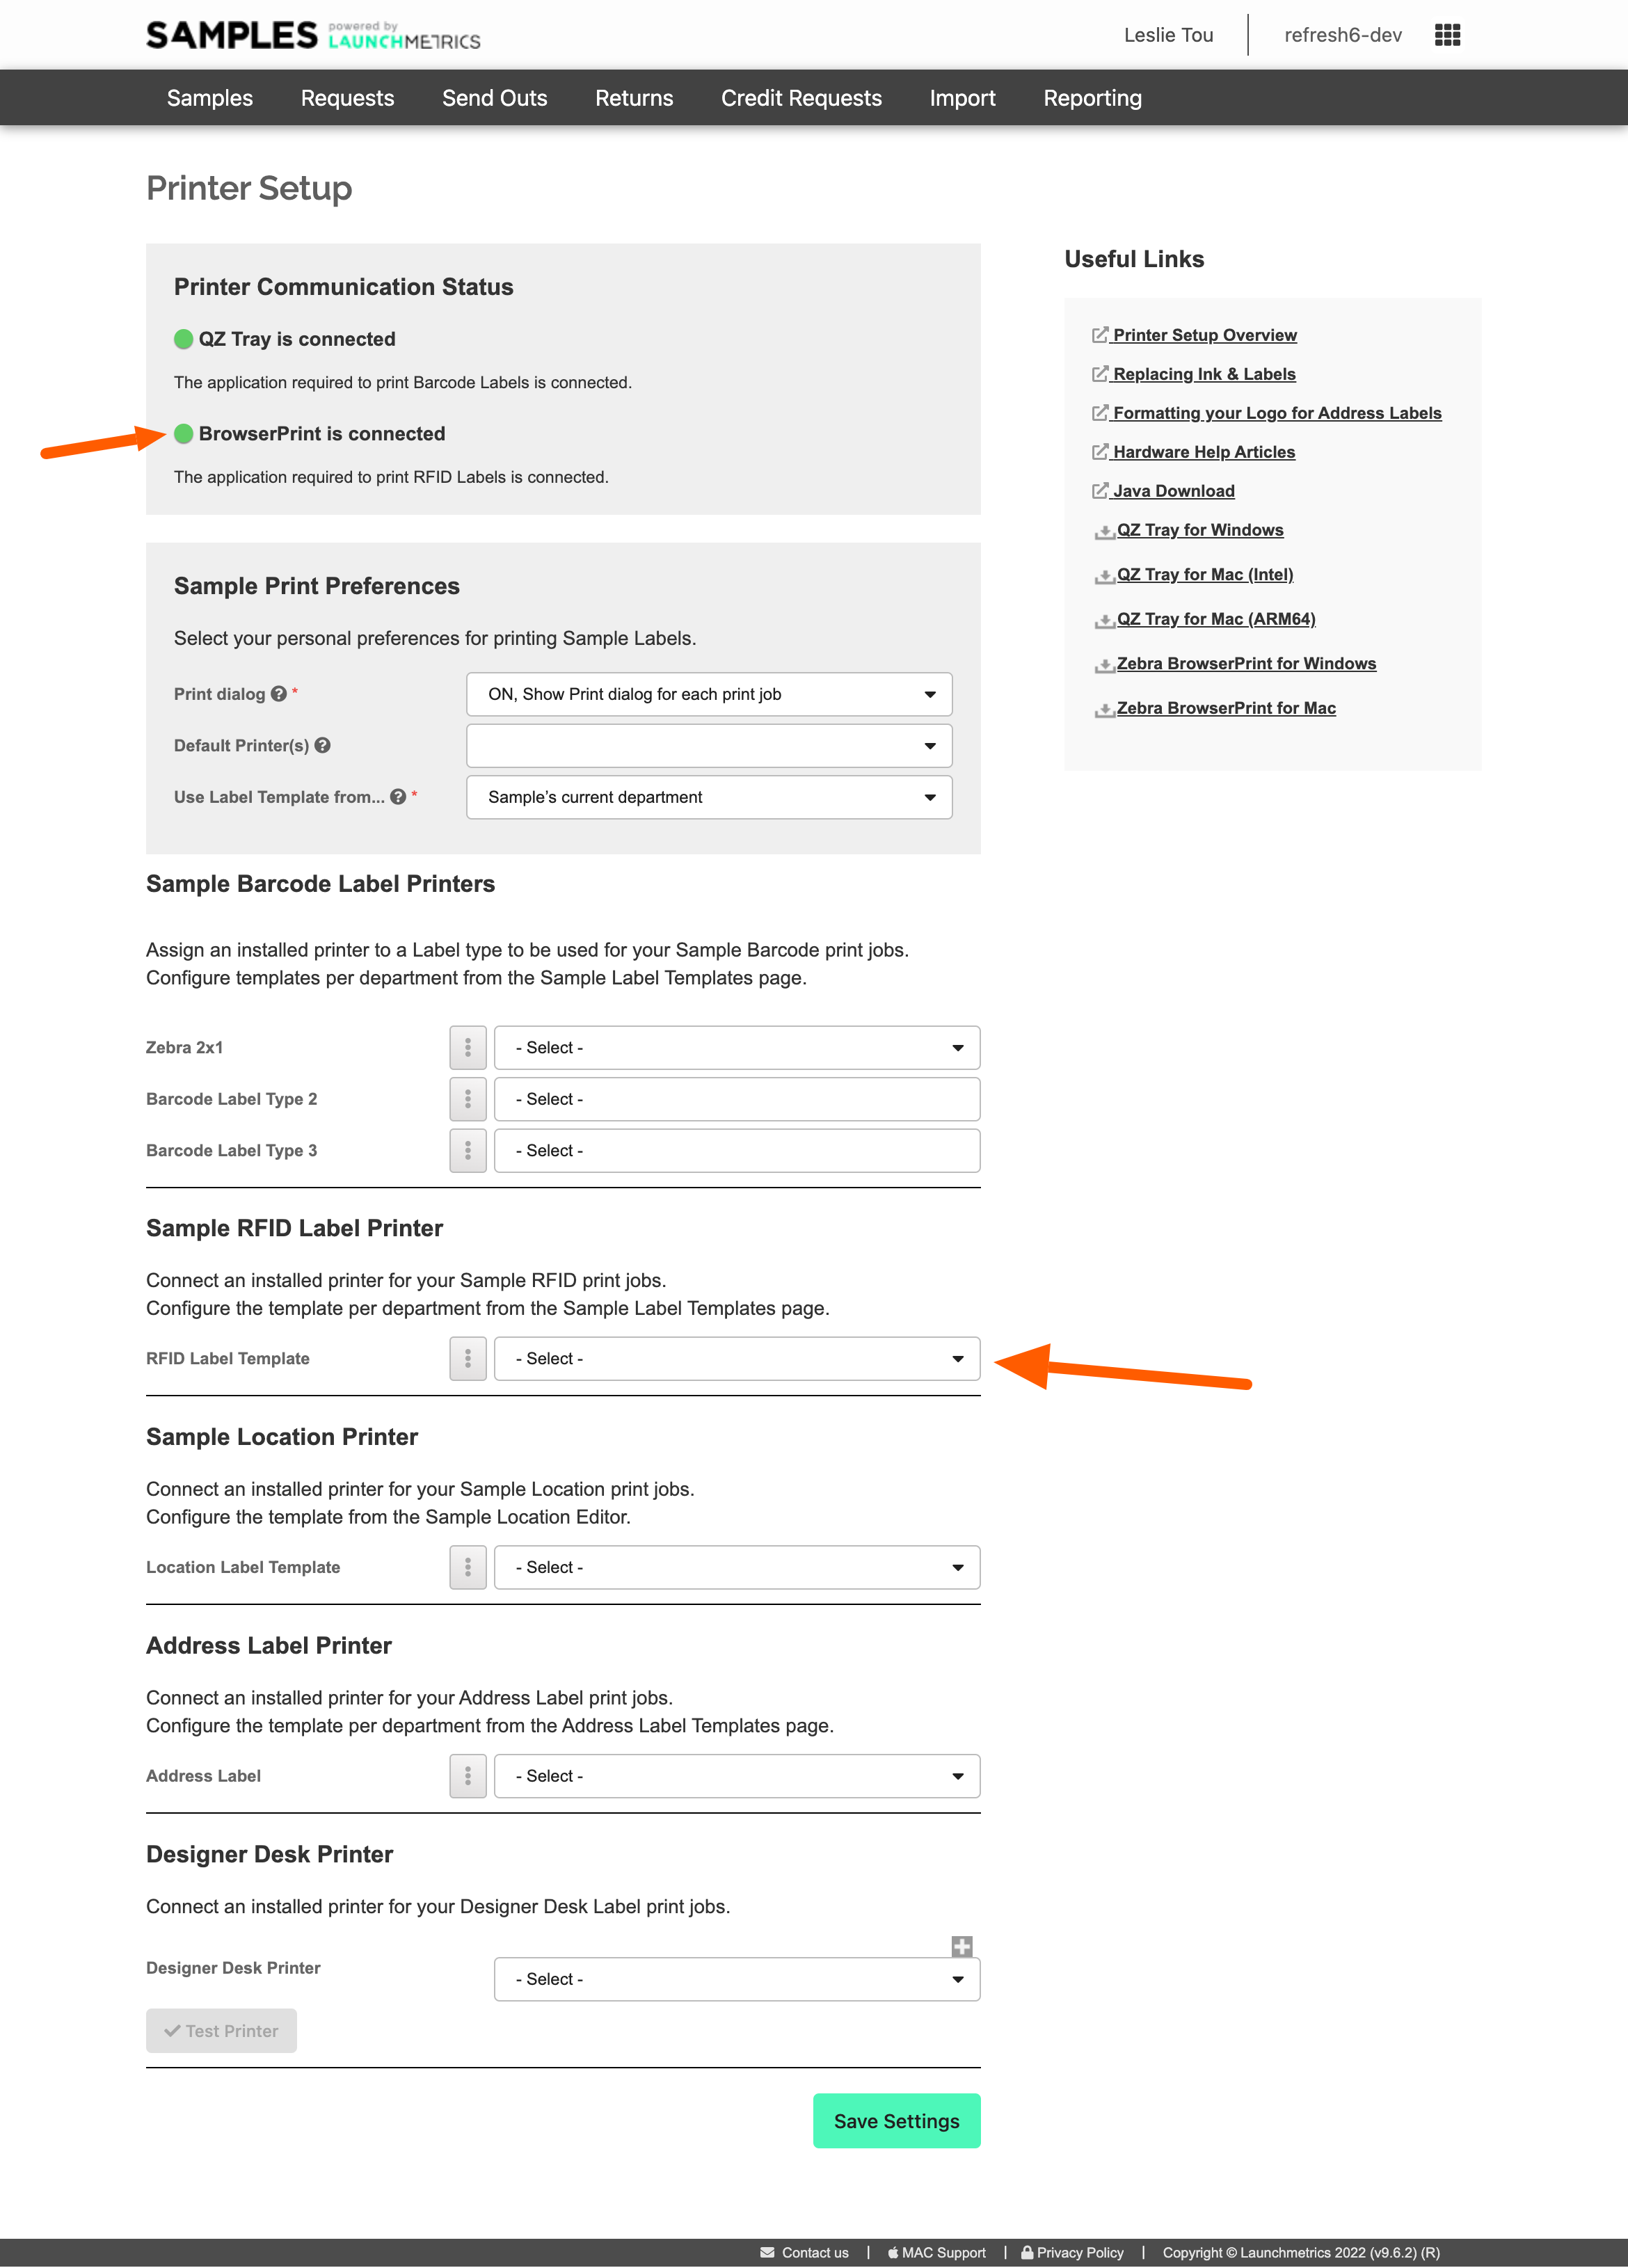
Step 3: Printer Setup Page
In your browser, go to the Samples app > user menu > Printer setup page
- A pop up window should appear asking you to give permission to access the printer.
Sometimes this pop up gets hidden behind the browser, it is important to find it or the system will not be able to communicate through BrowserPrint.
Select Yes.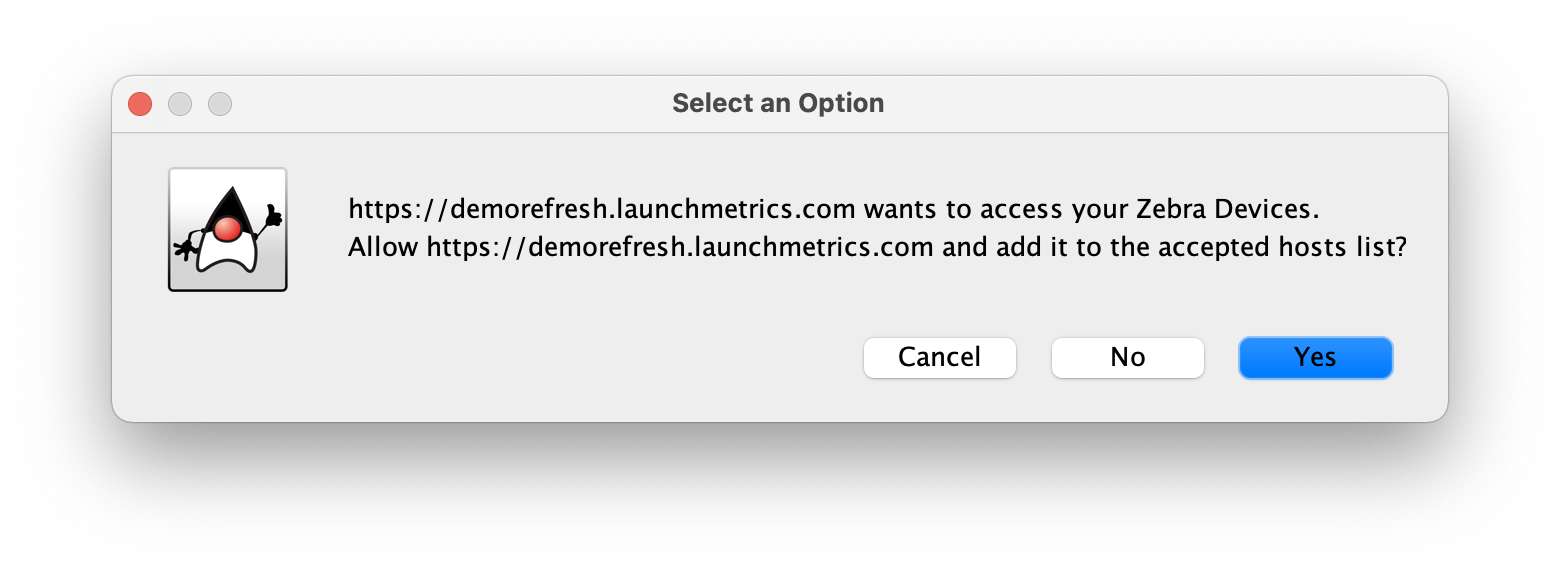
- Then check that the status light for BrowserPrint is green. If it is not green then insure that the app is running and that you have accepted the prompt shown above.
- Go to the Sample RFID Label Printer section and select your installed RFID printer in the dropdown menu.
- Optionally you can choose this printer as your default printer under the Sample Print Preferences screen.
- Optionally you can choose this printer as your default printer under the Sample Print Preferences screen.
- Click Save Settings
Step 5: Perform a Media & RFID Calibration
There are several cases in which you may need to perform a Media + RFID Calibration.
- If you are printing RFID labels for the first time on a new printer
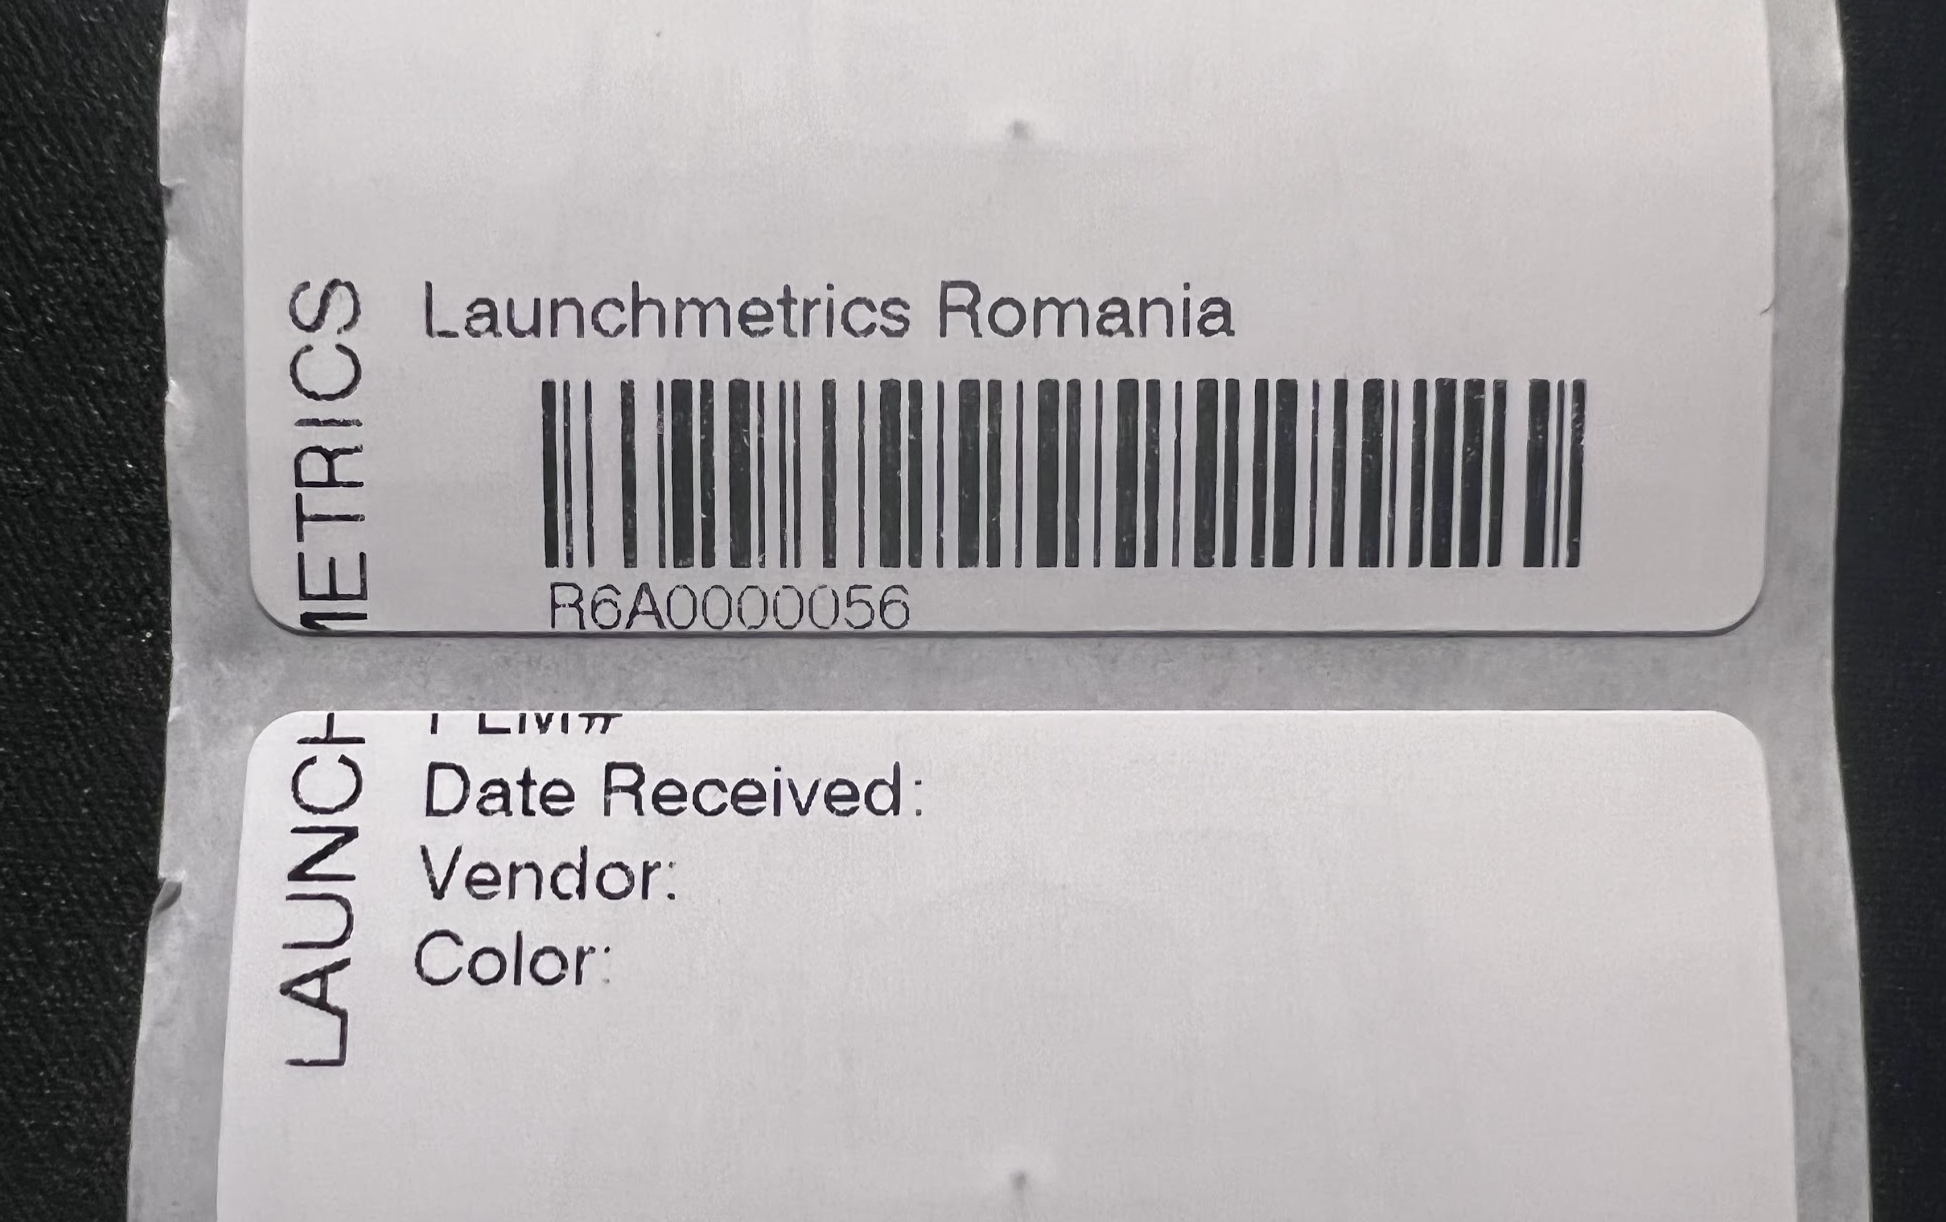
- If you have changed to a different type of RFID label (could be a different size, or different chip or antenna, etc)
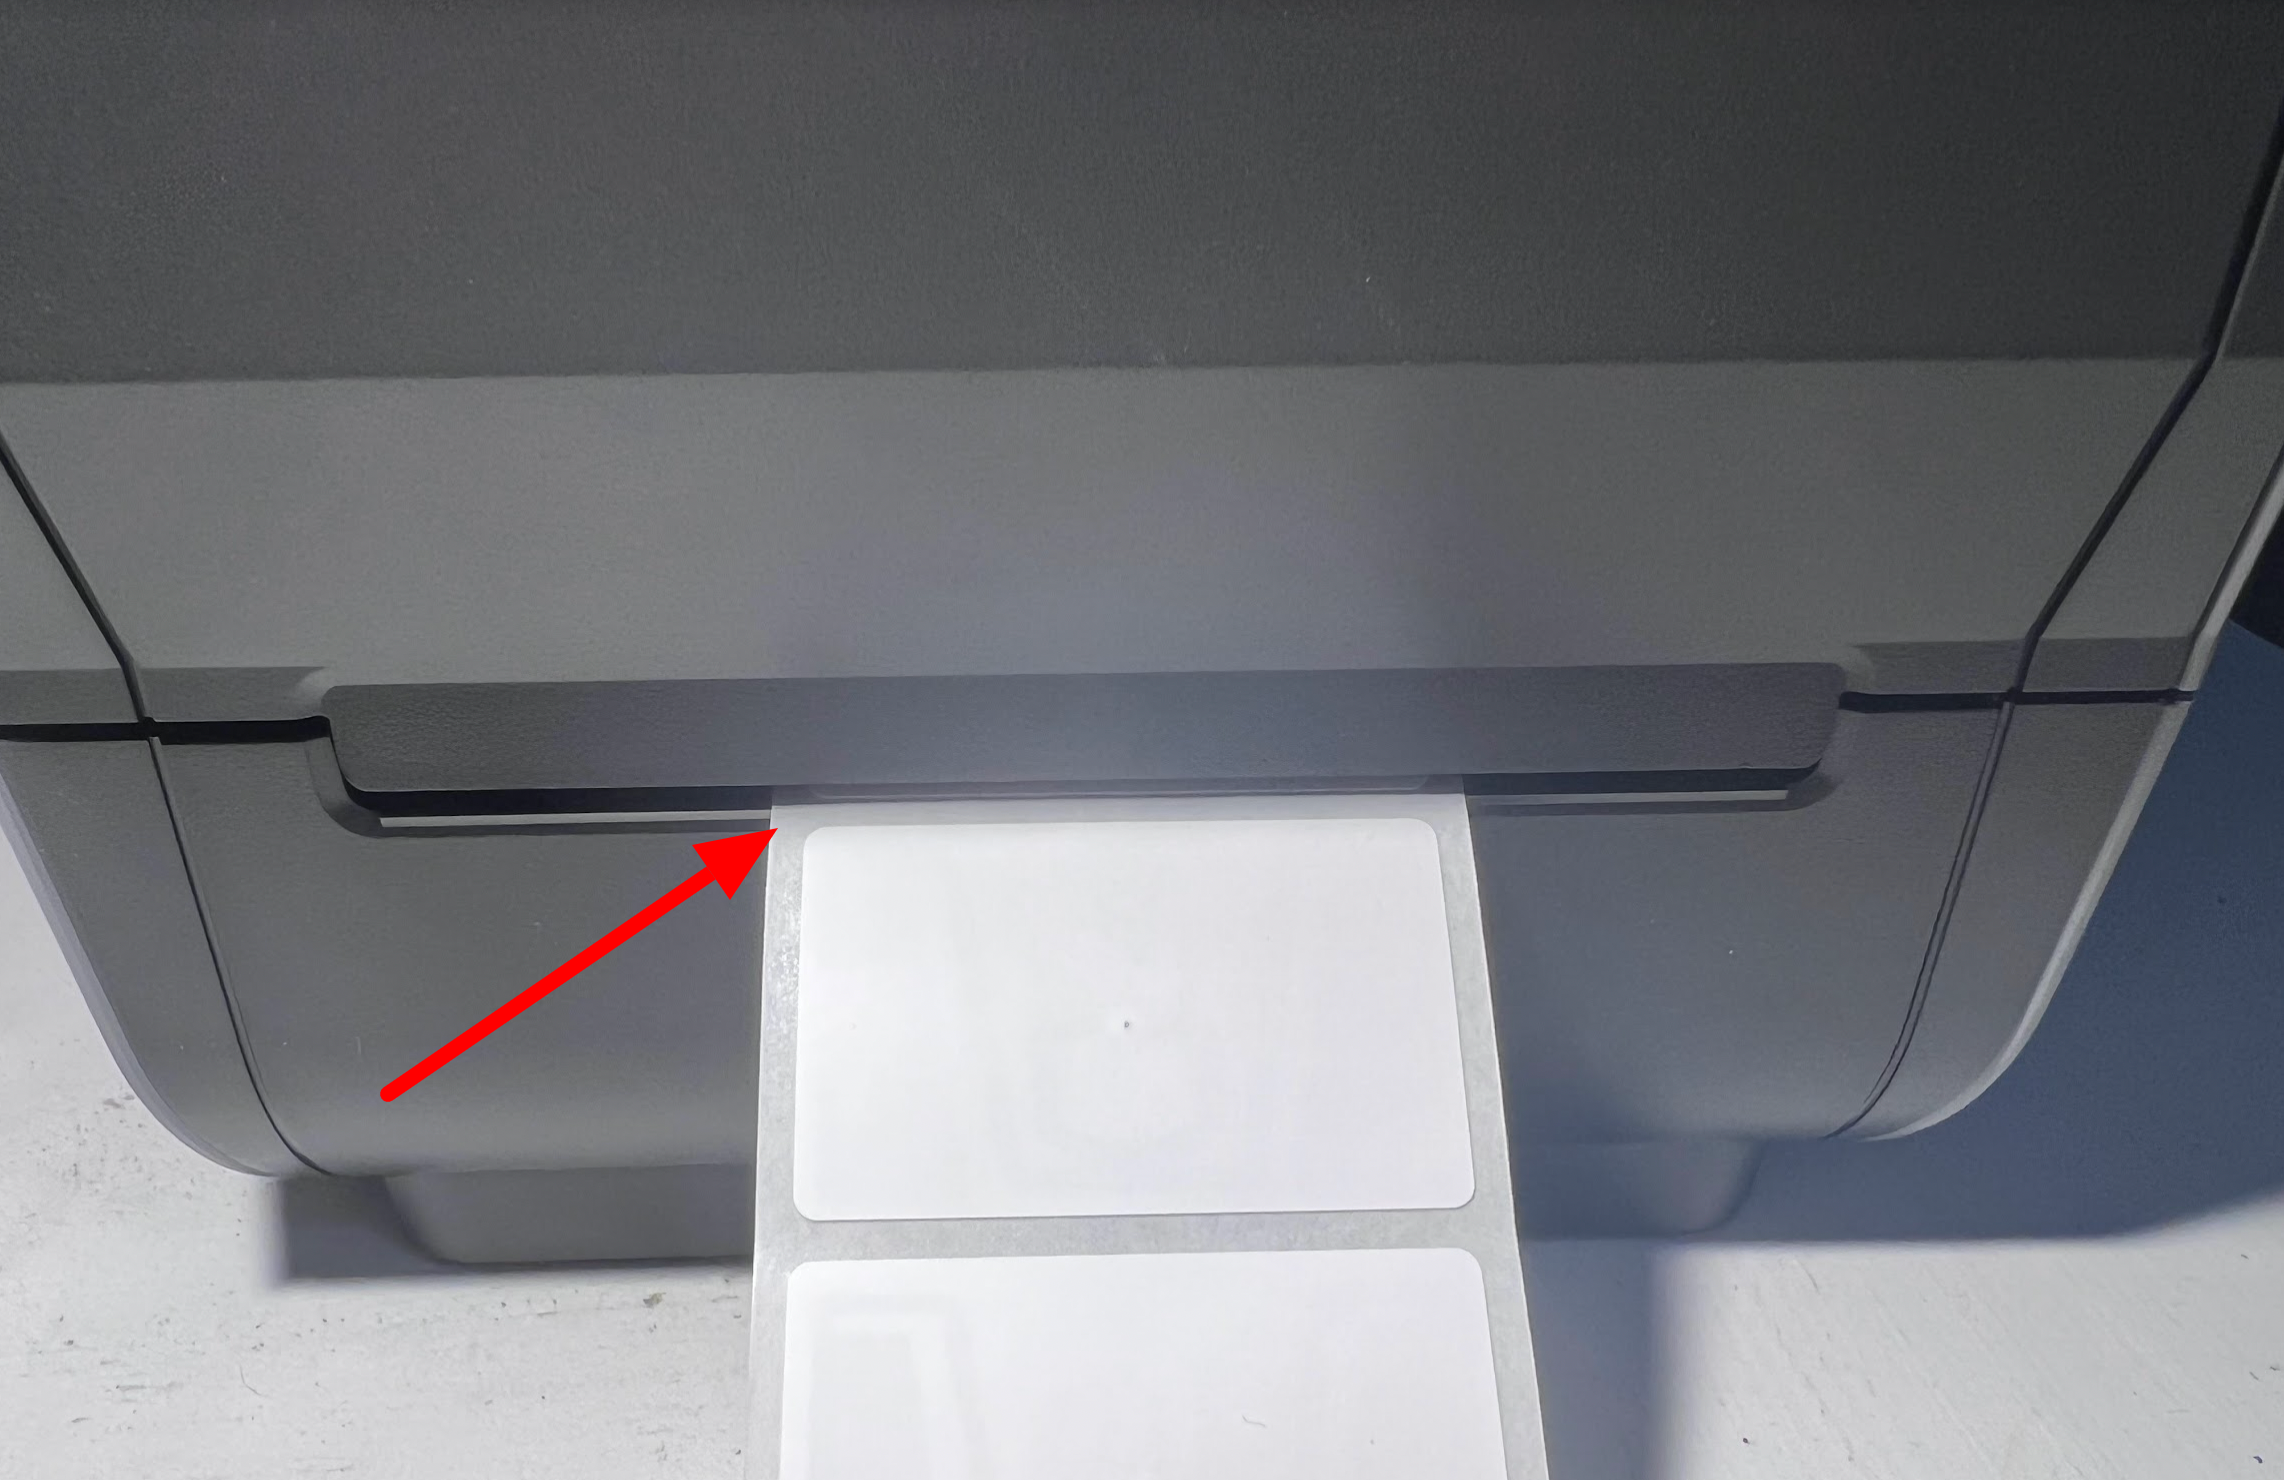
- If you notice the printing is not aligned to the label vertically. This may happen when simply changing to a new roll of labels. (See photos below)

NOTE: If you are encountering Errors when printing RFID tags, try Restoring Printer Defaults
Steps to perform a Media + RFID Calibration:
- Turn the printer off by holding down power button for a few seconds, release then wait 10 seconds
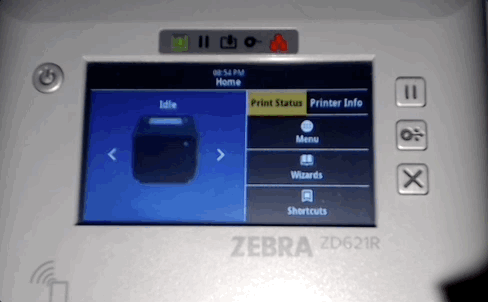
- While holding down Pause and Feed buttons, turn on the printer and keep the Pause and Feed buttons pressed until you see the first status indicator lit green, then release.
- Press & Hold the Pause + Cancel buttons for 2 second (you will hear the printer making noises)
-
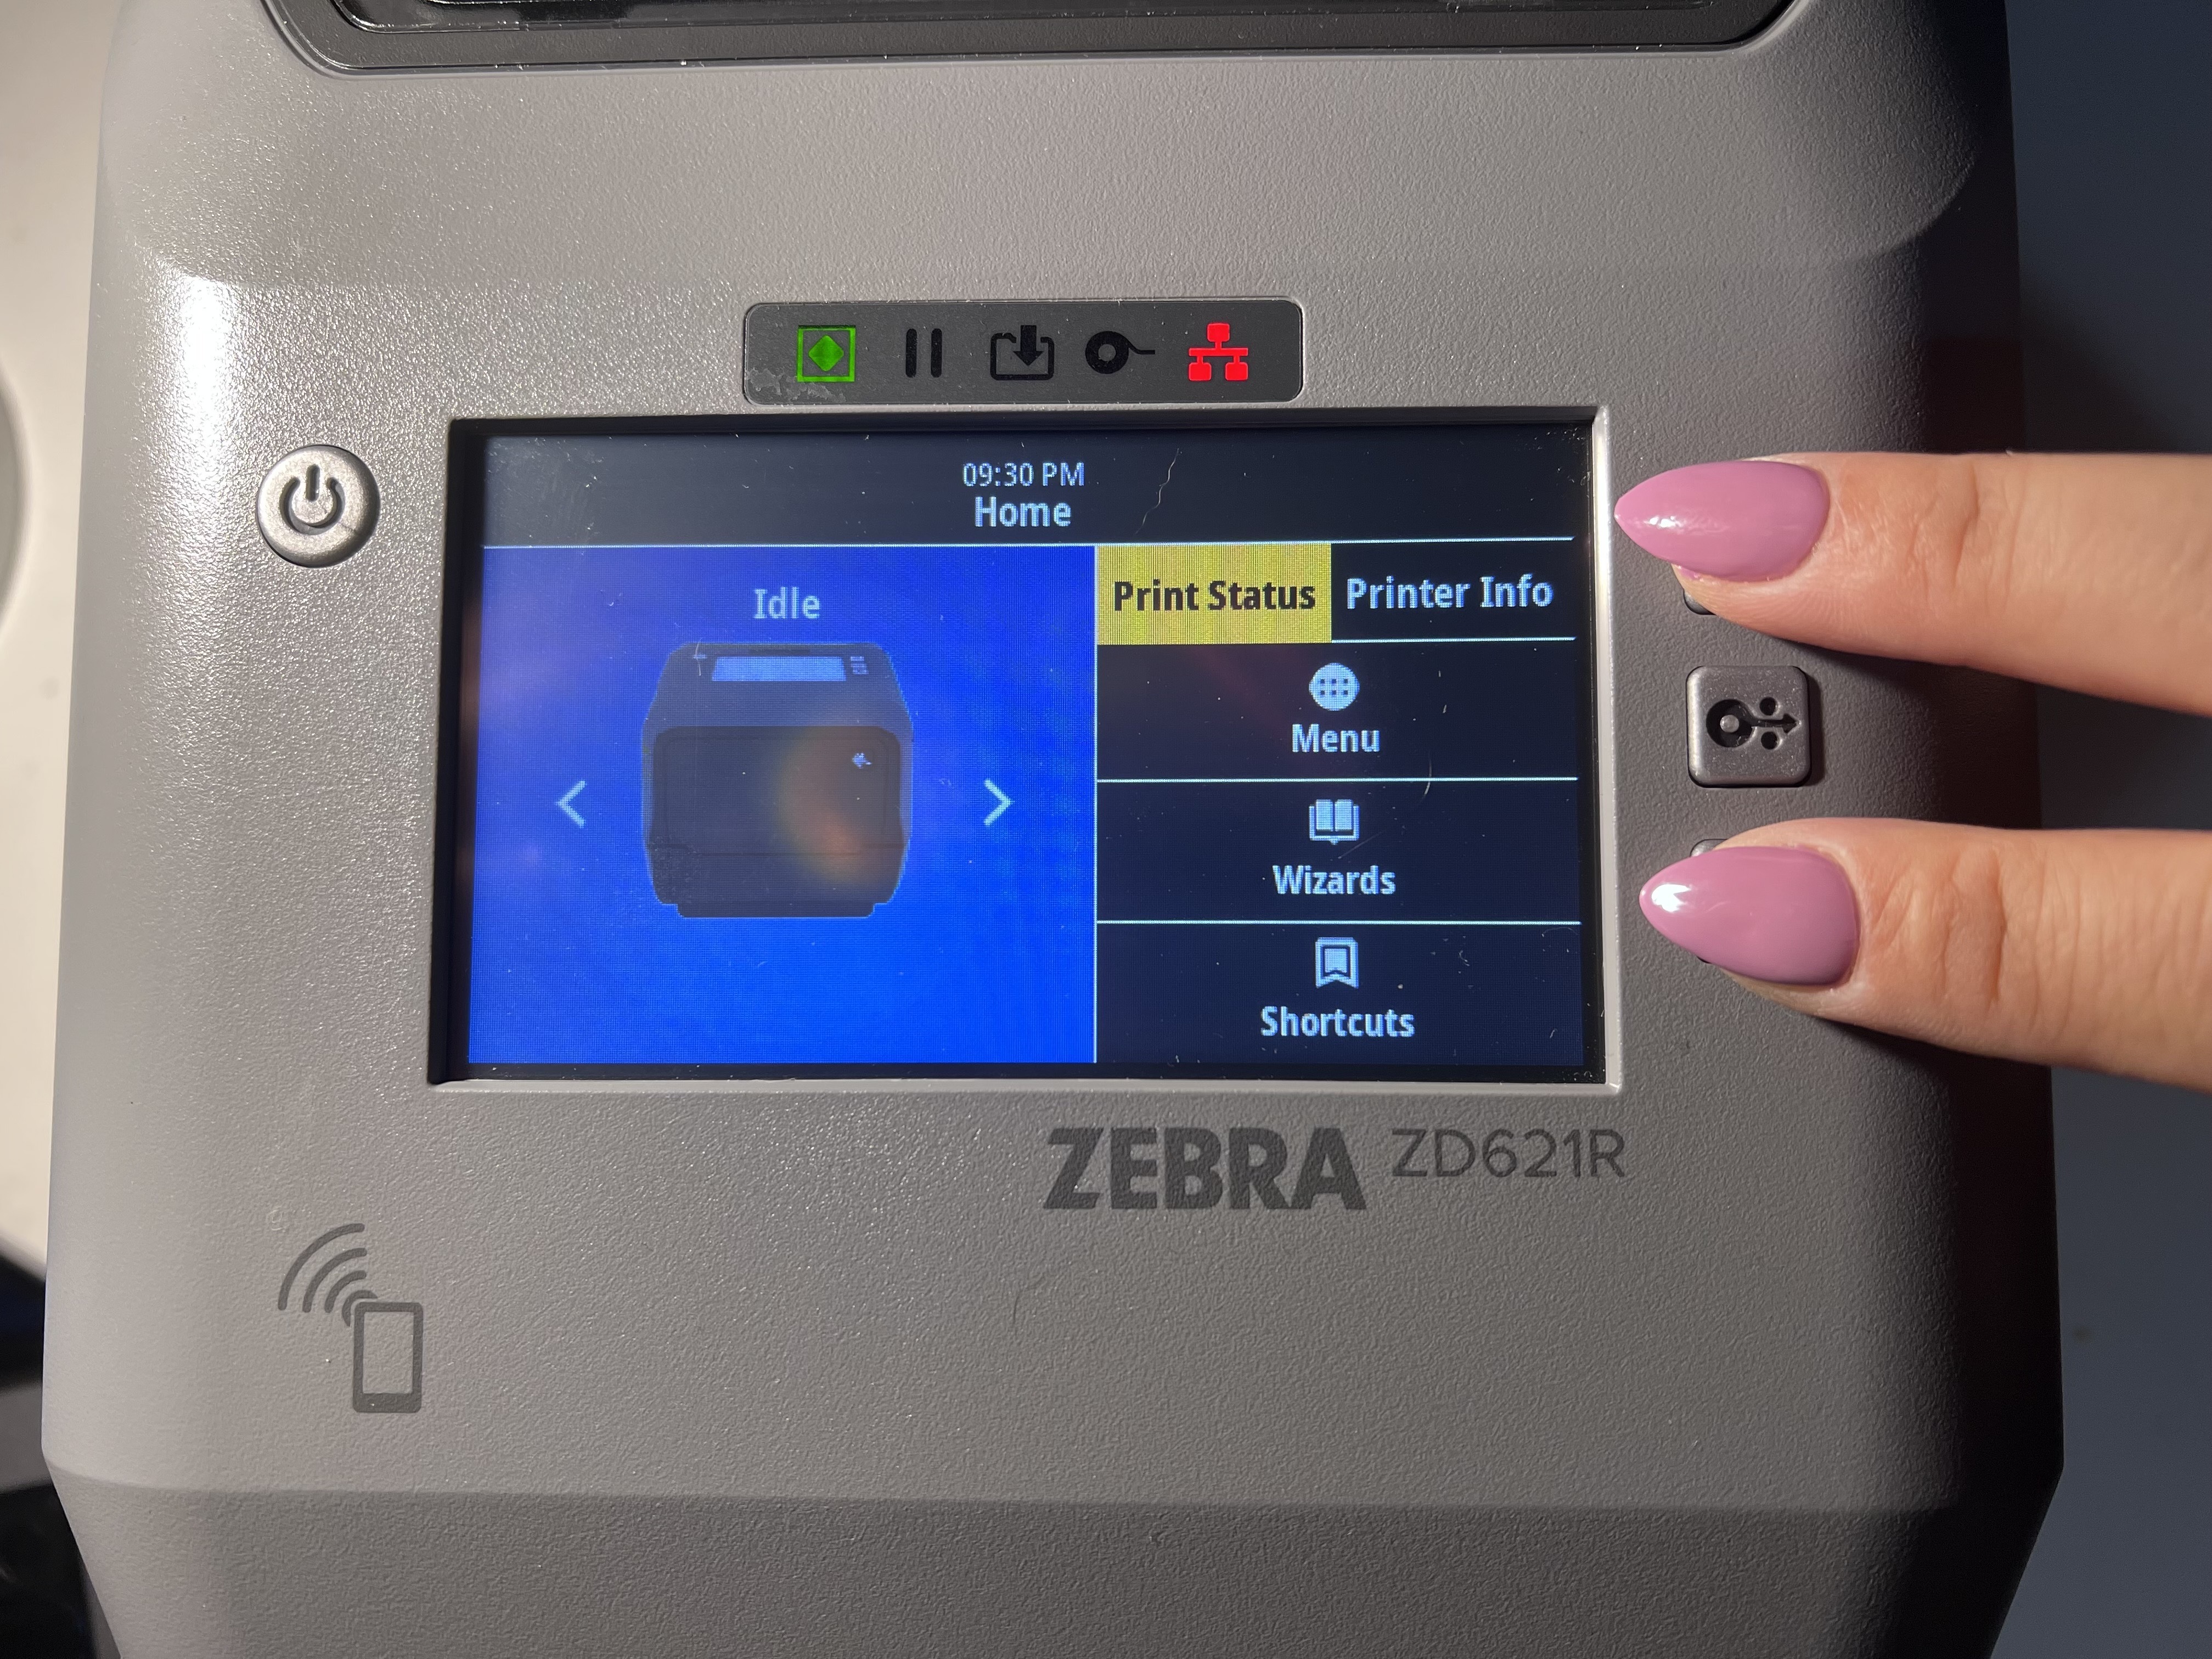
- Once the printer stops making sounds, perform an RFID Calibration by pressing Menu on the printer's display > RFID icon > RFID button on the left side > RFID Calibrate button > Start Calibration
- This will take about a minute to complete. Once you the printer stops making sounds, the label should be resting in a position between 2 labels. You should be ready to print!
Step 6: Test the printer
Now you should be able to go to Sample Manager and print samples. Notice after each print job, the RFID field will be filled or updated