
Installation steps:
-
Download the Zebra printer driver here: https://www.dropbox.com/sh/rivim71o293sobj/AAB4QnxDCgbq0p61UnGpFhlGa?dl=0
UnZip (extract) its contents by right-clicking on the folder
Go to your computer's Control Panel --> Devices and Printers --> Add Printer
Click on Add a local printer
Click Next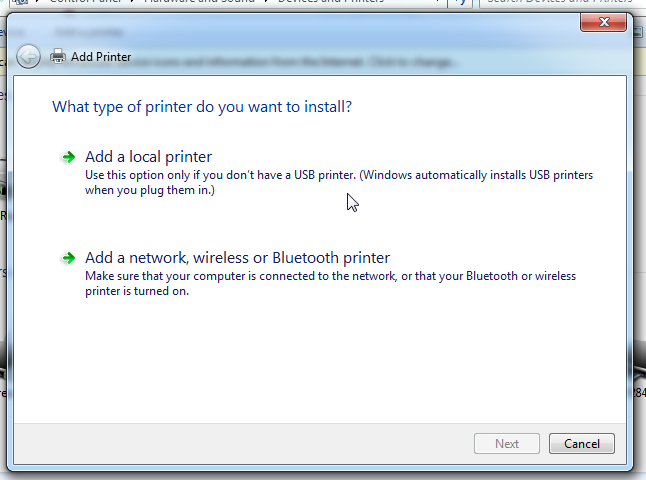
-
Select Create a new port and choose Standard TCP/IP Port
Click Next
-
In Hostname or IP address field, type in the IP number for your printer.
To find out what your IP number is, hold down the button on the top of your printer until it flashes once. The printer will print out labels with the IP number on them.
Click Next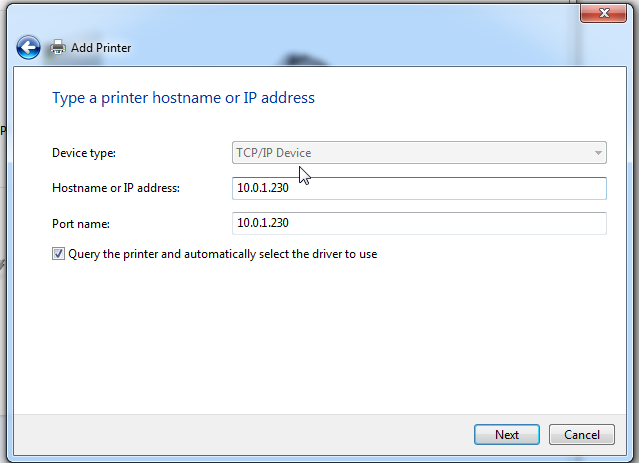
- On the next step change nothing
click Next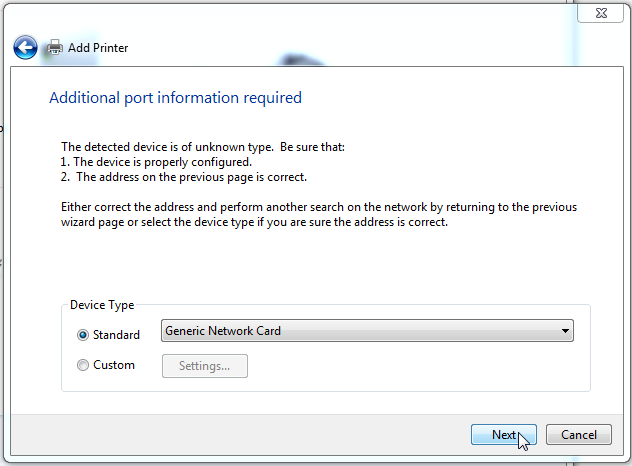
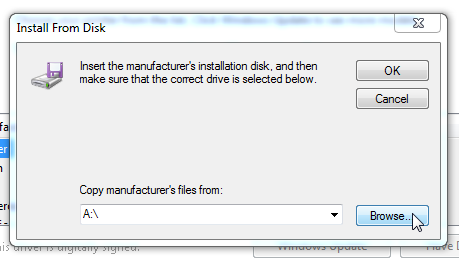
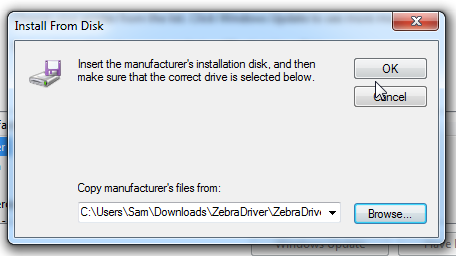
- Click Have Disk...
Click Next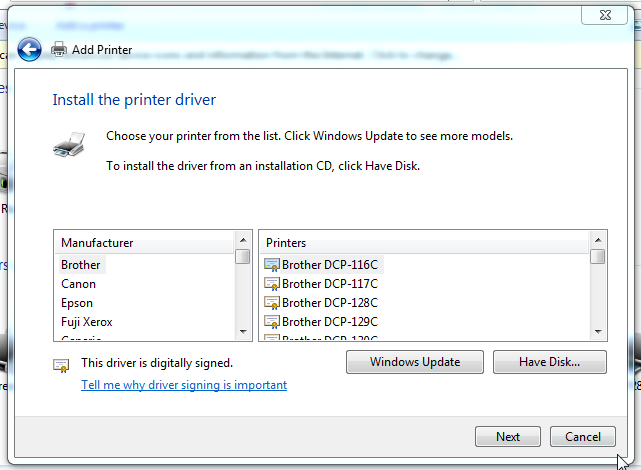
- Click on Browse...
- Search for the Unzipped folder you saved earlier called ZebraDriver
Select the folder
Click Open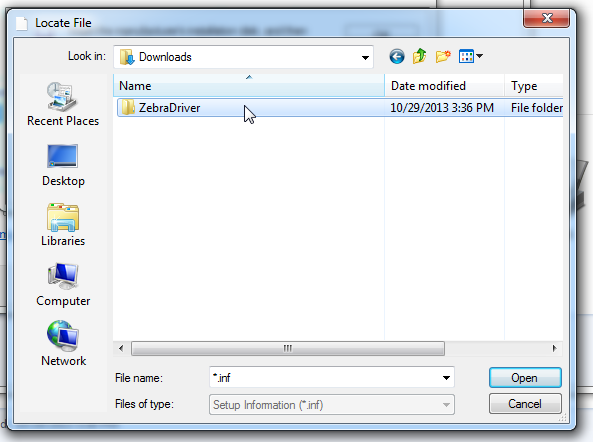
- Select the folder called ZBRN
Click Open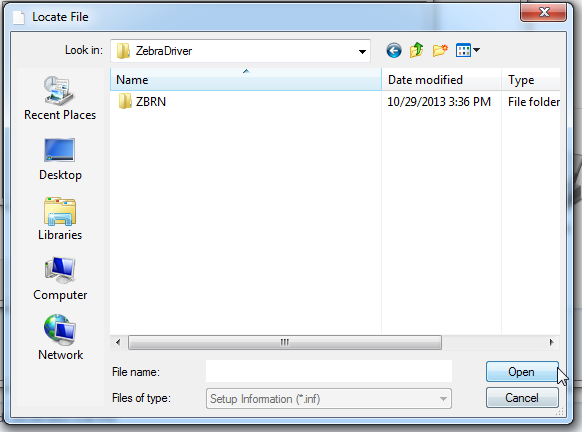
- Select the ZBRN file (.inf)
Click Open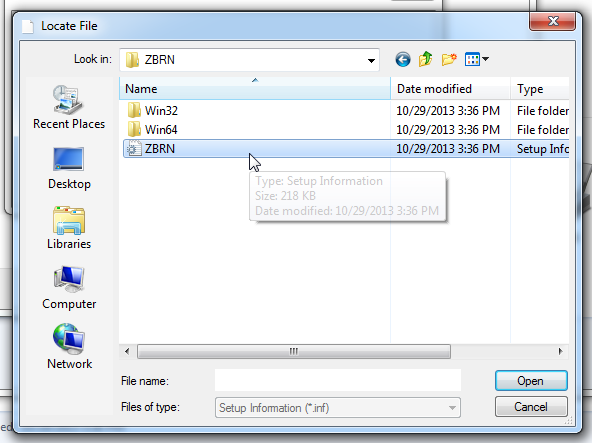
- Click OK
- Select ZDesigner TLP2824 Plus (EPL) for Barcode label printer installation and ZDesigner GK420d (EPL) for the Address label printer.
Click Next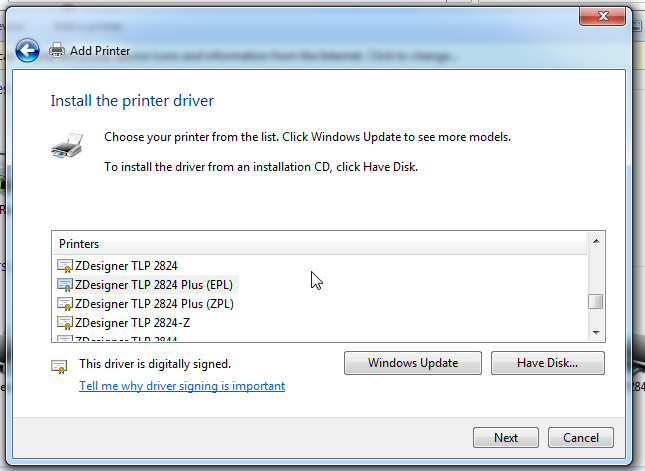
- Name the printer "Barcode" or "Address".
Click Next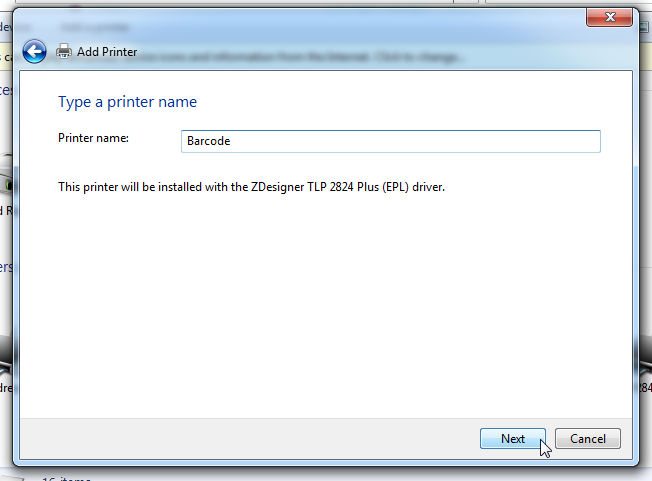
- De-select Set as the default printer
click Finish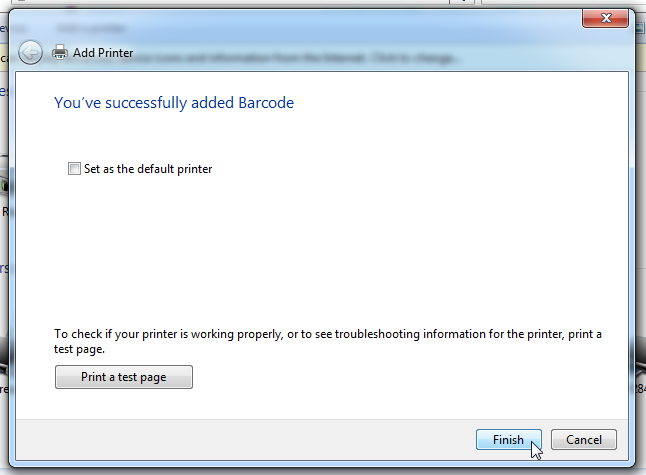
- You have now successfully installed your printer onto your computer!