
Before you begin, make sure you have the following items: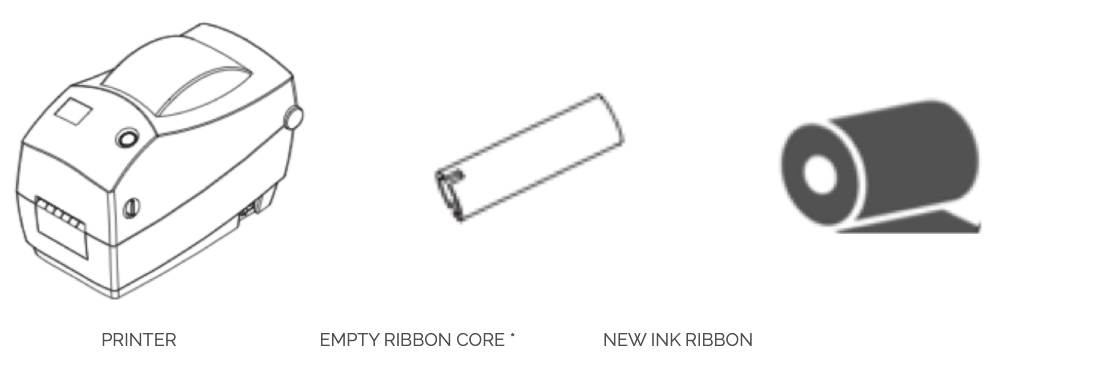
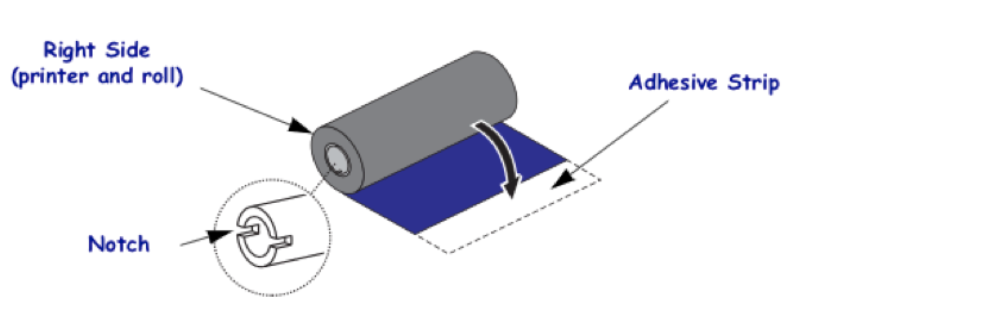
- Prepare the new ribbon by removing its wrapping and pulling its adhesive strip free.
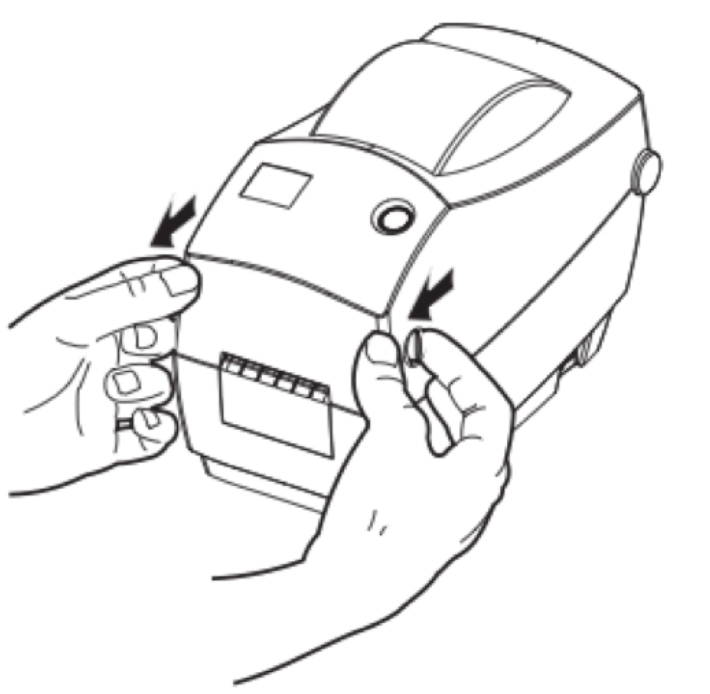
- Pull the release levers towards you and lift the cover.
- Thread the ribbon through the hole beneath the supply hub.
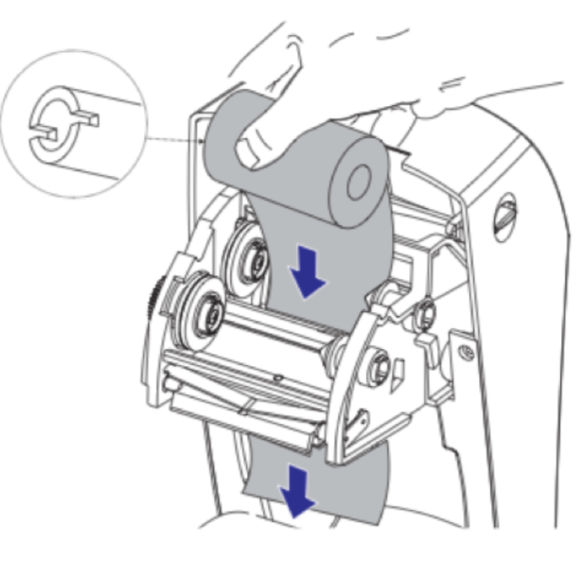
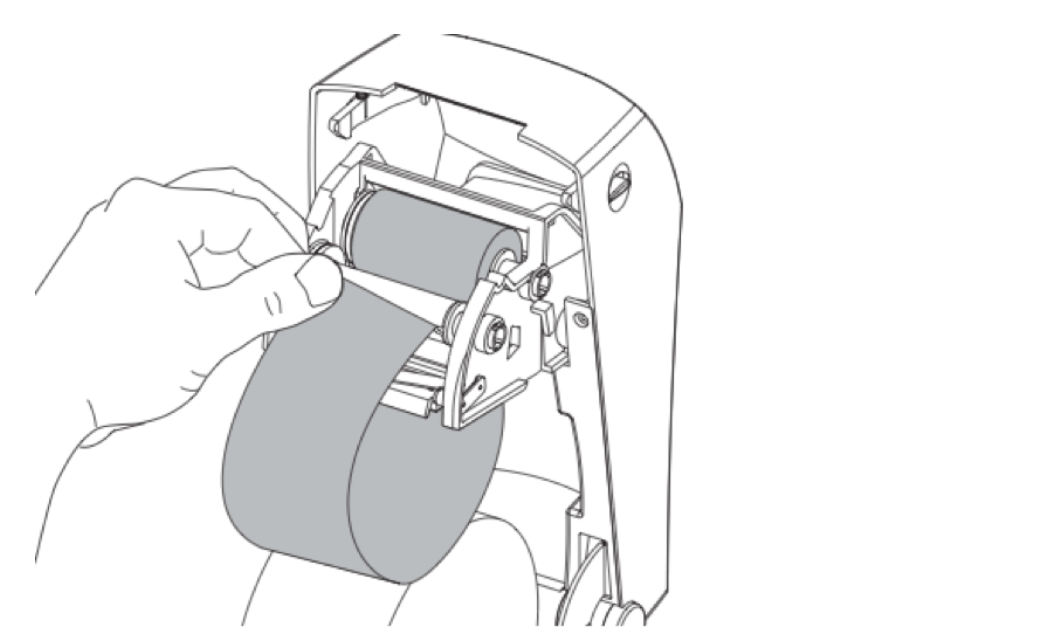
- Slide the ribbon roll onto the right side spindle first, then swing the left side of the ribbon roll onto the left side spindle
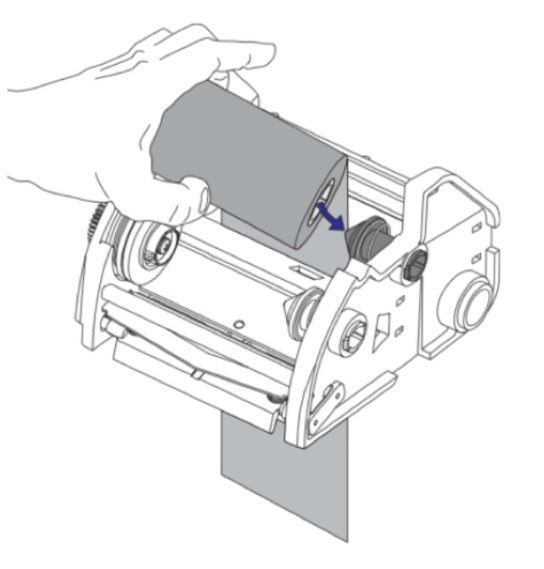
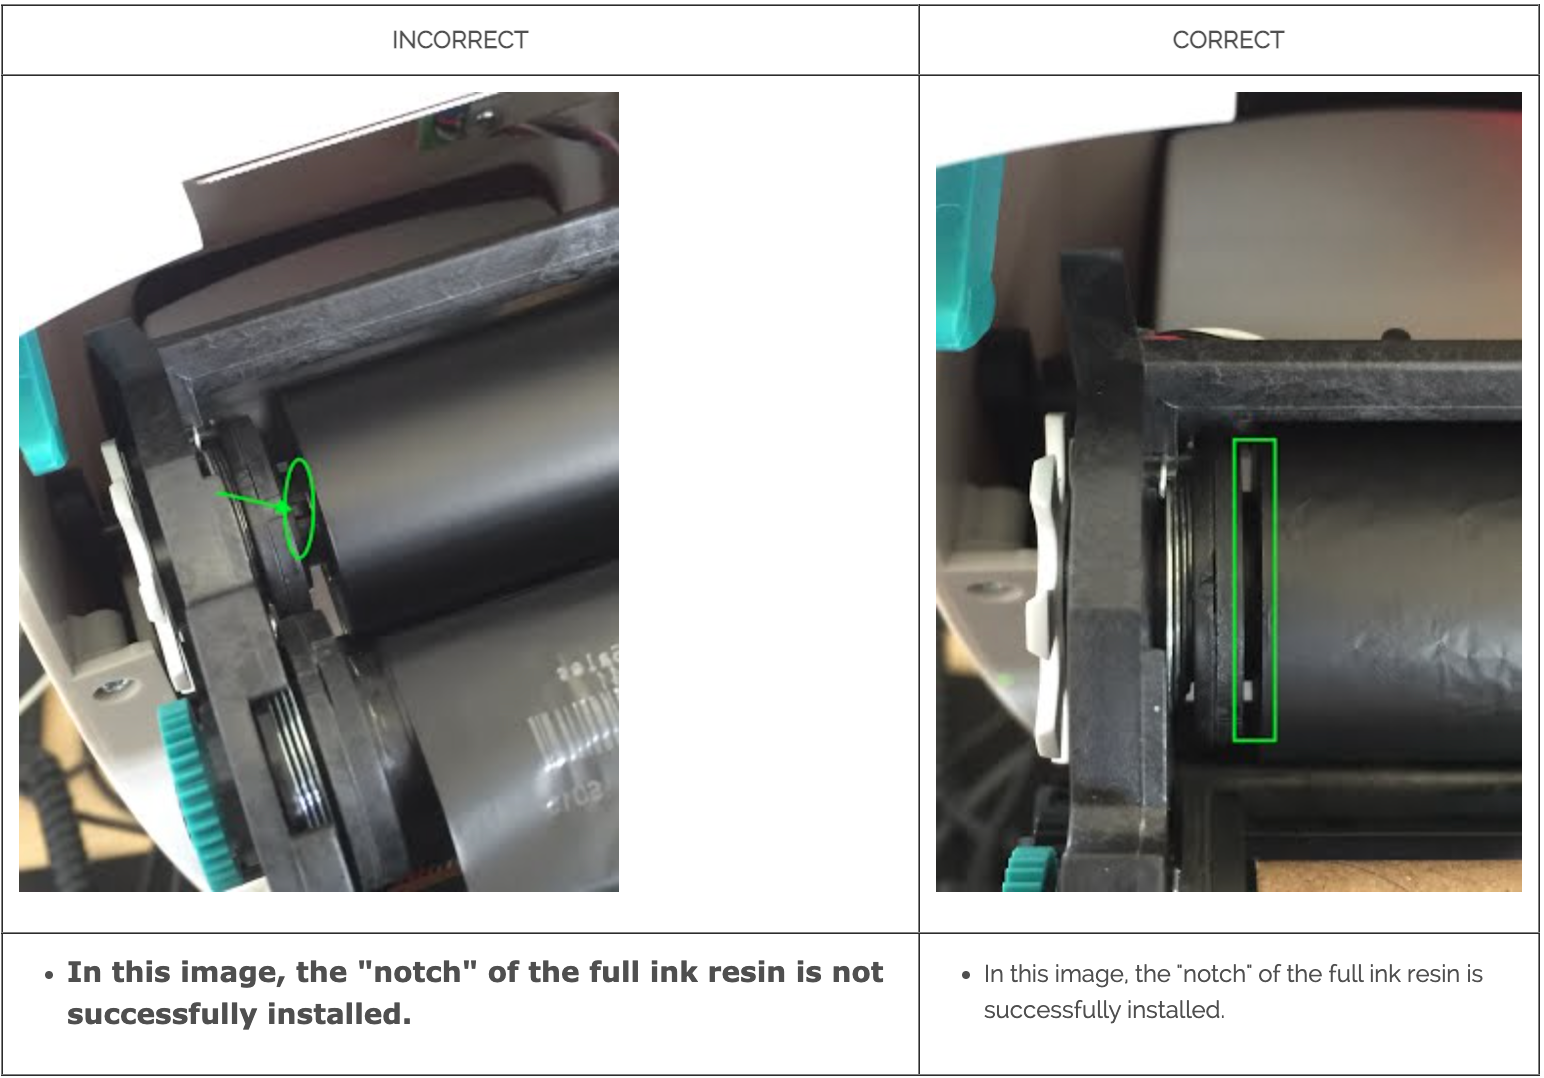
- Rotate the ribbon roll until core's notches lock into the notches on the left spindle
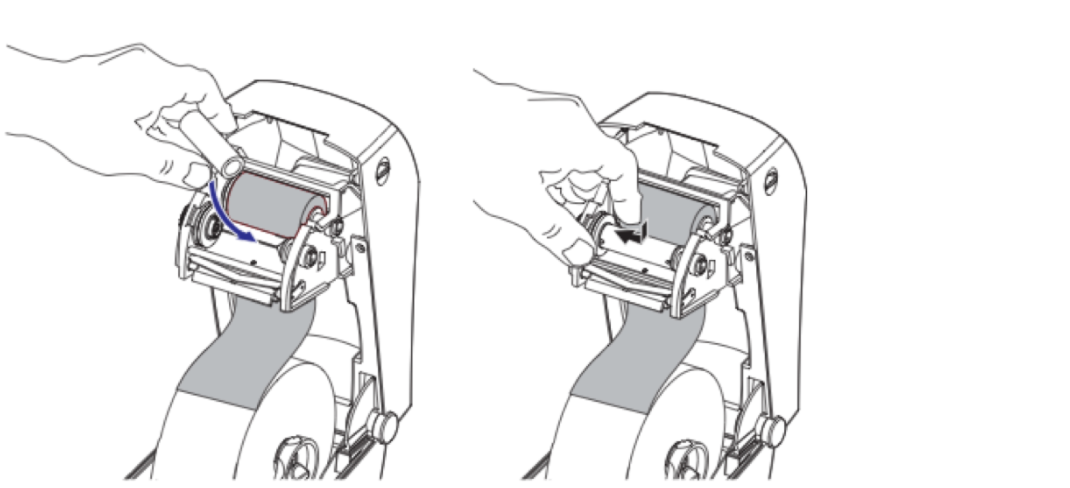
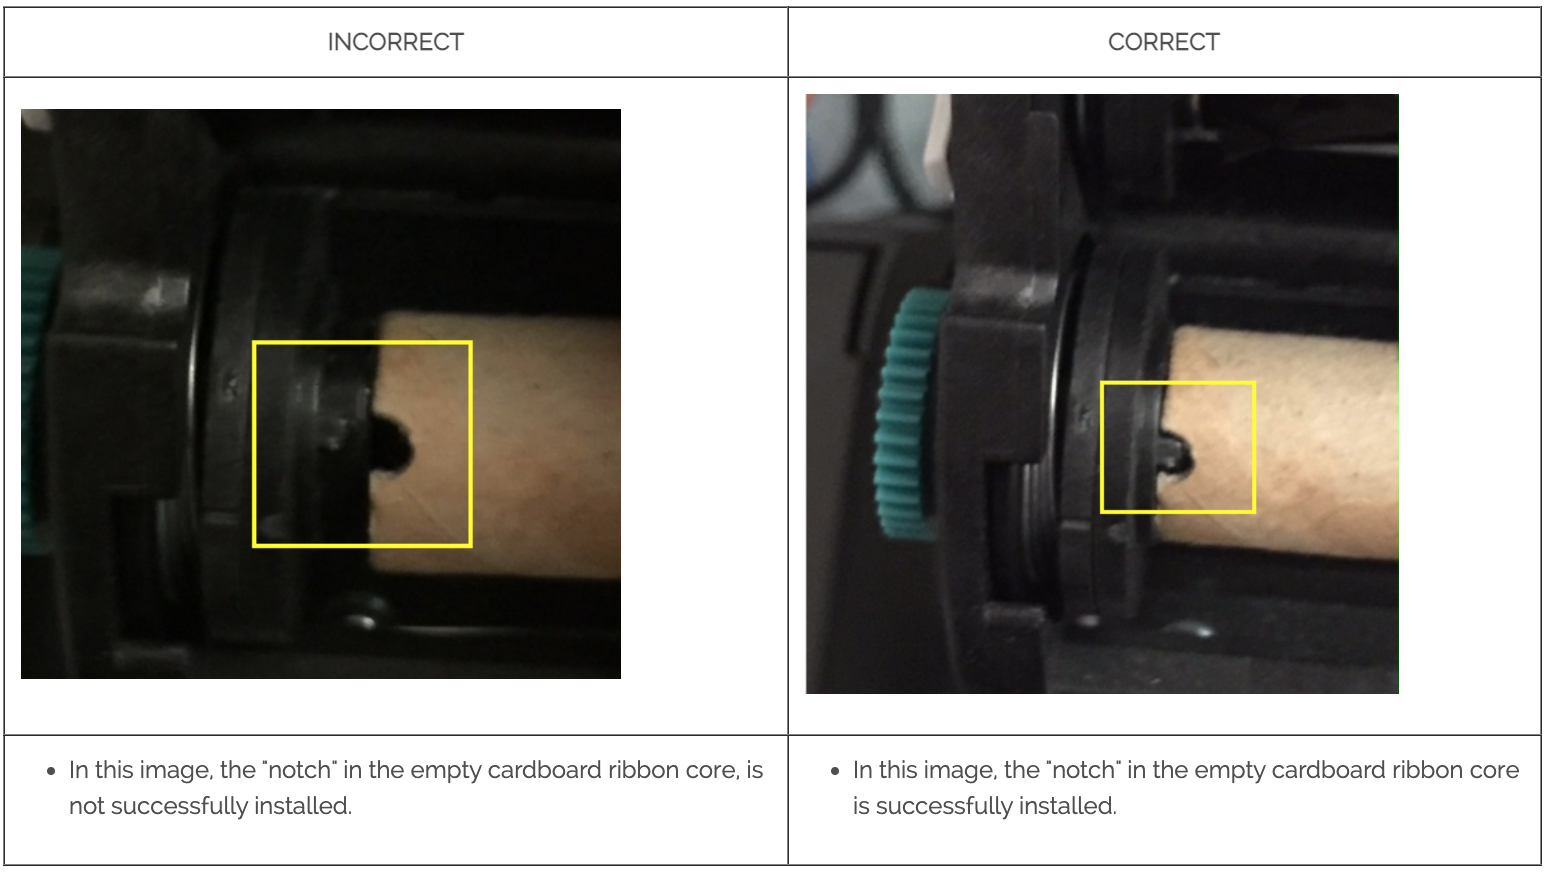
- Place an empty ribbon core on printer’s take-up spindles. Rotate the ribbon core until the notches align and lock into the left side of the take-up hub.
- Pull the ribbon around from below the ribbon frame. Attach it with the adhesive strip to the empty ribbon core on the supply hub. Center the ribbon on the empty ribbon core
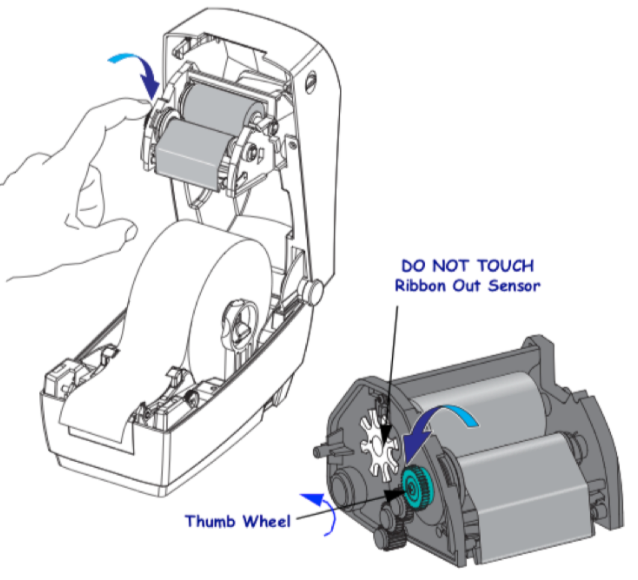
- Rotate the thumb wheel on the left side of the ribbon frame by the supply hub until the ribbon is pulled tight across the empty core.
- Close the top cover by releasing the cover lock in the back. Then press down until you hear the latch snap into place. Your printer is now ready to print.