
In order to print your company logo on an address label, the logo file must be installed on the printer. Follow the steps below to install your logo onto your printer.
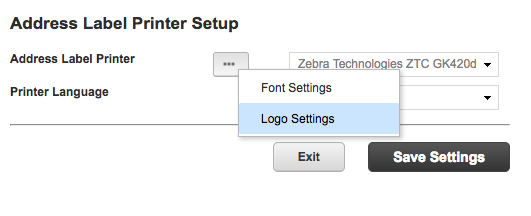
Open the Logo Settings Dialogue
- In the header of the Sample app, click on your user name and find the Printer Setup page
- Scroll down to the Address Label printer Setup section
- Ensure you have your address label printer selected & a printer language selected. Select ZPL if you are not sure.
- The 3 dots button should appear if both options are selected.
- Click to open the Logo Settings dialogue
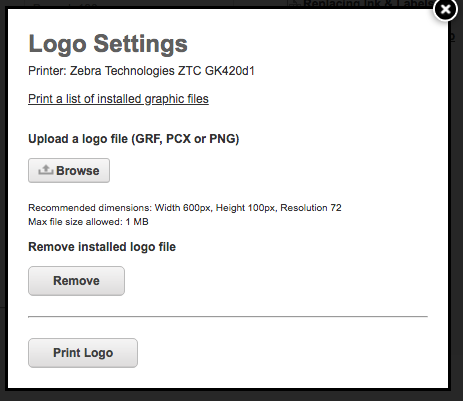
Print a List of Installed Graphic Files
This is the only way to see the logos that are already uploaded onto the printer or to verify the existence of newly uploaded logos.
- Available for both EPL and ZPL
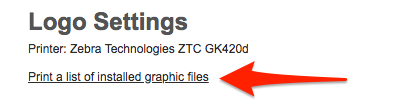
- From the Logo Settings Dialogue > Click "Print a list of installed graphic files"
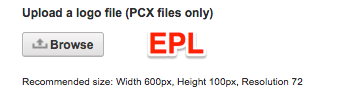
Upload a logo file
The recommended size is 600px x 100px at 72 dpi
This function is available for both EPL and ZPL configurations.
- EPL is limited to uploading .PCX files only.
- ZPL can upload .GRF, .PCX, .PNG files.
The usage of .PNG files has two advantages:
- There is no need for specialized software for file creating.
- Colored PNG files are automatically converted to black-and-white images.
For instructions on how to format a logo file: GIMP or Photoshop
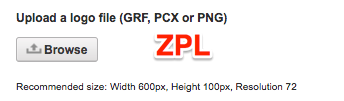
- From within the Logo Settings dialogue > Click Browse
- Select the file from your computer
Test print the logo file
A way to verify that the recently uploaded logo works
Available for both EPL and ZPL configurations.

- From the Logo Settings dialogue > At the very bottom click Print Logo
Remove an installed logo file
Removing a logo file would only be required for freeing up some memory in order to upload another font or logo.
Available for both EPL and ZPL configurations.
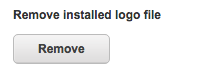
- From the Logo Settings dialogue > Under Remove Installed Logo file > Click Remove