This article will walk you through all the steps to create a new mailing from scratch. If you would like to import the source code for a pre-designed template, go to this article.
This particular article will focus on the Drag & Drop mode....and if you don't know what that means then read on!
Getting Started
- To start, go to Contacts Mailing in your main navigation
- Click Create New Mailing at the top of the page
- Select the Department in which you would like to create the mailing (This prompt will only appear if your site has more than 1 department configured)
Below you will find the steps for Each tab within your mailing:
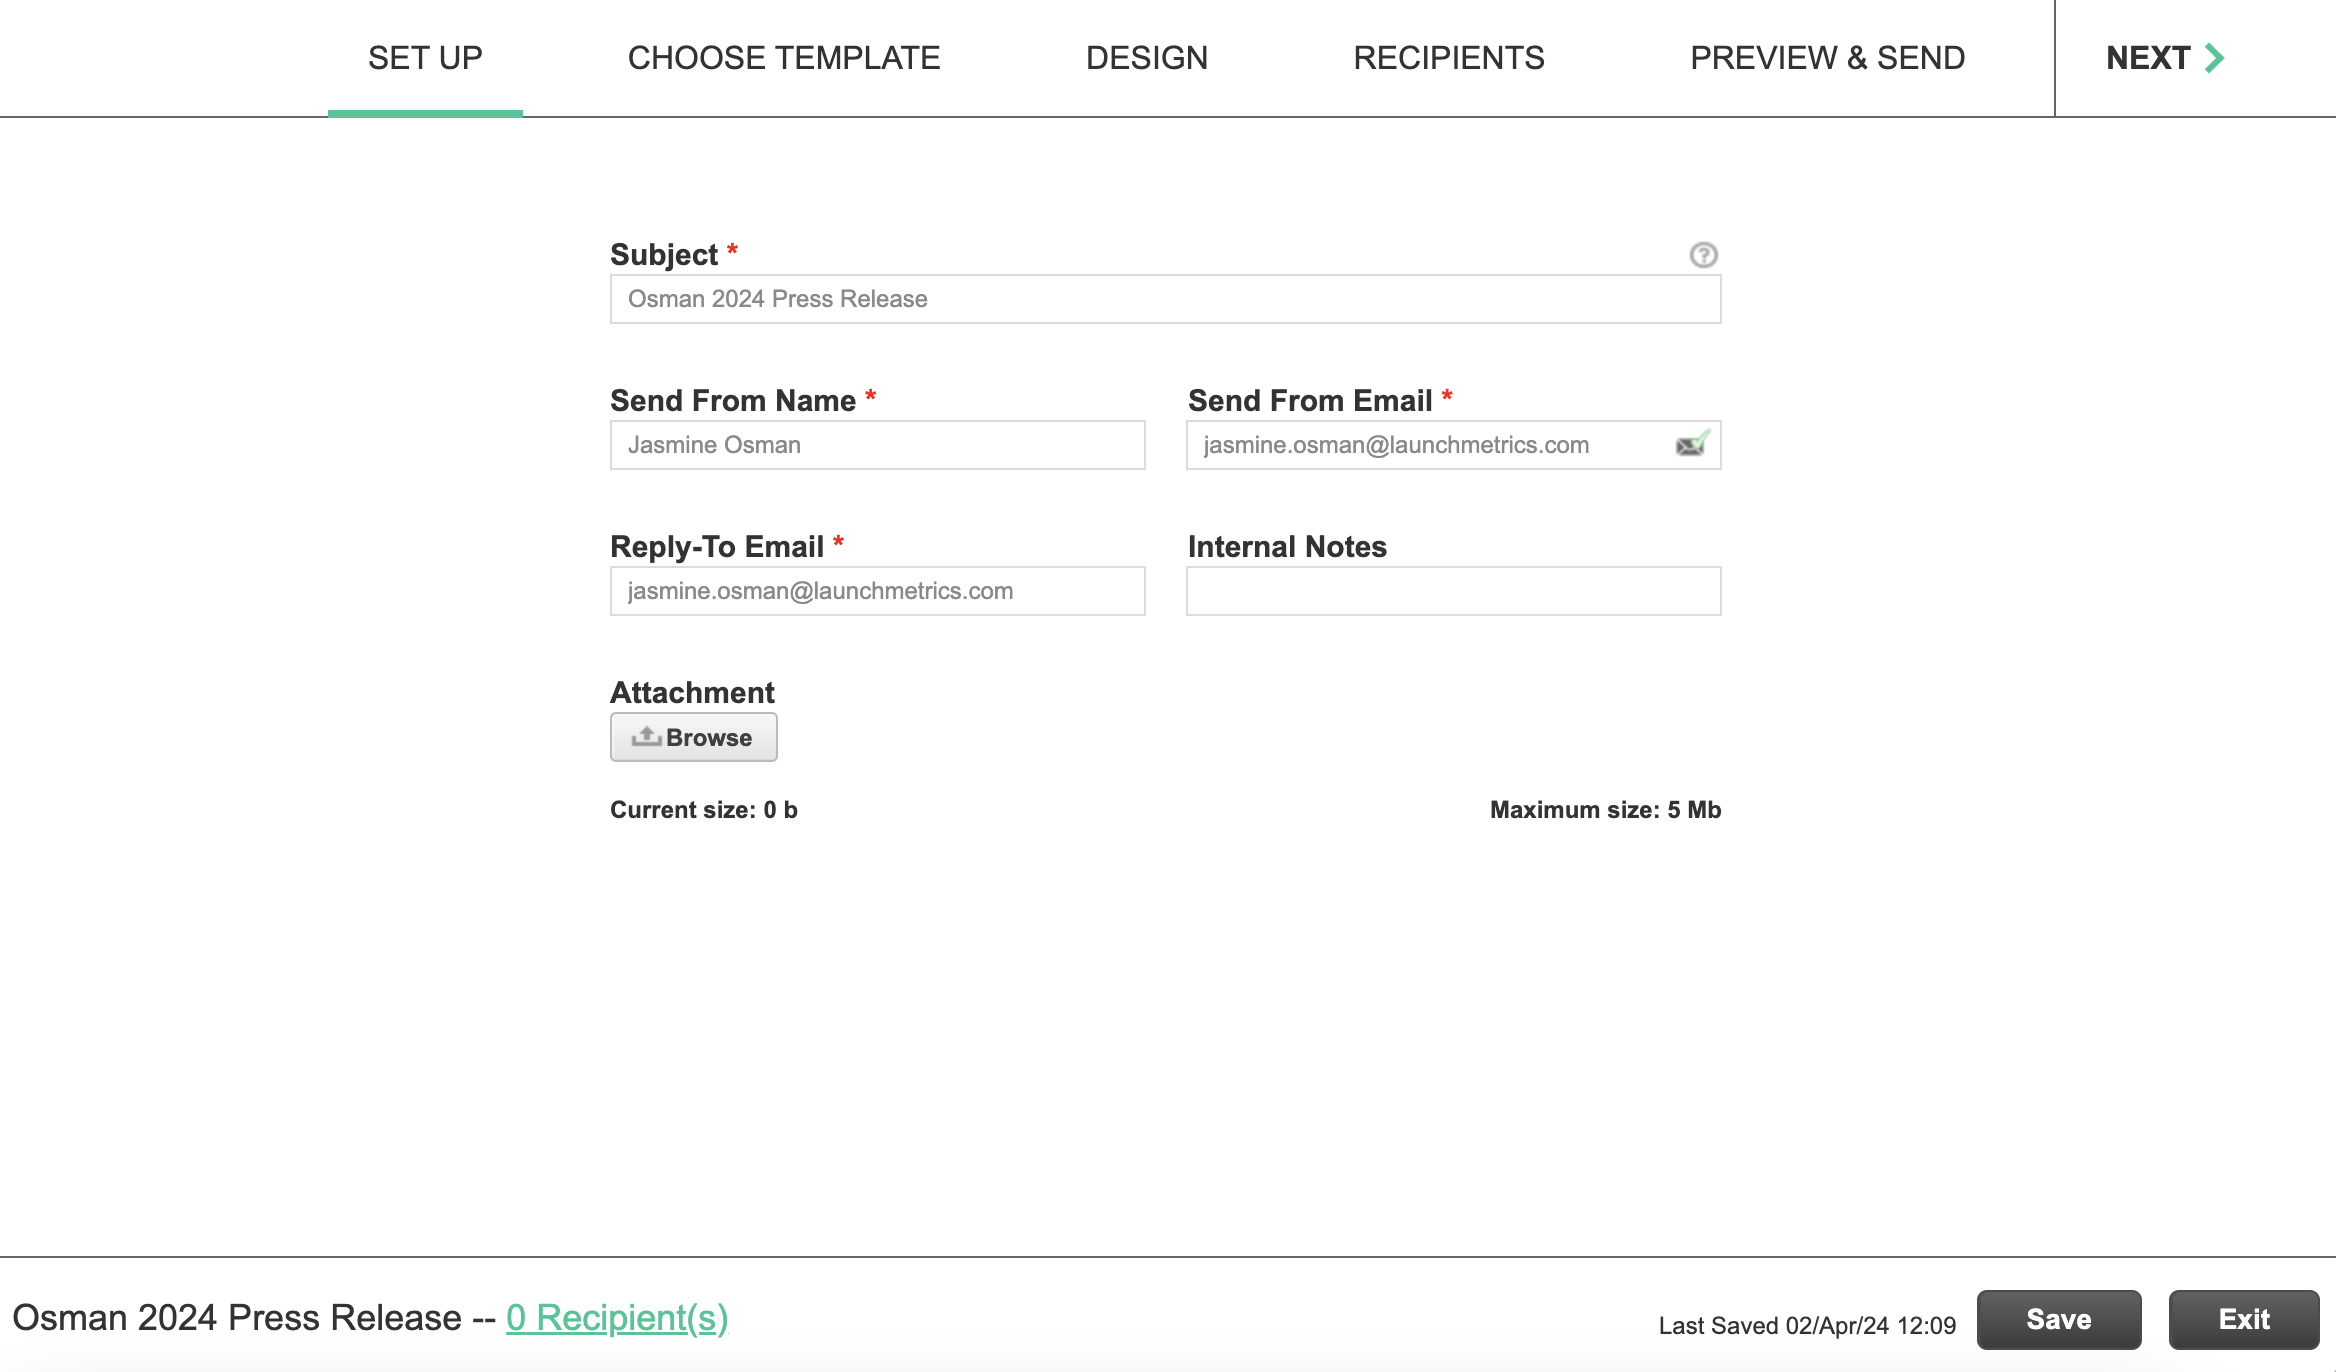
Set Up
Complete all the required fields in the Set Up step and then click Next
- Subject — This is the subject line of your email. You can add merge tags (aka Custom Database Variables like %first_name%, %last_name% or %salutation%) into your subject in order to personalize your mailers.
- Send From Name — This is the name that your email will appear to be from. It is the most prominent piece of information typically found next to the subject line in your recipient's inbox. By default, this will populate the name of the user that is creating the email template but can be edited to say anything. We recommend using the name of your company or the name of a person.
- Send from Email — This is the email address that will be used as the Send From email address. It is important that the email address domain that you use is verified for Spam. Learn more about verifying your email domain for Spam here.
- Reply-To Email — This is the email address that your recipient's email client will use if your recipient clicks Reply to. Note that each email client can work differently and not all of them respect the repy-to email address.
- Internal Notes — This is optional and can be used to note anything specific about this mailing, for example "VIP Version with Discount Code".
- Attachments — Each mailing template only allows a total of 5MB to be uploaded as an attachment. If your attachment exceeds 5mb, you can create a link that can direct recipients to download attachments in the "Design Section".

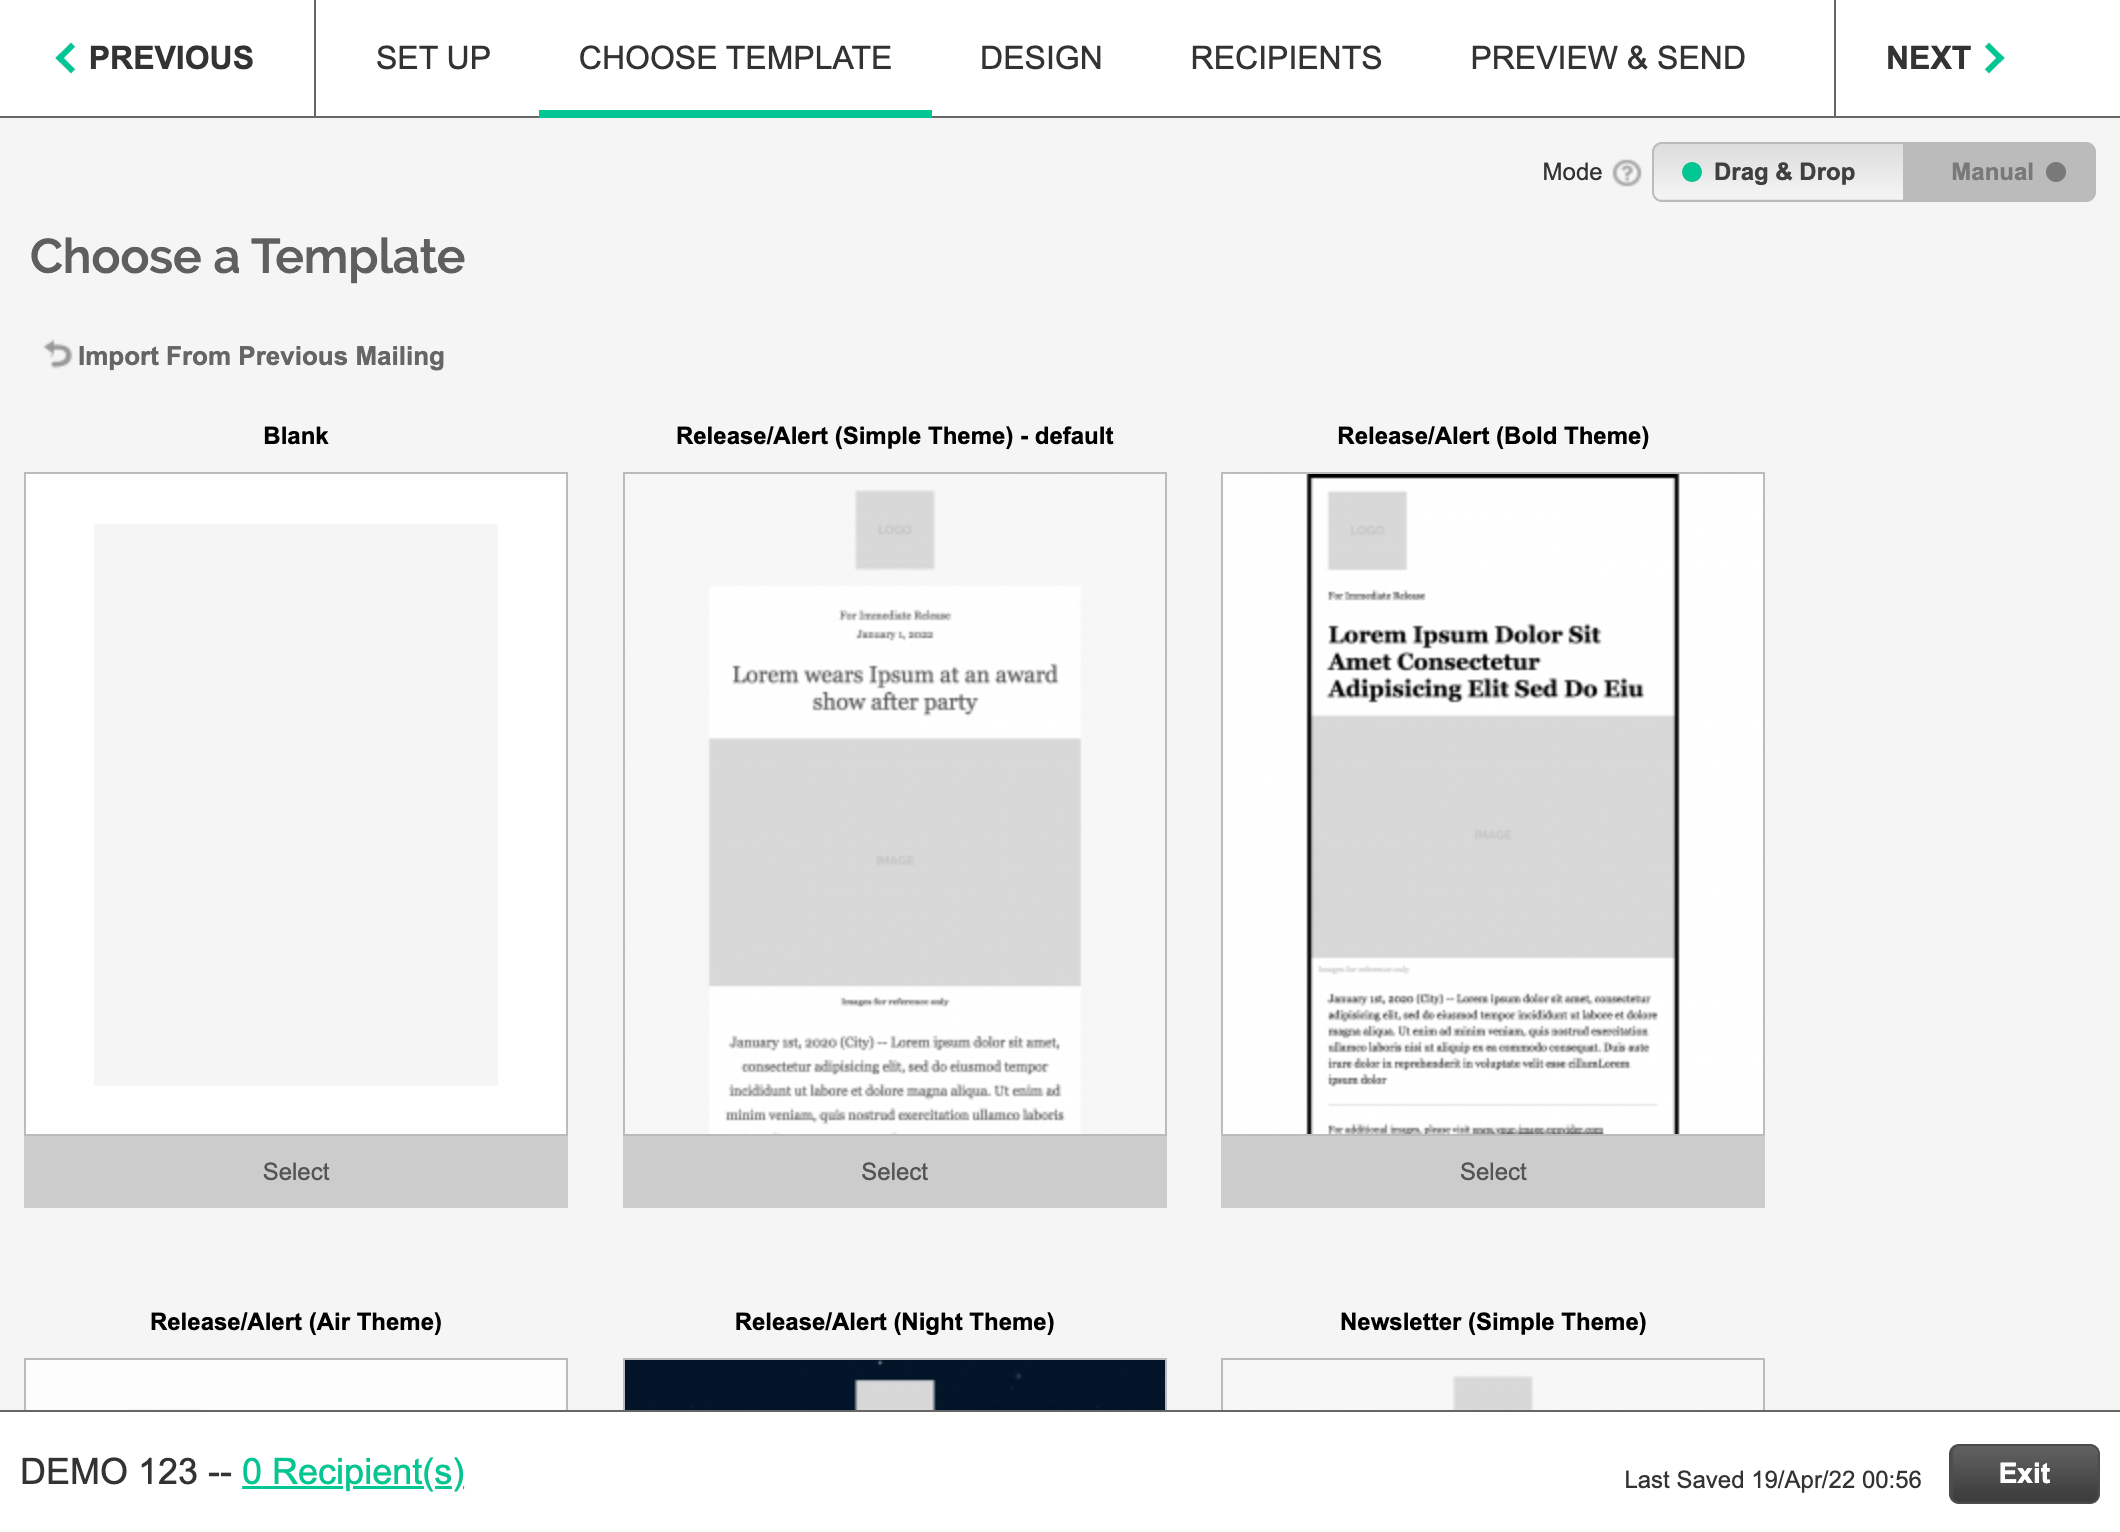
Choose Template
There are 2 design modes to choose from. Be aware if you are editing an existing template, switching modes will discard any edits made in the Design step
- Drag & Drop - This is the default mode. We recommended to use this mode as it offers many easy to use tools to help you design your email.
- Manual - This allows you to build your Contact mailings using a more simplified editor. Use this mode if you want to import the source code of a pre-designed email. Learn more about importing HTML into your email template using Manual Mode.
-
Re-using a Template - If you would like to re-use a template from a previous contacts mailing you can do so by clicking the "Import from Previous Mailing" button.
You have the option to start your design from Blank, or from a template. Again, if you are editing an existing mailing, selecting a new template will discard anything previously done in the Design step. Select a template or click Next
Design
In the Design step, the way the drag & drop editor breaks down the design is first by Rows, and within Rows there are different types of Content.
- Use Rows to shape the layout of the content.
- You can add multiple types of Content into 1 row.
- Rows and Content can be dragged to be re-ordered.
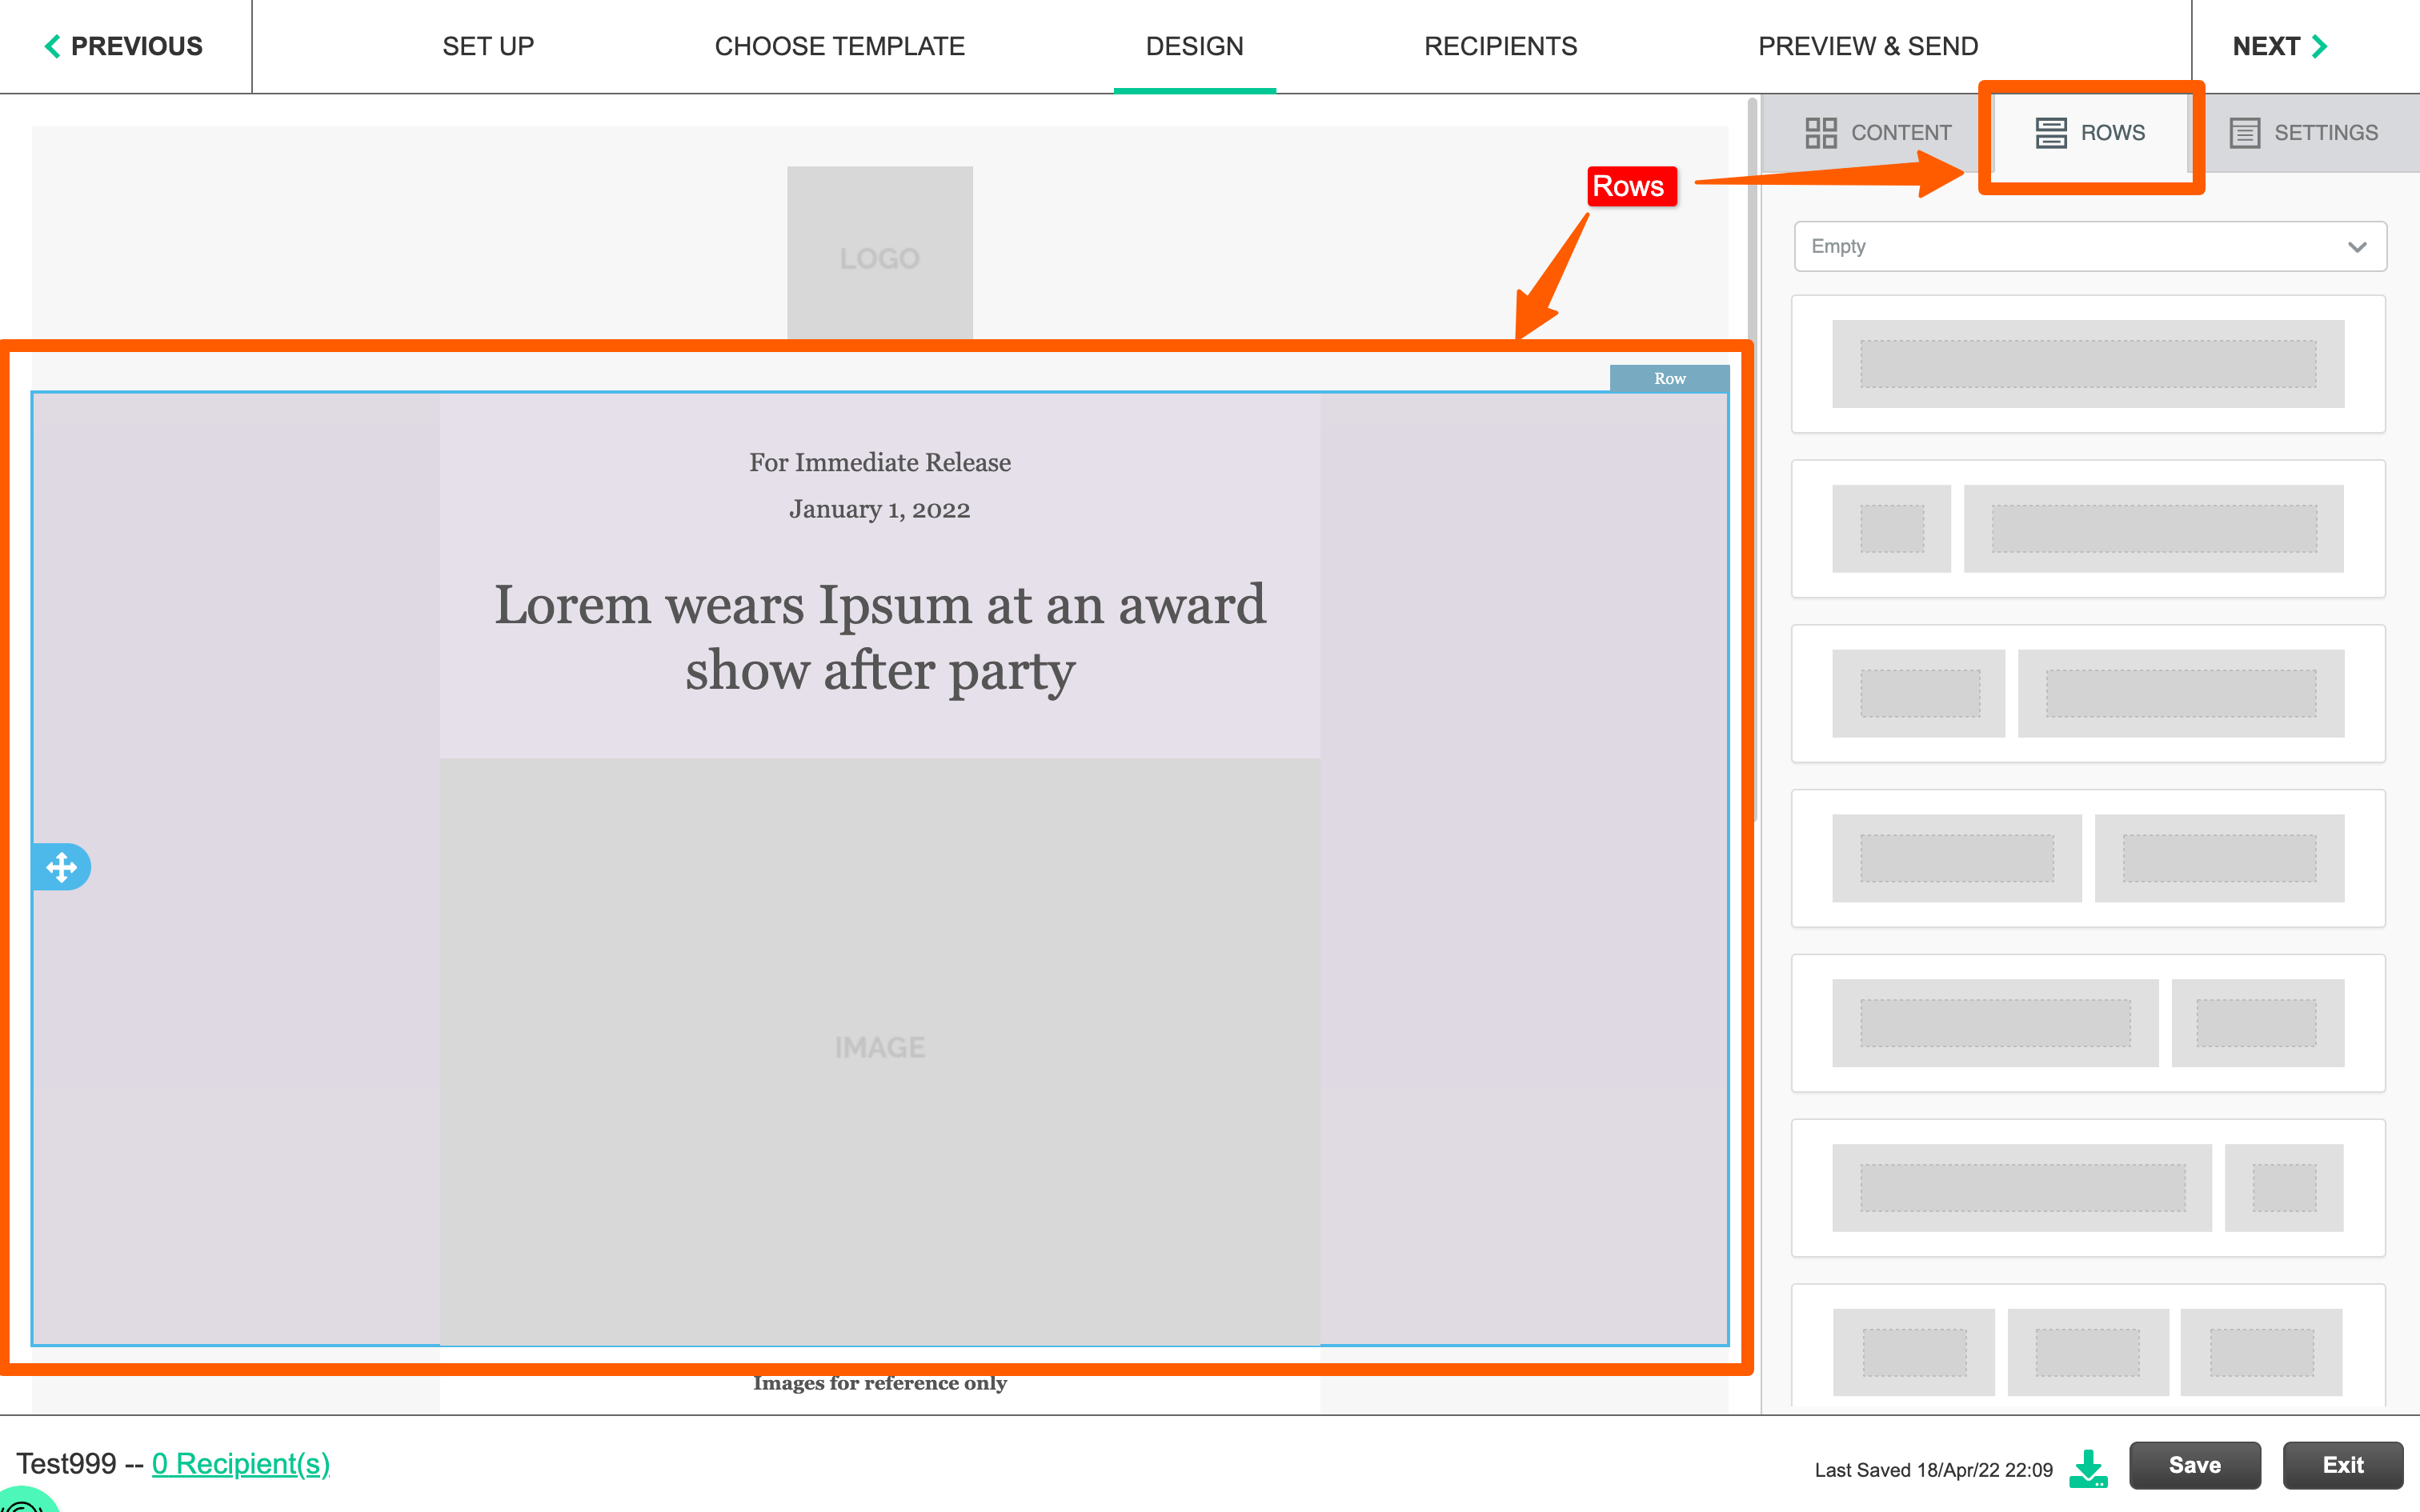
Rows
When clicking on the Rows tab, notice there is a dropdown where you can start from empty rows, default templates, or custom content
Within Custom Content you will find
- Your department logo — Drag it over to your email body to use it in your layout.
- Default Footer — This is the default footer that we recommend you use. It contains GDPR compliant and Spam protection links.
If you are building an Events Mailing, you'll find other types of Custom Content here such as
- Invitee Check-in barcode
- Add to Calendar Links
Row Properties
Click into a Row or Content element to view its Properties panel.
The following options can be found in the Row Properties panel. Note that these may change as new features are released.
- Row background image — This will allow you to choose an image that will fill the entire content background of your row. The image will always take precedence over the Content area Background Color if the email client supports it.
- Content area Background color — This will allow you to choose a color that will fill the entire content background of your row.
- Row Background color — This color sits behind the Content area Background color and Row background Image.
- Do not stack on mobile — By default, if using a row that contains multiple columns, the email will stack the columns when viewing on a mobile device. If you do not want this behavior, then turn this setting on.
- Hide On — Allows you to hide the row depending on the device it's being viewed on
-
Customize Columns— Allows you to add additional columns within your row. Click the column to access additional properties. NOTE: Multiple columns will automatically stack on mobile devices. To disable this, select the "Do not stack on mobile" toggle.
- Column background color
- Column Padding — Click More Options to customize all 4 sides
- Column Border — Click More Options to customize all 4 sides

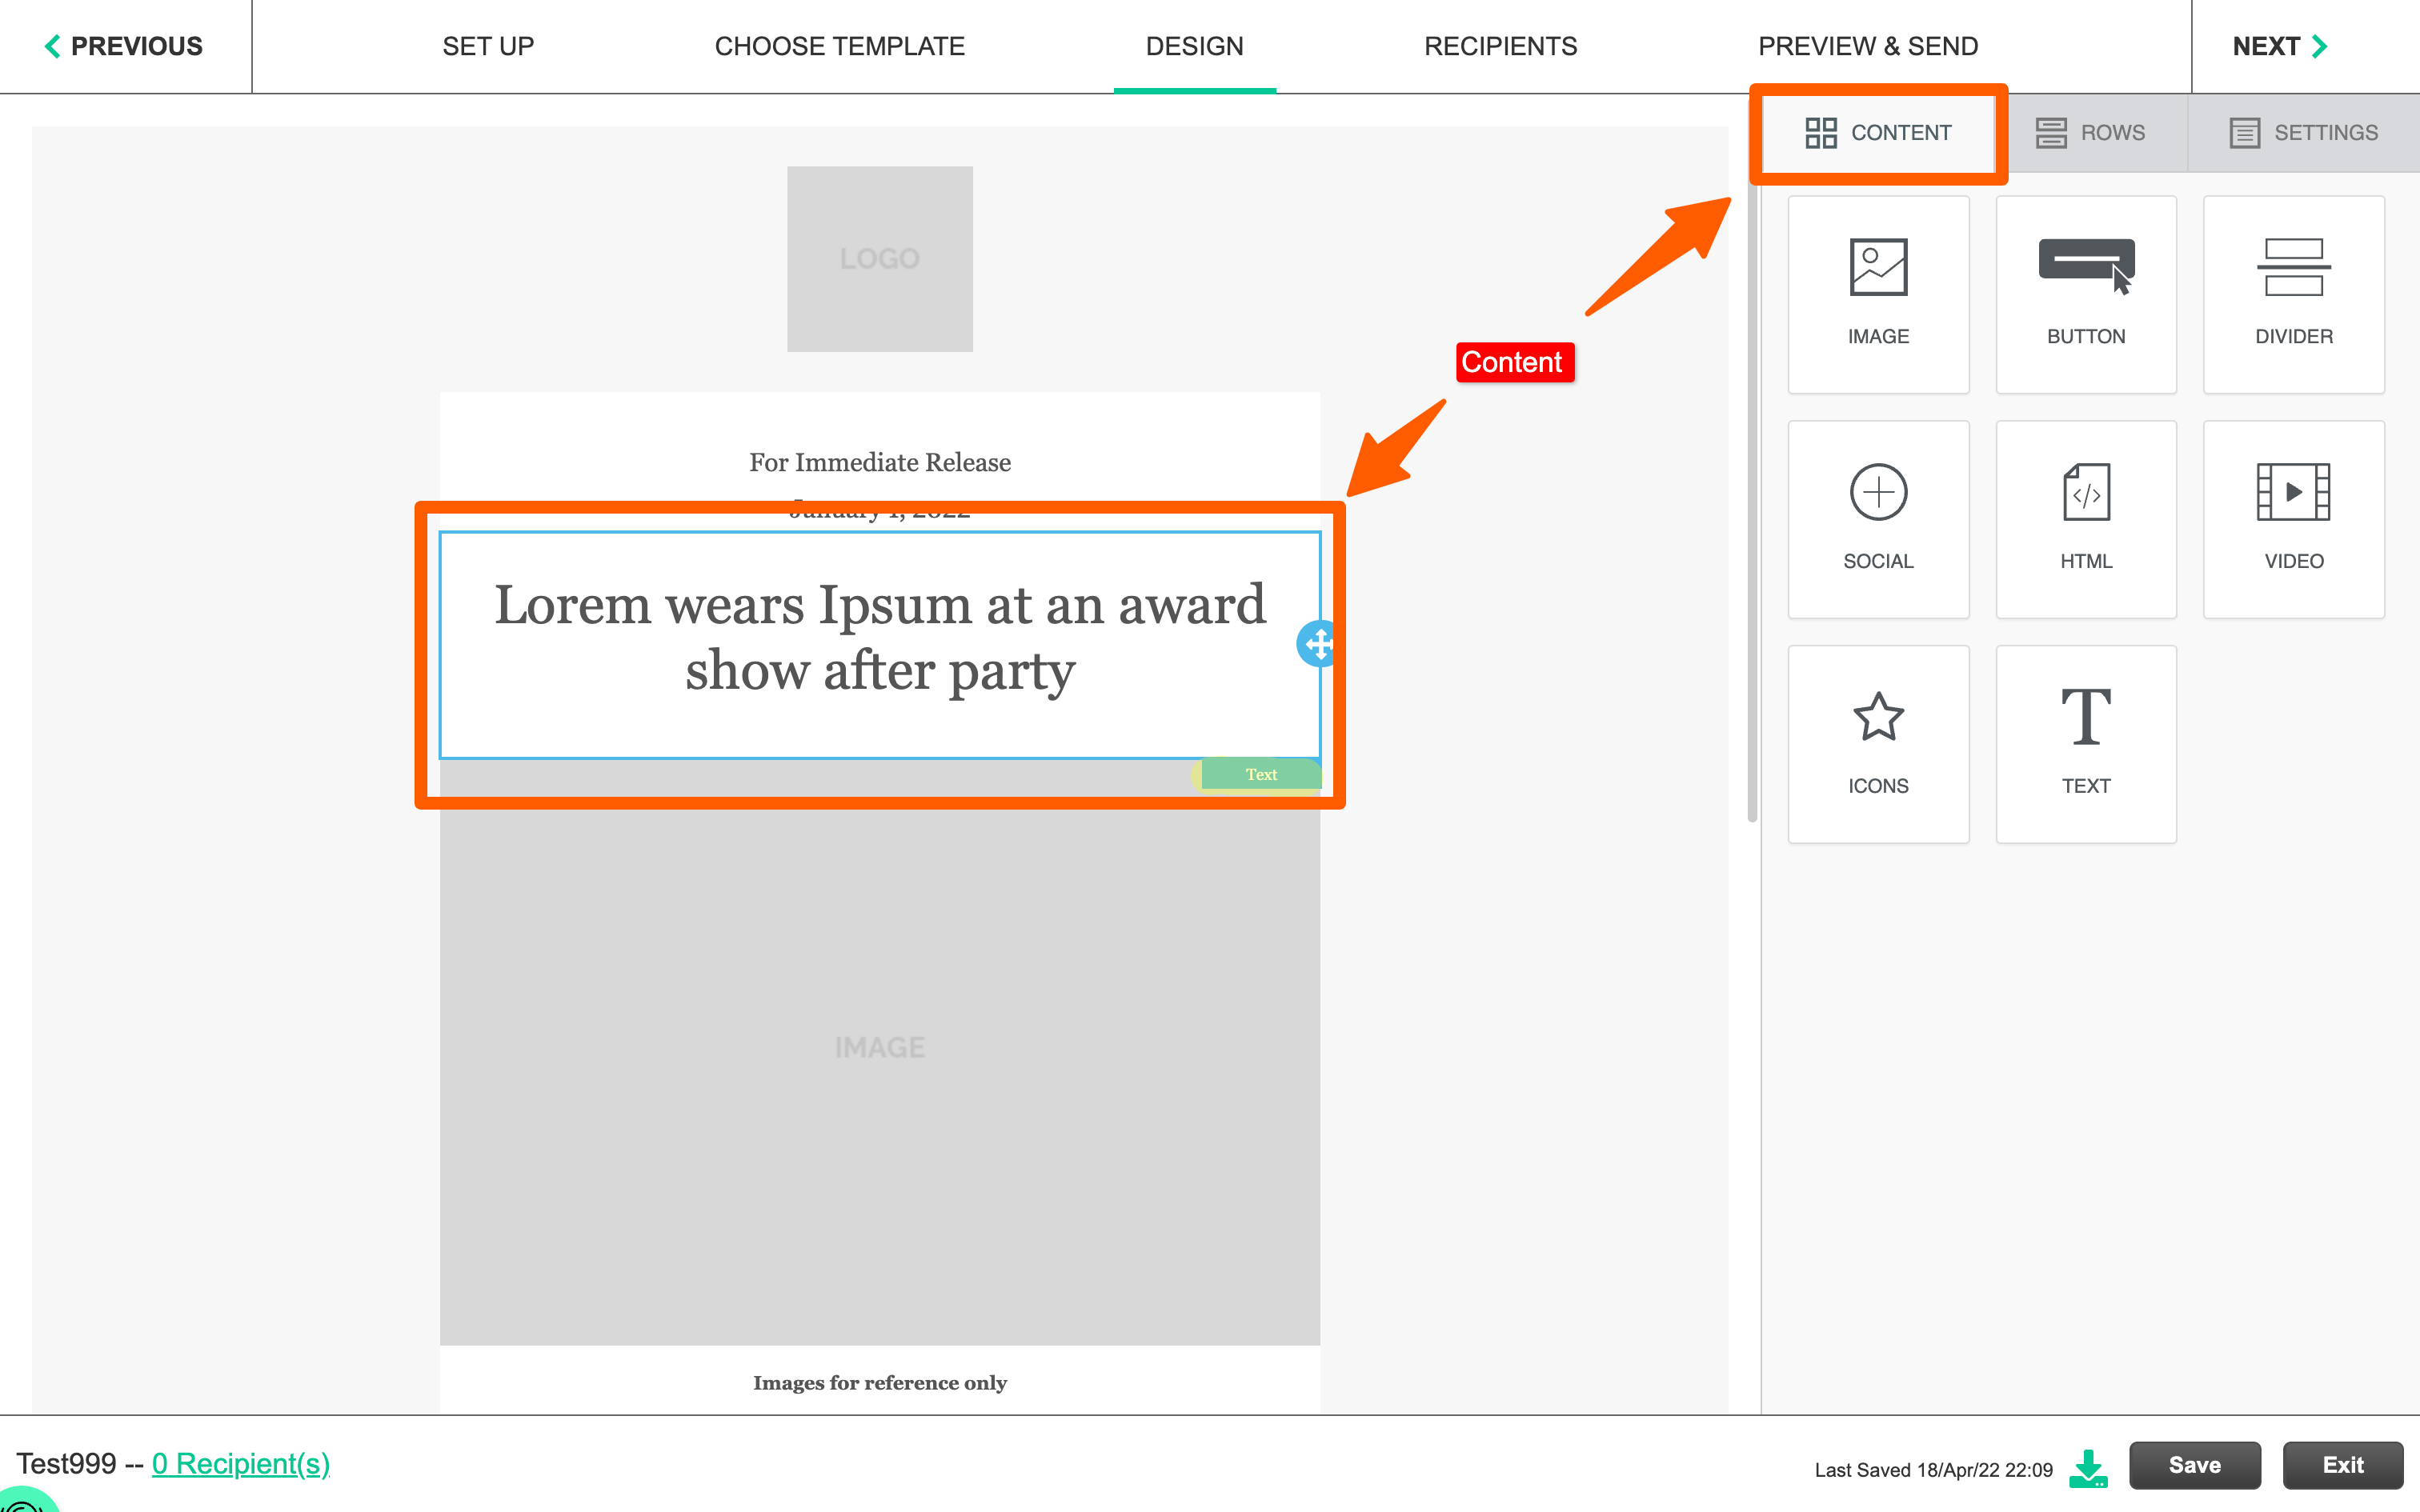
Types of Content
When clicking on the Content tab, you will see several types of content available 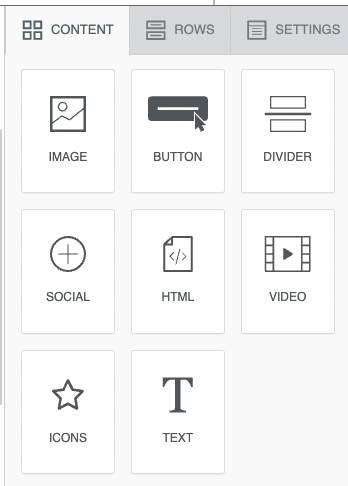
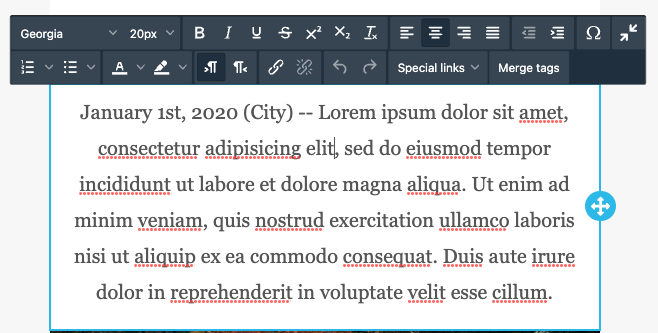
Text
After dragging over the Text content element, click on the text inside to activate the text toolbar. Here you have:
- Full formatting options — Learn more about adding custom web fonts
- Access to insert special links (such as Unsubscribe)
- Merge Tags allow you to personalize the email for your recipient
Images
Drag images directly from your desktop into the content block
OR
click Browse to open the File Manager > click into the myfiles folder. Here you can:
- Browse previously uploaded images
- Upload or Import new images. Note that the myfiles folder is shared within a department so it is recommended to keep this folder organized.
- Browse free stock photos
Button
Click on the button to activate the text toolbar. Here you can customize the style of the text on the button.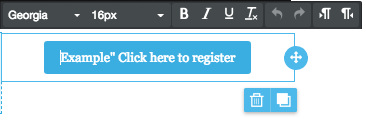
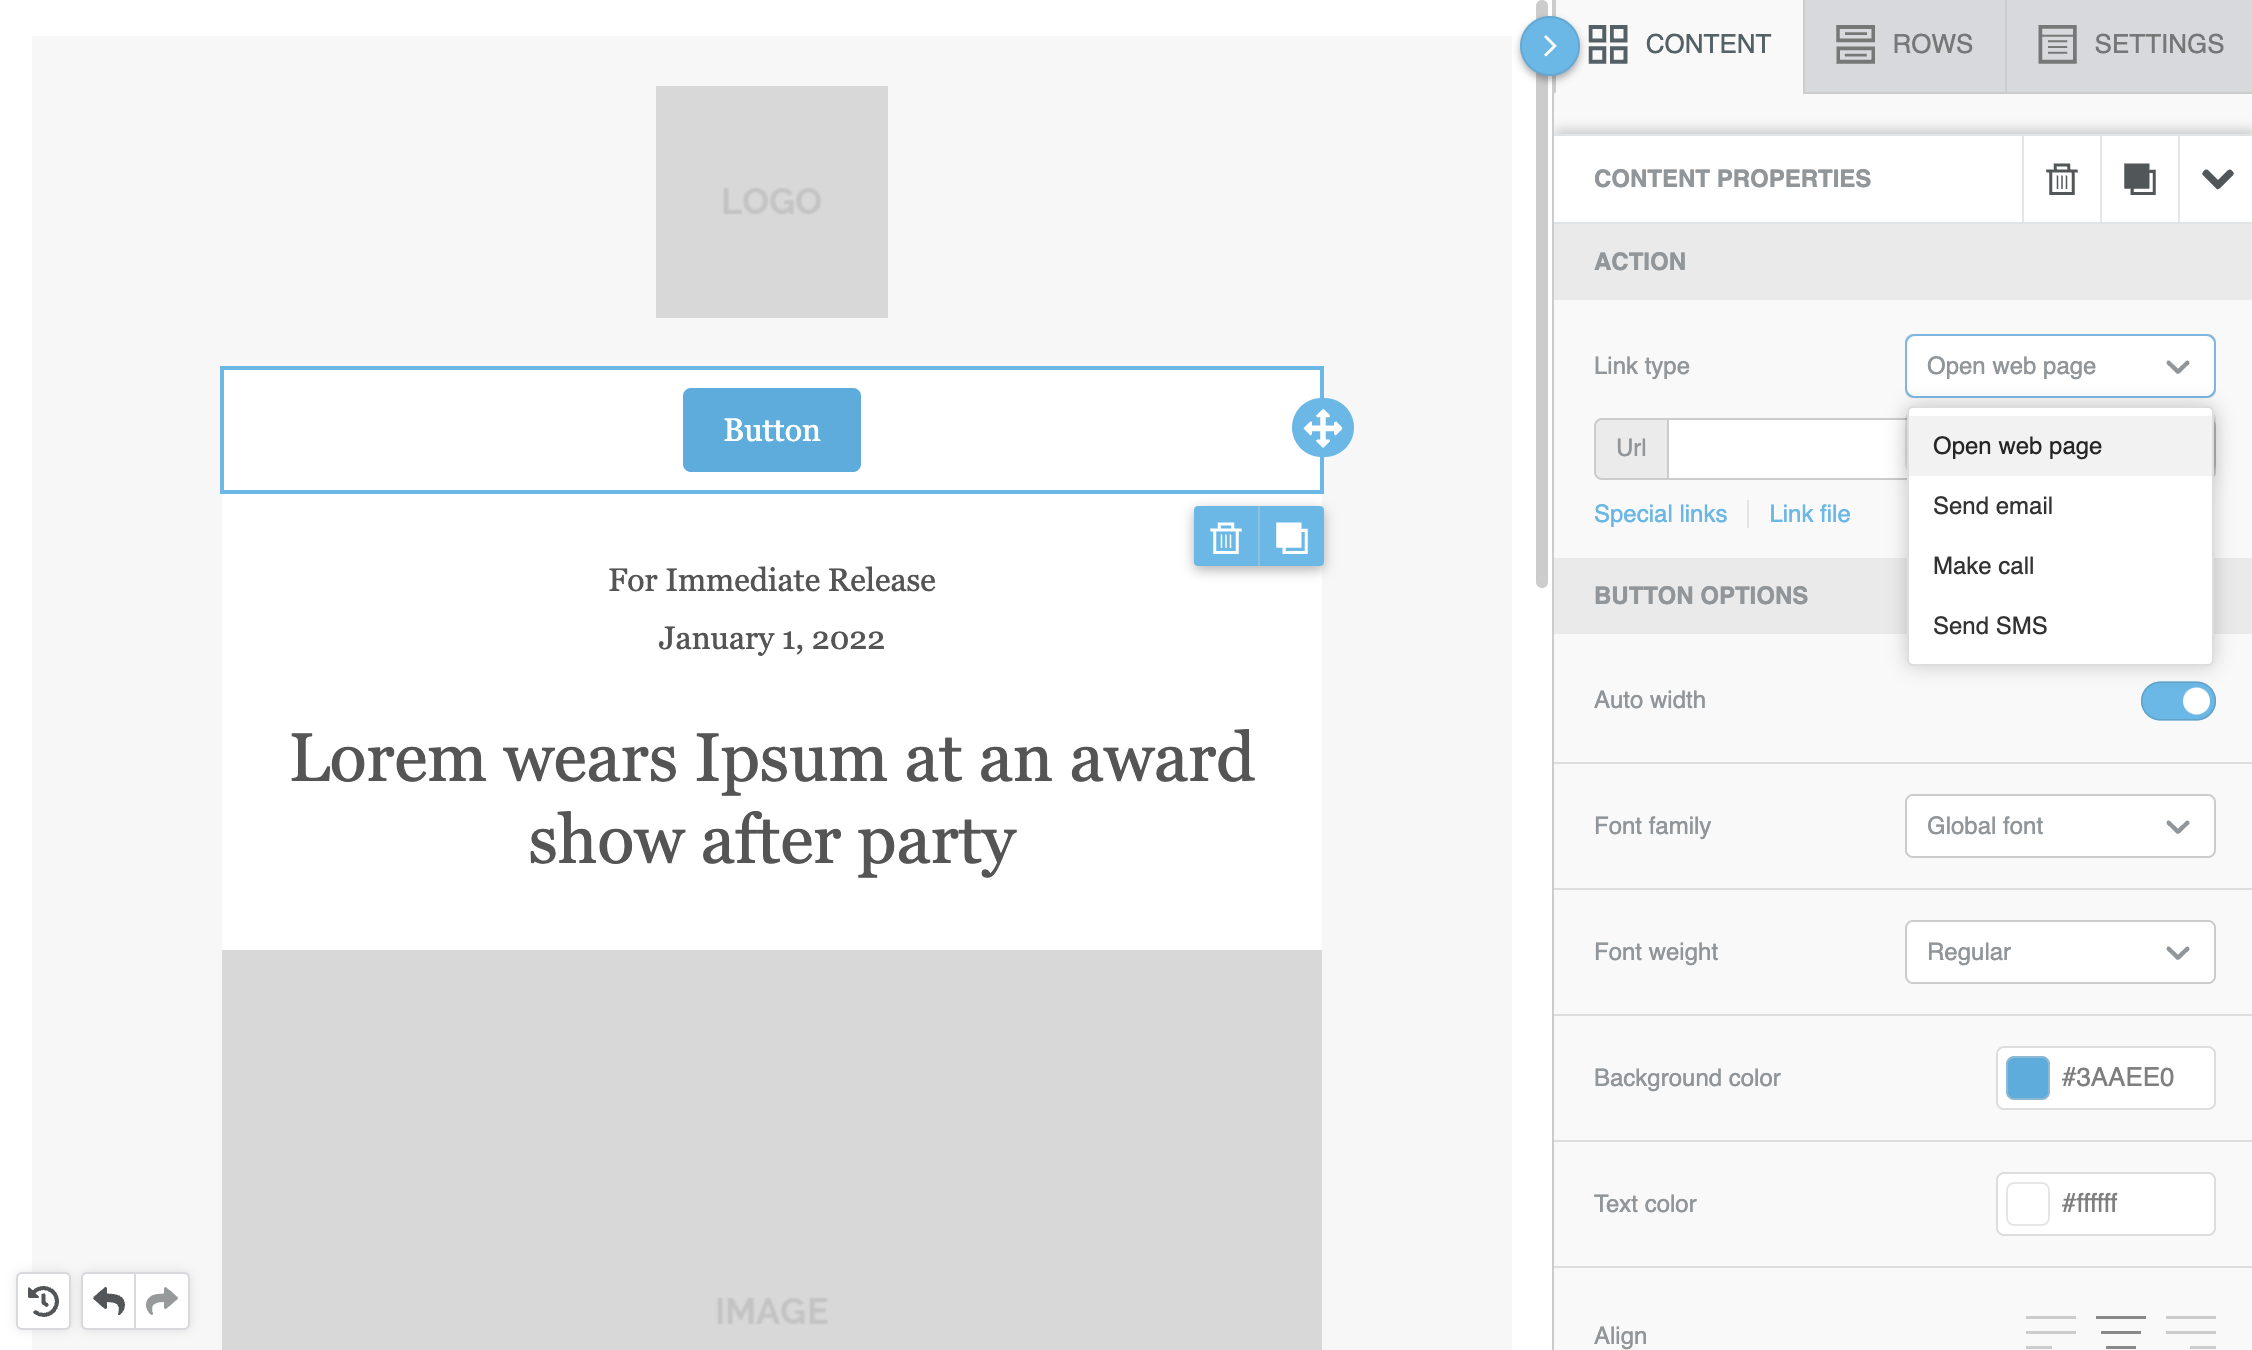
From the button Content Properties panel you can add a URL to the button and access all button customization options. You can configure a button to:
- Open a web page
- Initiate a send email
- Initiatie a call
- Initiate an SMS
Divider
Add a divider to help break up your email content. Click the divider in the left panel to open up the content properties on the right panel.
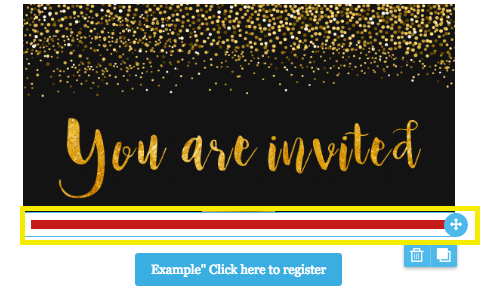
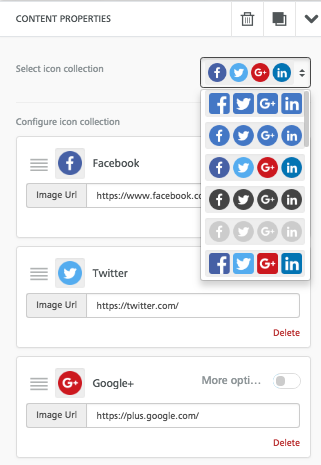
Social
In the content properties panel, choose from the Select Icon Collection dropdown.
Delete the icons which are you aren't going to use or add a new social icon.
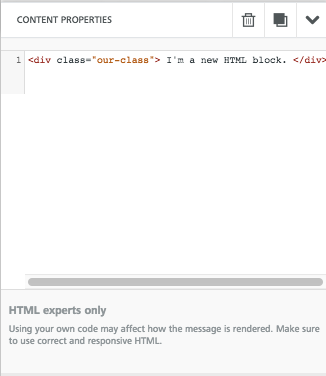
HTML Block
Paste HTML code directly into the content properties to create your mailing based on HTML. Note that this will insert the code directly into the body of the email in the place of the content block.
Video
- Provide a Video URL in the Content Properties panel. After providing a URL from either Youtube or Vimeo, a preview image will automatically be generated. This feature does not embed the video into the email but generates the preview and then links to the video.
- Once a link has been added, you can adjust the PLAY button icon settings.
Add a link to download a large file
If you have files that exceed the 5MB limit for attachments, you can include a link to download a file directly in the body of the email.
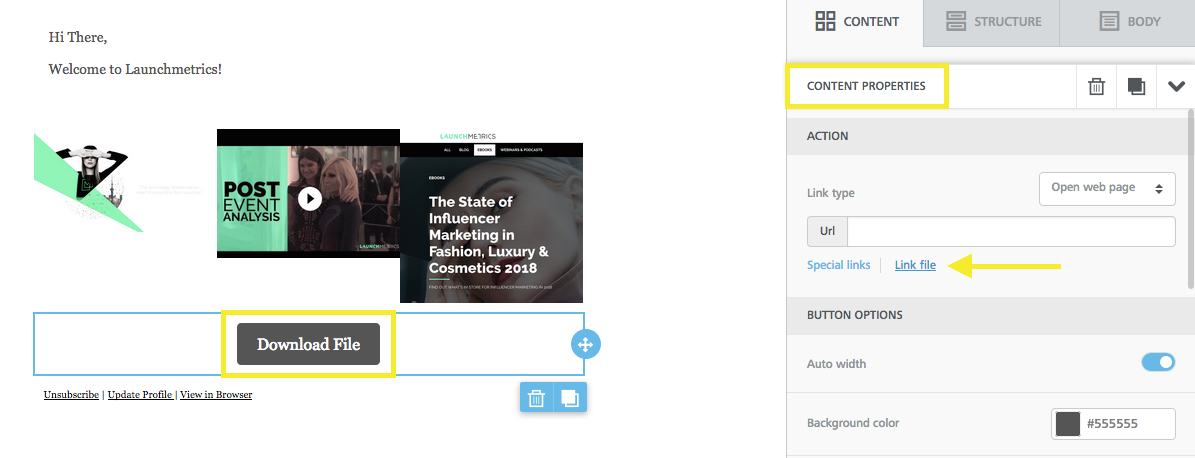
Using a Button
- Add a button element by dragging it from the content panel on the right.
- Click on the button to activate the content properties panel. Look for the "Actions" section. Click on "Link File".
- This will load your file manager
- click myfiles folder
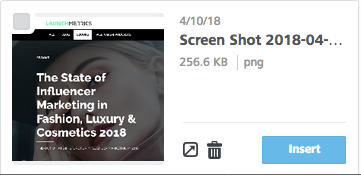
- Upload (Note: There is a 12MB per file limit to upload)
- Click the "Insert" button to link it back to the button.
- Once this is one done, the file automatically download when your recipients click on the button.

Using a text link
- Highlight the text that you would like to link your file and click on "insert link" icon in the toolbar

- In the "Link Type" dropdown click "File Manager". This will launch the file manager interface.
- Click into the myfiles folder
- Click Upload
- Click Insert
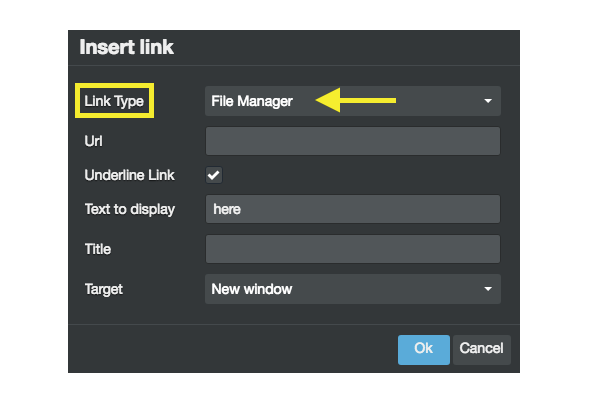
- Click on OK. Now when your recipients click on the hyperlinked text, the file will automatically download.
Externally hosted files
If your file is hosted on another site, you can also paste the link directly in the URL field for both options. This way, you don't have to upload it to the file manager. If you choose this method, be certain to test the button or link to ensure it works.
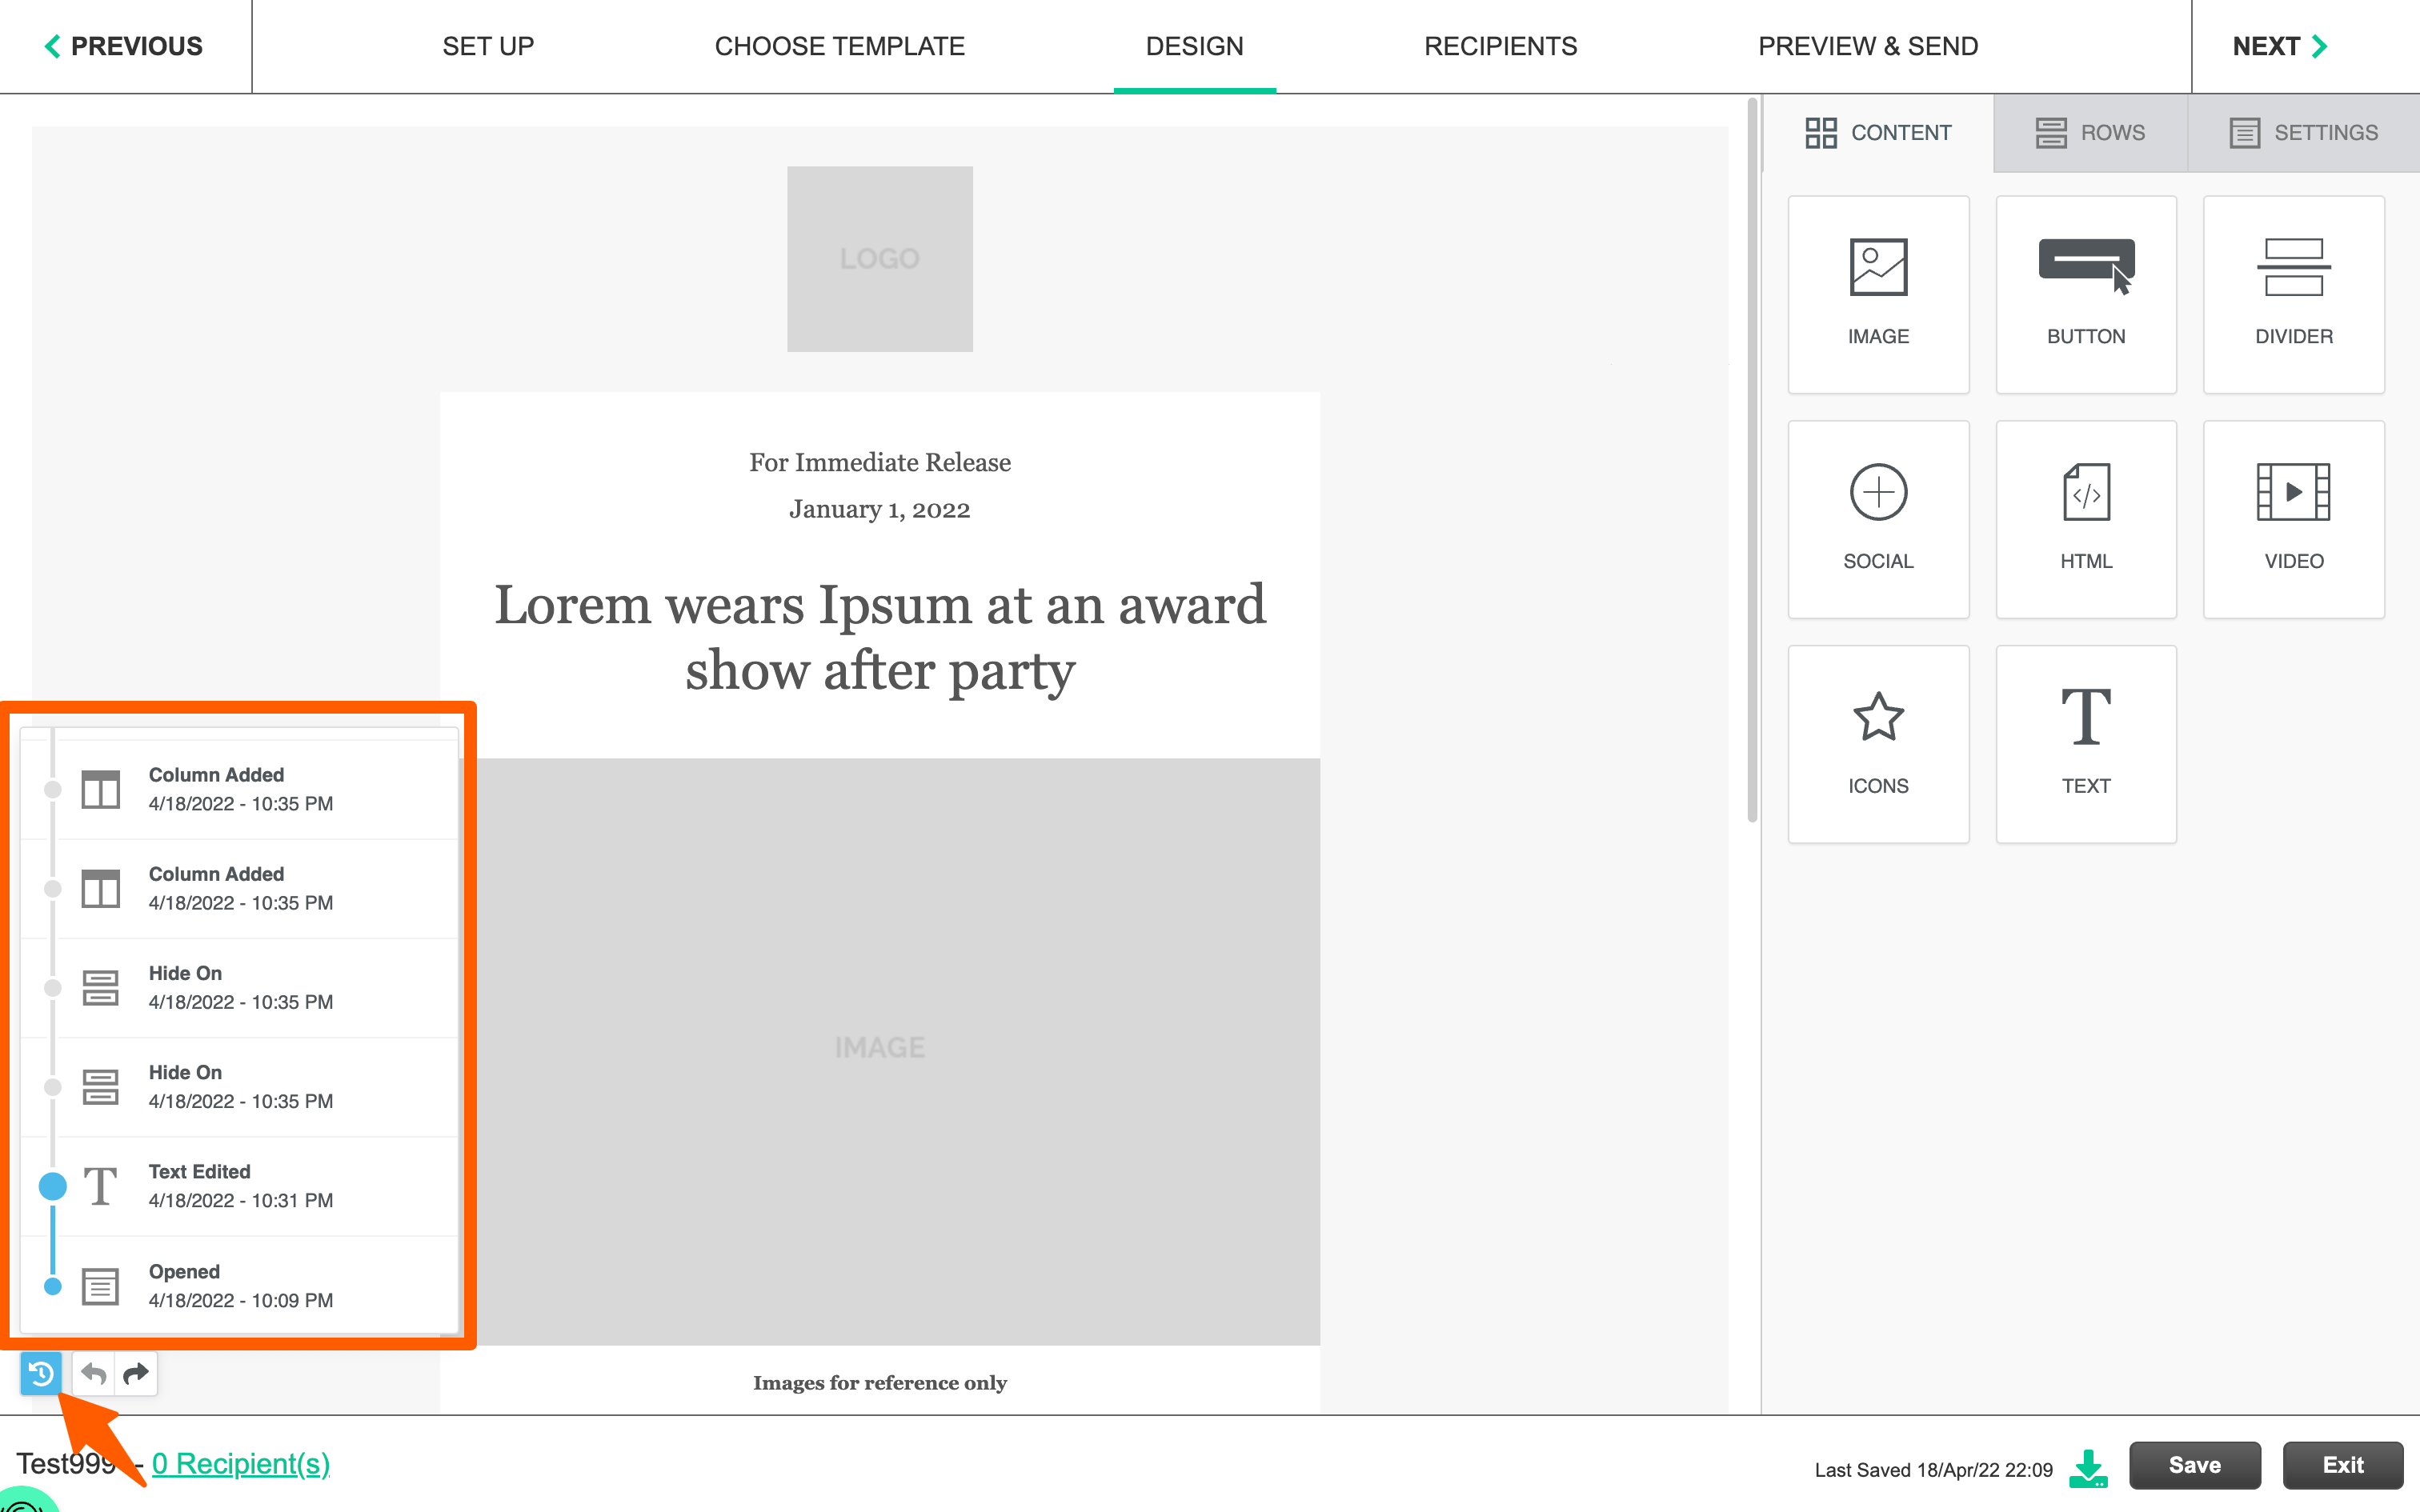
Undo changes
If you need to undo any changes made within a session click on the Toggle History button in the bottom left corner. Click on the step that you want to revert to.
Recipients
This is where you can edit Email Address Settings and add your recipients.

Email Address Settings
Here, you can choose which Contact Email Address fields you wish to use to send the mailing to.
- Radar Email Addresses - This will send your mailer to the Primary Radar Email address of all recipients that are linked to their GPS Radar account.
- Contact Email Addresses - You can select which email address you wish to send the mailing to:
- Primary Email
- Alternate Email
- Assistant Email
- Other Email
- VIP/ Celebrity Email

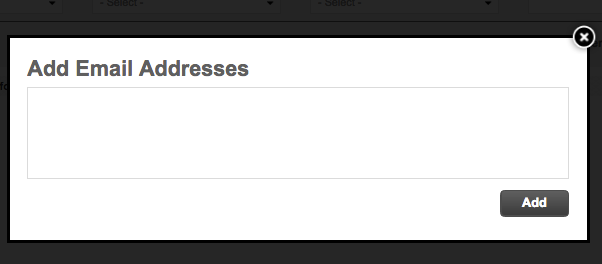
Add Email Addresses
Here you can paste a list of email addresses not tied to any Contacts from your Contacts database.
Add from Contacts
- This allows you to add recipients directly from your Contacts Database.
- Search and Click "Add" one at a time or "Add All Found Results" or "Add Page Found" results.
- You can also add recipients from a Contact Group or from a past Event.
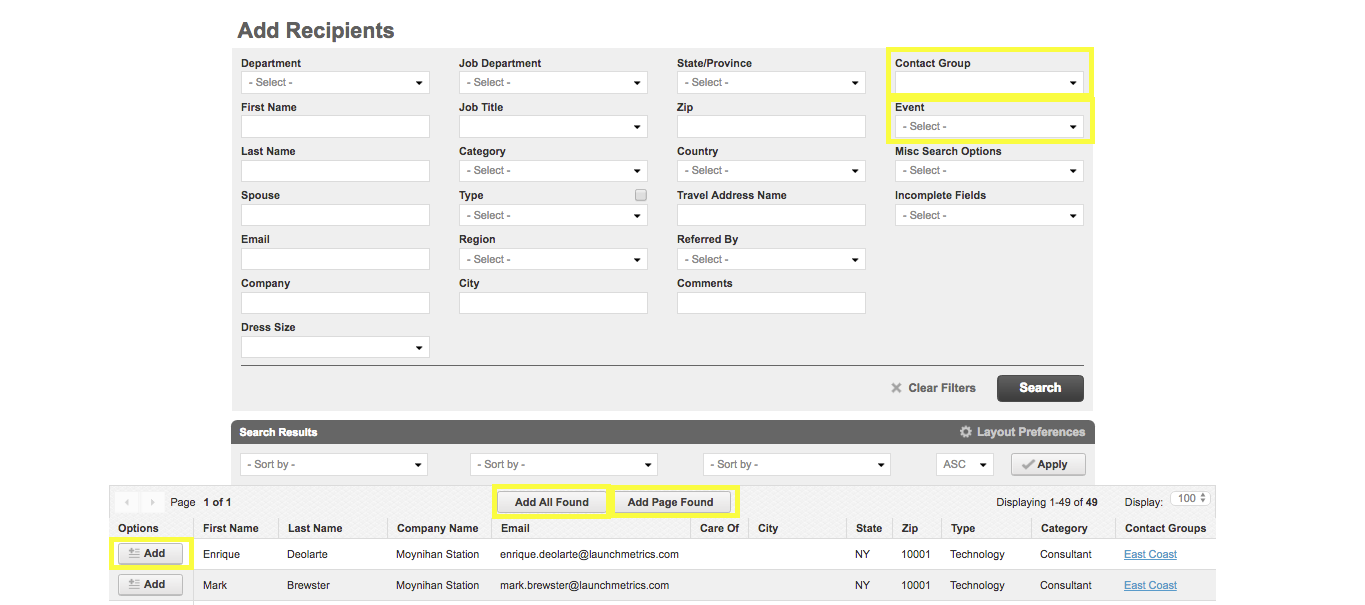
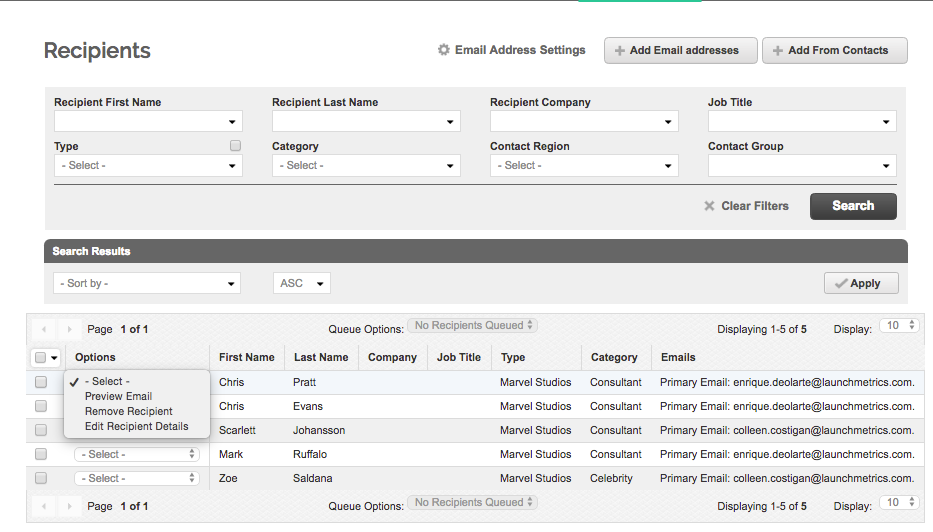
Once recipients have been added, use the options dropdown at the row level or the Queue options to remove contacts from the list or preview a specific recipients email.
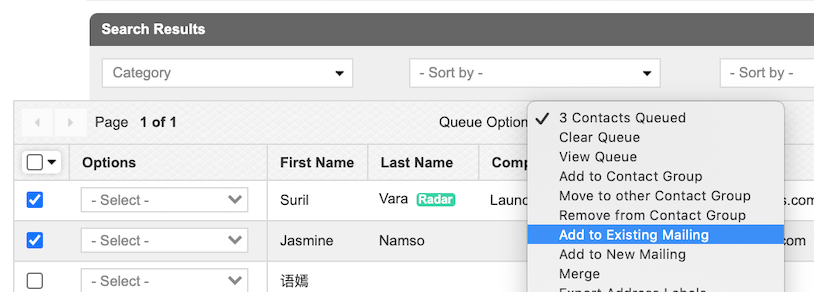
Add from Contacts Manager
Alternatively, you can add contacts directly from Contacts Manager to an existing mailing.
- This allows you to add recipients directly from your Contact Database to an existing mailing
- Search and queue the contacts you wish to add to an existing mailing
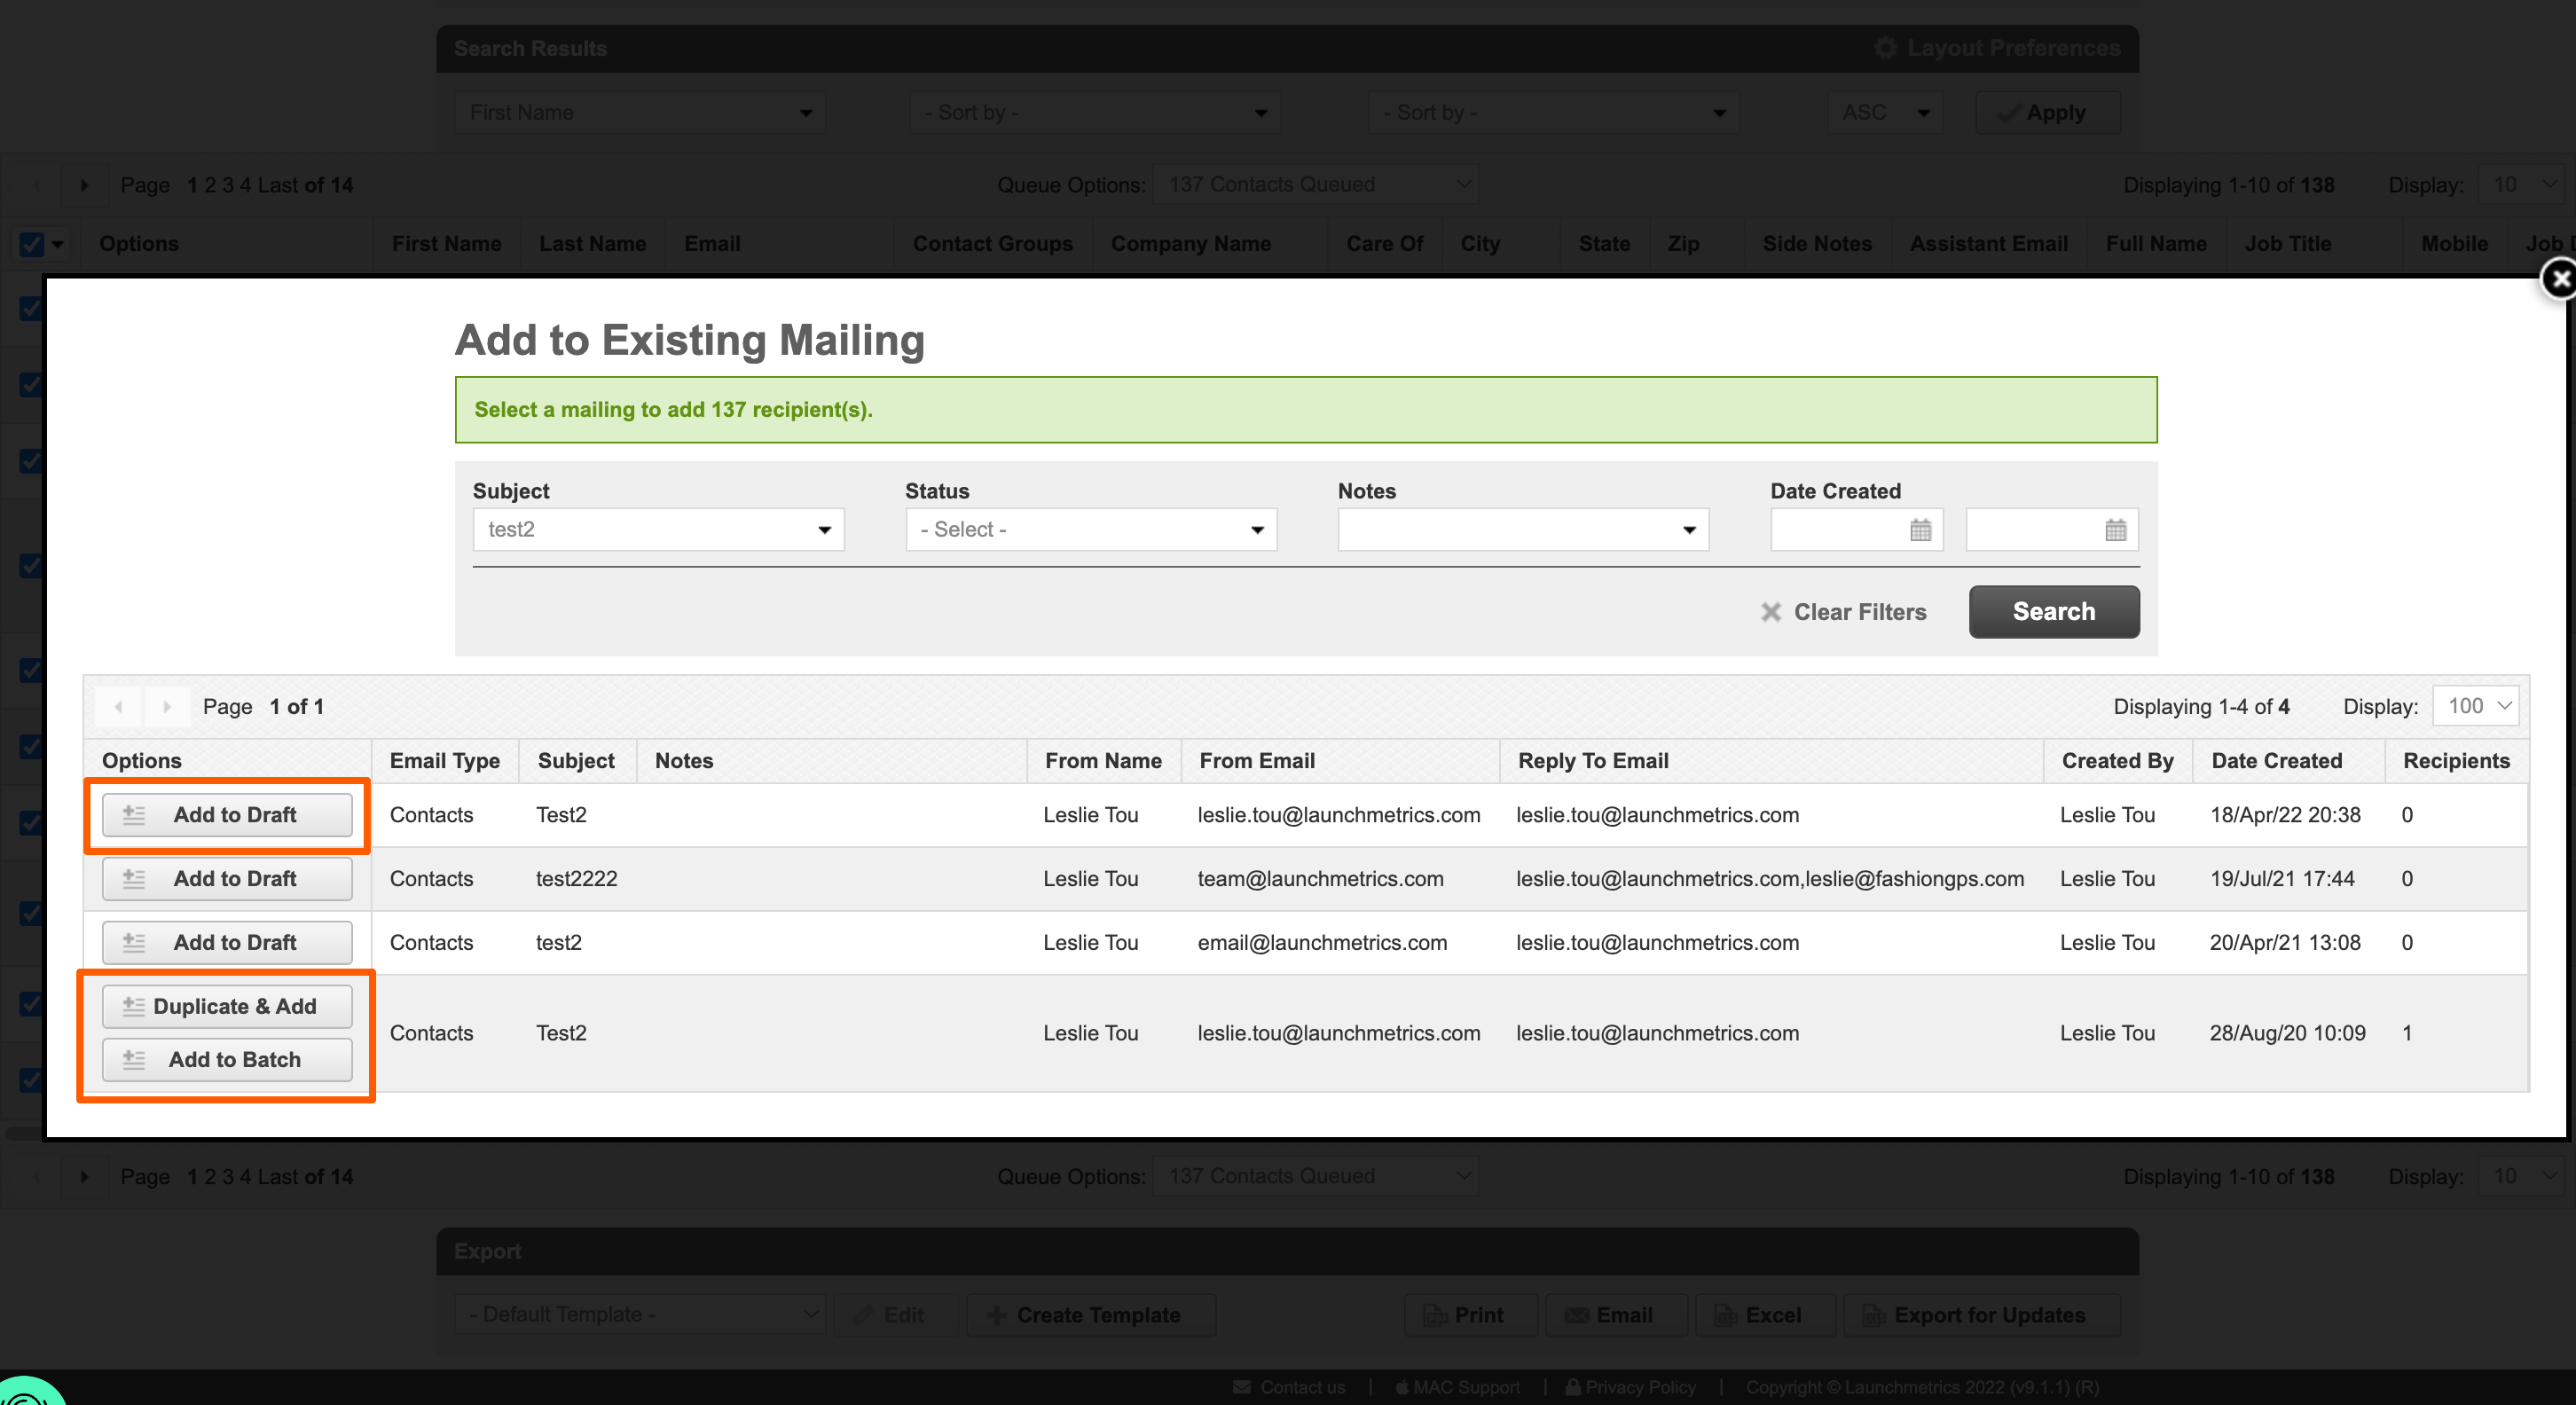
- If a mailing as already been sent, you have the option to duplicate the mailing and add the contacts to the new mailing. If you choose Add to Batch, the email will be sent immediately to the contacts that were selected.
Preview & Send
Testing your email
- Once recipients have been added, you will then be able to preview your mailing
- Use the dropdown in the top right corner to select any Recipient to base your Preview on. This is useful when you have merge tags in your email.
- Click the "Send Test" button to send yourself a test email. — It is recommended that you do not attempt to send the test to the same email domain as your Send From email address domain as this could trigger your corporate spam filters.
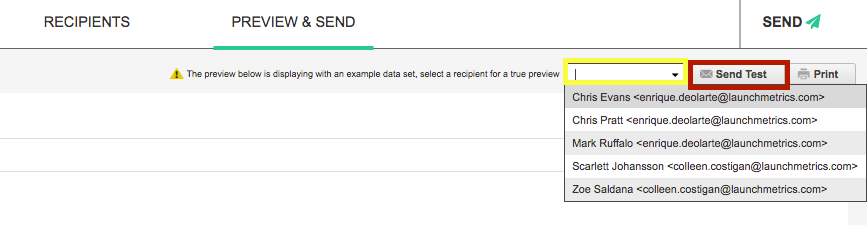
- Click the Print button to print out a copy of the email.
- Click the Desktop, Tablet, Mobile device icon to test how the mailing will render on different screen widths
- Click the A icon to test your fallback web fonts — Learn more about custom web fonts
Sending or Scheduling your Mailing
Click the Send button to finally send your Mailing to all of your recipients.
OR
Click the Schedule button on the bottom right to set a date and time. At the moment you schedule the mailing, all merge attributes will be saved and used from that moment in time.