
Having printed barcode labels for your Locations make for updating a sample's location very quick and easy. Follow the steps below to get set up to print Location Barcodes.
Select the printer
- Go to the Printer Setup page (Click your name in the header > Printer Setup)
- Look for the section called Sample Location Printer. You can select any barcode printer that is already installed on your computer. If you need help installing a printer, refer to these articles:
Configure the label template
- Go to the Location Editor page (In the main navigation hover over Samples > Location Editor)
- Click Configure Print Template button. Here you can customize the EPL/ZPL code and print a test label.
- At this time, you can only save 1 template at a time.
- The provided default template fits onto a 2x1 Label .
- For a template that fits onto a 6x4 address label Download the template here.
- Otherwise, work with your CSM or Implementation specialist to get the right template configured for your needs.
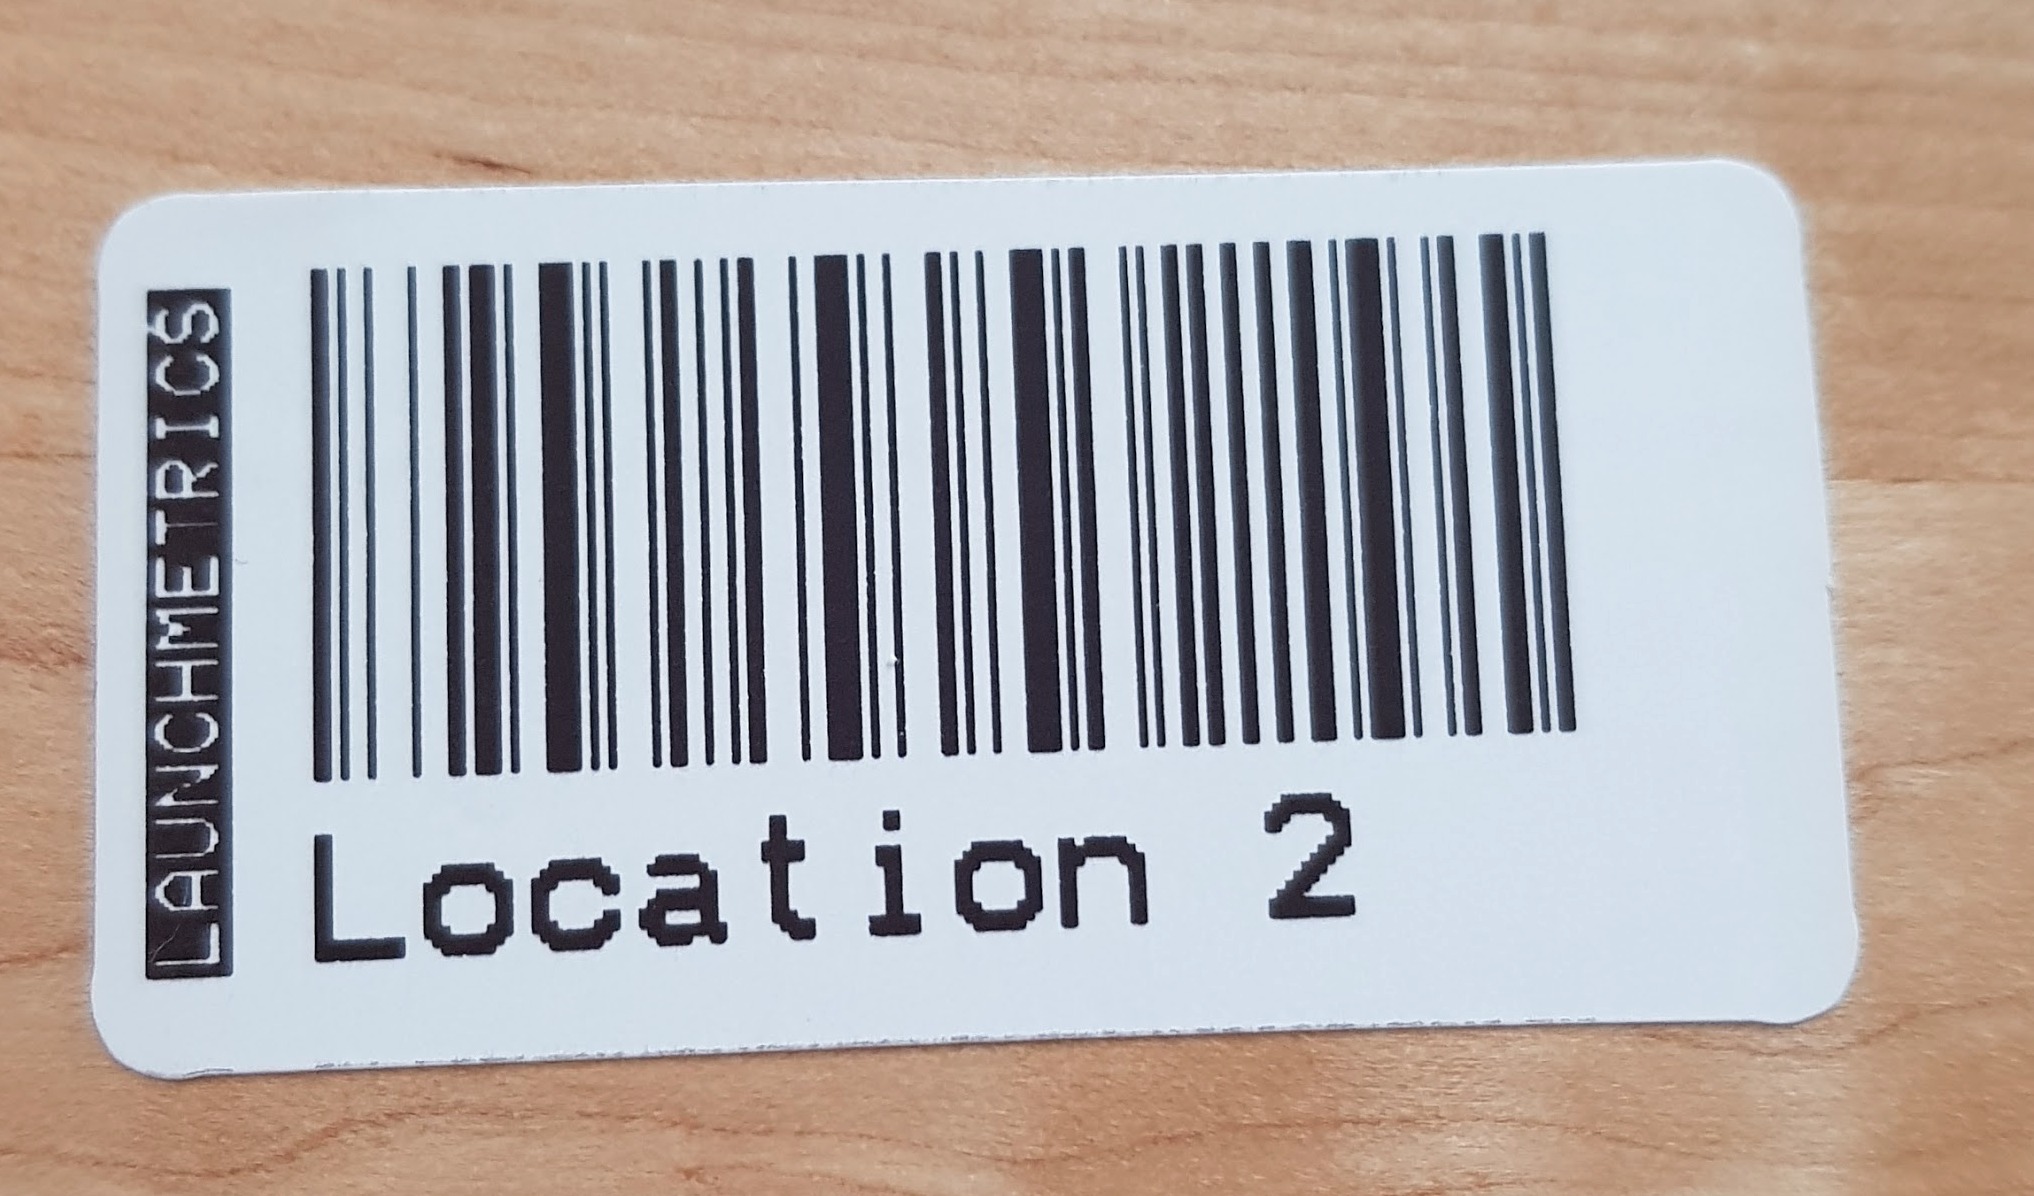 2in x 1in Layout (default)
 6x4 Layout
Print Location Barcode
- In the Location Editor page (In the main navigation hover over Samples > Location Editor)
- In the options dropdown of a location, you can select Print Barcode.