
Creating An Invoice
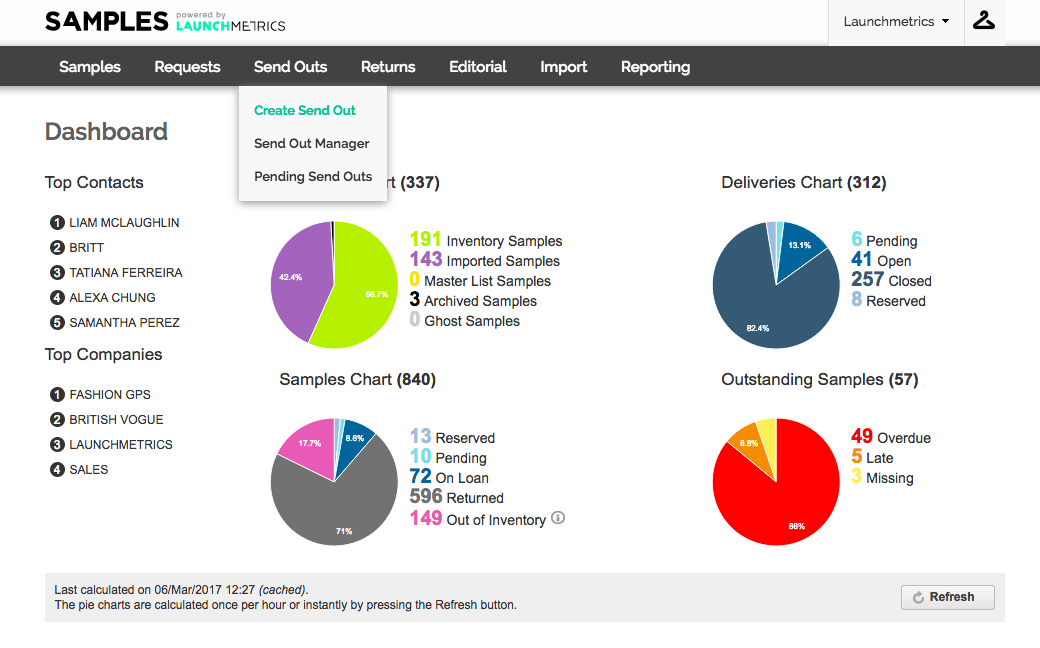
- To create an invoice, you'll need to navigate to your Send Outs and click "Create Send Out".
- You'll fill in the details as you usually do when creating a Send Out, however be sure to click "PURCHASE" .
- Click Next Step once you're done.
- Next you'll need to scan or type in the barcodes of the samples for your invoice.
- Click Next Step once you're done.
- NOTE: You can view your send out details again, but clicking the small arrow on the right hand side of your screen as shown below.
- You can also add additional fields to your layout such as "Scan Comments".
- You can do this by clicking "Layout preference" and dragging your required fields into the "selected headers" section.
- Click Next Step once you're done.
- On the final step you'll be taken to a new window where you can enter your specific and final pricing information for each item.
- You can use the "discount" field to calculate the percentage of discount (if required).
- Once all your pricing has been finalised, click Next Step.
- Your invoice has now been created and you can print any associated labels, invoices or barcodes.
- Once you've finished creating your Purchase Send Out, the samples will be removed from your inventory.
- You will still be able to run reports on these Samples and you can also view the samples in End Of Life Manager.