
Be sure to review the Samples Excels: Before You Start article which outlines some configuration options that you may want to consider before you import.
Download a Blank Template
- In the main navigation go to Import > Import Samples
- Under the Download Blank Templates section you'll see downloadable templates. For information on the different templates, please scroll down.
- Download the relevant excel and input your samples data and save your excel document.
Filling out your Excel Template
If you know you’re not going to be filling out a certain field you can delete the column in Excel to keep your columns focused.
Be sure to fill out all of your required fields. Required fields alway appear in RED but you may need to scroll all the way to the right of your sheet to see them.
Pre-Creating Data
Please make sure you pre-create you Designer, Collection & Season in the platform before uploading your Samples. Without pre-creating these fields your Samples may fail to upload. This applied to any locked fields you have.
Please click >> here << for our manual on Creating Collections
Import your completed Excel Template
Once you're ready to import the Excel document, select the Import Type, browse for the file on your computer, and click Import.
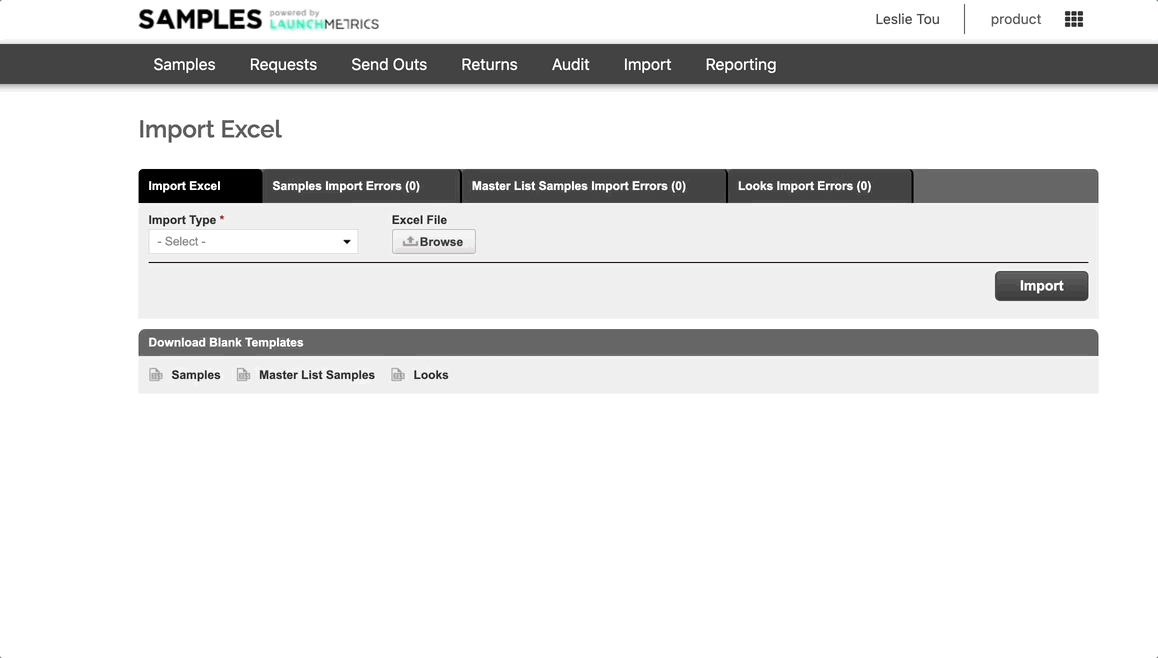
You will see the progress of the import in the Processing Import window.
It will show the number of samples which are Skipped as opposed to Imported
Checking & Resolving Import Errors
You should be automatically redirected to the 2nd tab called Samples Import Errors. Here you will see all of the samples which was not able to be imported.
Check the reasons
Hover over the error icon ⚠️ to see the reason behind the error.
Resolve Errors
- Once you see what the errors are, it may be easier to simply delete the errors, amend your excel and re-upload. It's important to clear your errors if you plan to re-upload as you may end up with duplicated errors.
- Alternatively, you have the option to resolve errors directly in the interface using the button at the top of the list or one by one by clicking the check mark icon at the row level. If you try to process all, this will cycle through the errors one by one and allows you to resolve them.
Checking your imported Samples
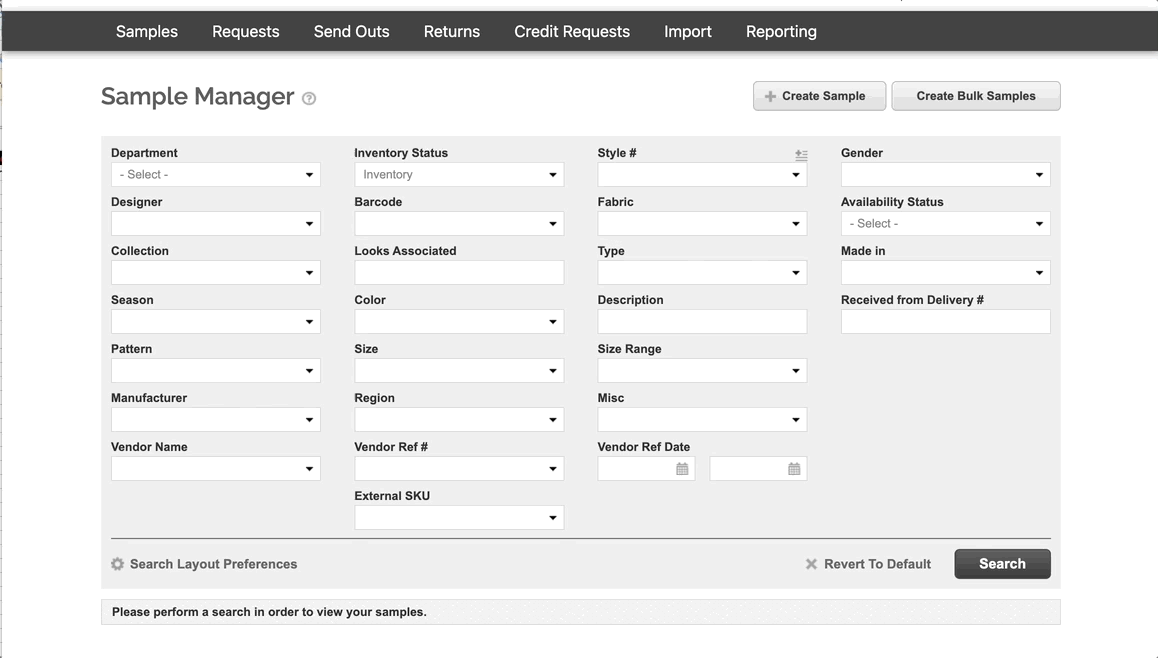
Once you're done importing your Samples they'll be available in your Imported tab in your Samples Manager.
At this stage, your Samples are considered unverified (Samples that are expected to arrive), and need to be verified into your inventory.
Next Step: Verify Your Import